Thursday, March 31, 2022

Twins Bnai Mitzvah: Braids and Trains

It's simcha time! We're in Tampa to celebrate D and C's Bnai Mitzvah. Can I believe that the two precious angels we met in the NICU are 13 years old? No, no I can not. But I better get on board quickly, as this event is happening!

We have a couple of missions for today, the first one being to get the kids' hair done. My Mother-in-Law booked the salon appointment, and I have to admit, I was a bit nervous as to how this was all going to go down. I had visions of 3 fidgety, impatient children waiting around while one uncooperative child sat in protest, refusing to allow her hair to be cut or styled.

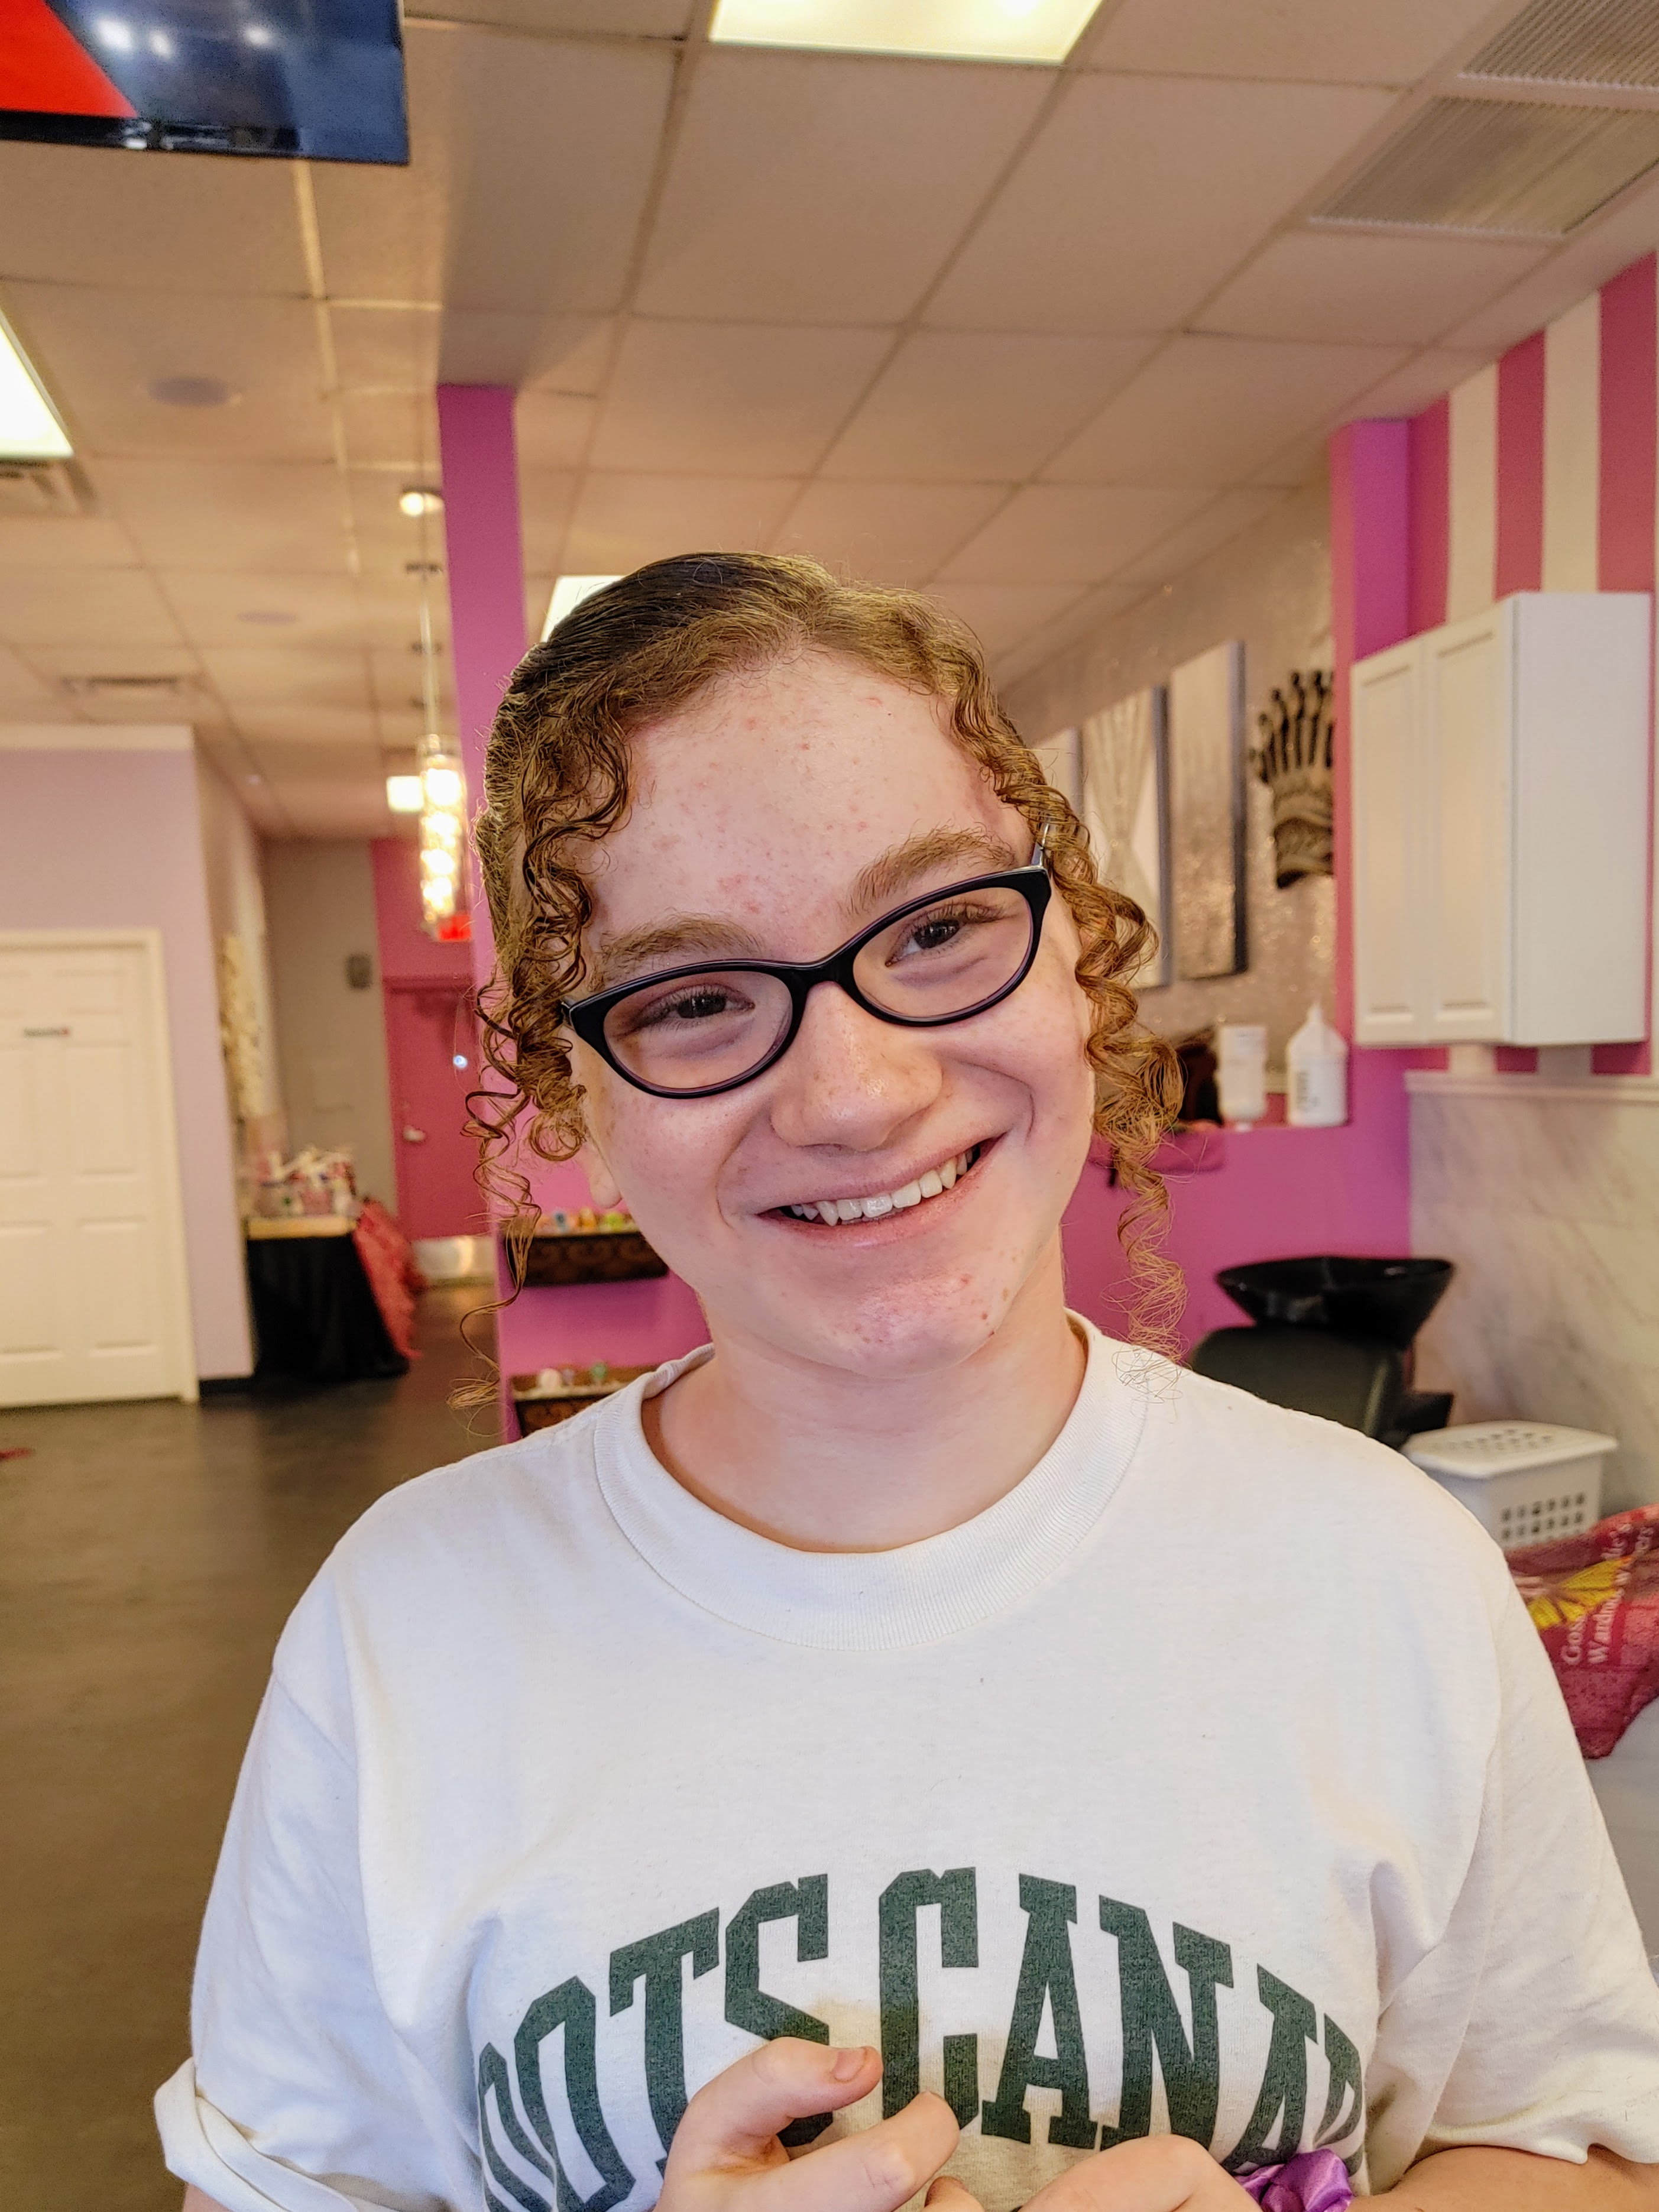
We walked into Party N Style kids salon, and almost immediately, I realized my fears were unfounded. Three delightful stylists were ready to go to work on the kids, and the bright and fun surroundings put everyone at ease. Each of the stylist's stations were equipped with a TV and the kids could choose what movie they wanted to watch (their preference: Trolls 2). But more than the setup, the stylists were friendly, knowledgeable and patient. Each of the kids got a wash, trim and style, and there was not a complaint or concern heard the whole time.

T's hair is on the shorter side, so she worried that none of the fancy braids her sisters got would work for her. When pressed, she told her stylist what kind of braid she wanted and the stylist made it happen.

Conventional wisdom suggests that once one of the kids hair was cut, they'd sit around and watch TV while their siblings finished up. That would have been me, anyway. But not D. On our way into the shop, he noticed train tracks across the street. Once D's hair was cut and he had to wait for his sister to finish up, he was excited go outside the store and watch for a possible train sighting.

I'm telling you, persistence like this in the face of unlikely odds (would a train really come by now?) is exactly the mentality that changes the world. Good for you, D!

We walked out of the salon with three young ladies sporting gorgeous hairdos and one sharply trimmed young man. The weekend was off to a good start!

Wednesday, March 23, 2022

Streamlining Trello Task Management from the Command Line

Every few years I tweak my task management strategy. My latest approach leverage's Trello's card & list model. Or, as the industry likes to call it, the Kanban board.

My 'system' works like this: I've got a Trello board with 7 lists: one named On Deck, one for each day of the week minus Saturday.

Every task I need to accomplish is either in the queue (i.e., On Deck) or assigned to a specific day of the week. On Sunday evening, I can plan out my week by moving cards to specific days. Of course, the week never goes as planned and I can adjust cards on the fly.

To pretty things up, each customer gets their own color coded label, which is attached to their cards. Besides giving me a visual cue, the labels let me filter the board to one customer's perspective.

Here's what a board looks like (with the texted blurred out, of course):

Let's Automate This

While this is all working well, I noticed one interaction I could optimize. Nearly all my clients have some task tracking system of their own, so adding tasks to my On Deck list can be automated.

Consider a fake client named FooCo that uses Jira to track their tasks. When I'm assigned the ticket FC-103 to work on, I do the following:

  • Look up the summary of FC-103. For our example, let's assume that the summary is "Implement bitcoin payment method."
  • Create a new card with the title: FC-103: Implement bitcoin payment method.
  • Add the label fooco to the card.
  • Attach the URL https://fooco.atlassian.net/browse/FC-103 to the card.

Given only the bug URL, https://fooco.atlassian.net/browse/FC-103, I can derive the customer, ticket ID, label and ticket summary. The latter value is retrieved using a simple jira command line utility. Once I have the fields, I can use the Trello API to issue a POST to create a new On Deck card.

Here's how this looks in practice:

$ trelloassist -a auto-add -u 'https://fooco.atlassian.net/browse/FC-103'
623b77da1675766212b46454

This process is powered by a shell script named trelloassist. See below for the source code. trelloassist supports querying and creating cards by making simple curl requests to the Trello API.

The magic of the trelloassist's auto-add functionality is the bash function named do_auto_add:

do_auto_add() {
  url=$1 ; shift
  list=<the default destination list>
  case "$url" in
     # for customers who store tasks in Jira
    *.atlassian.net/browse/*)
      ticket=$(basename $url)
      domain=$(echo $url | sed -e 's|https://||'  -e 's|.atlassian.*||')
      title=$(jiraassist -p $domain -a get -k $ticket | cut -d'|' -f4)
      label=$domain
      name="$ticket - $title"
      ;;

     # for customers who store tasks in DoneDone
    *.mydonedone.com/issuetracker/*/issues/*)
      label=scra
      domain=$(echo $url | sed -e 's|https://||'  -e 's|.mydonedone.*||')
      title=$(donedoneassist -a title -i $ticket)
      name="DD:$ticket - $title"
      ;;

    ...

   *)
    echo "Don't know how to auto-add: $url"
    exit 2
    ;;
  esac
}

This function peels off whatever information it can from the URL and then calls an external script (jiraassist and donedoneassist) for additional details. The variables list, label, name and url must be set to sane values when this function completes.

After do_auto_add a call to trelloassist's new-card action is made and the card is added to the board.

    do_auto_add "$url"

    if [ -z "$name" -o -z "$label" ] ; then
      echo "Refusing to auto-add a card without a name or label"
      exit 4
    fi

    trelloassist -a new-card -i "$list" -n "$name" -d "$description" -u "$url" -l "$label"

Thinking of cognitive friction I've smoothed out brings a smile to my face. The Trello API underscores what a flexible tool it is, and why I expect it'll be my Task Manager choice for quite some time.

The Code

Here's the trelloassist script:

#!/bin/bash

profile=i2x

usage() {
  cmd=$(basename $0)
  echo "Usage: $cmd [-p profile] -a boards"
  echo "Usage: $cmd [-p profile] -a lists -i <board-id>"
  echo "Usage: $cmd [-p profile] -a cards -i <list-id>"
  echo "Usage: $cmd [-p profile] -a org -i <id>"
  echo "Usage: $cmd [-p profile] -a mine [-n <name>]"
  echo "Usage: $cmd [-p profile] -a labels -i <board-id>"
  echo "Usage: $cmd [-p profile] -a label-id -n <name>"
  echo "Usage: $cmd [-p profile] -a new-card -i <list-id> -n <name> [ -d <description> ] [ -l <label> ] [ -u <url-attachement> ]"
  echo "Usage: $cmd [-p profile] -a auto-add -u url"
  exit 1
}

api()  {
  method=$1 ; shift
  path=$1 ; shift

  curl -s \
       --request $method \
       --header 'Accept: application/json' \
       "$@" \
       "https://api.trello.com/1/$path?key=$KEY&token=$TOKEN"
}

scrub() {
  if [ "$verbose" = "yes" ] ; then
    jq .
  else
    jq "$@"
  fi
}

named_list() {
  name=$1 ; shift

  for known in $MINE ; do
    known_id=$(echo $known | cut -d ':' -f1)
    known_name=$(echo $known | cut -d ':' -f2)

    if [ "$known_name" = "$name" ] ; then
      echo $known_id
      break
    fi
  done
}

while getopts ":a:b:l:i:n:u:d:hp:v" o; do
  case "$o" in
    n) name=$OPTARG  ;;
    a) action=$OPTARG  ;;
    i) id=$OPTARG  ;;
    l) label=$OPTARG ;;
    d) description=$OPTARG ;;
    u) url=$OPTARG ;;
    v) verbose=yes  ;;
    p) profile=$OPTARG ;;
    *|h) usage  ;;
  esac
done

if [ -f  $HOME/.config/trelloassist/$profile.config ] ; then
  . $HOME/.config/trelloassist/$profile.config
else
  echo "Profile config doesn't exist: $profile"
  exit 3
fi


case "$action" in
  org)
    if [ -z "$id" ] ; then
      usage
    fi

    api GET organizations/$id | scrub '{slug: .name, name: .displayName}'
    ;;

  boards)
    api GET members/$USER/boards | scrub -r '.[] | .id + "|" + .name + "|" + .idOrganization'
    ;;

  lists)
    if [ -z "$id" ] ; then
      usage
    fi

    api GET boards/${id}/lists | scrub -r '.[] | .id + "|" + .name'
    ;;

  cards)
    if [ -z "$id" ] ; then
      usage
    fi

    api GET lists/${id}/cards  | scrub -r '.[] | .id + "|" + .name + "|" + (if (.labels | length) > 0 then .labels | map(.name) | join(",") else "" end) + "|" + .url'
    ;;

  mine)
    for m in $MINE ; do
      id=$(echo $m | cut -d: -f1)
      slug=$(echo $m | cut -d: -f2)
      if [ -z "$name" ] ; then
        echo $slug
      elif [ "$name" = "$slug" ] ; then
        trelloassist -a cards -i $id
      fi
    done
    ;;

  labels)
    if [ -z "$id" ] ; then
      usage
    fi

    api GET "/boards/$id/labels" | scrub -r '.[] | .id + "|" + .name'
    ;;

  label-id)
    if [ -z "$name" ] ; then
      usage
    fi
    trelloassist -a labels -i $DEFAULT_BOARD | grep "$name" | head -1 | cut -d'|' -f1
    ;;

  new-card)
    if [ -z "$id" -o -z "$name" ] ; then
      usage
    fi

    if [ -z "$label" ] ; then
      label_id=""
    else
      label_id=$(trelloassist -a label-id -n "$label")
    fi

    known_id=$(named_list $id)
    if [ -n "$known_id" ] ; then
      id=$known_id
    fi

    id=$(api POST "/cards" \
             --data-urlencode "name=$name" --data-urlencode "desc=$description" \
             -d "pos=top" -d "idLabels=$label_id" \
             -d "idList=$id" | scrub -r '.id')

    if [ -n "$url" ] ; then
      api POST "/cards/$id/attachments" --data-urlencode url="$url" > $HOME/.trelloassist.add.attachment
    fi

    echo $id
    ;;


  auto-add)
    if [ -z "$url" ] ; then
      usage
    fi

    name=""
    list=""
    description=""
    label=""

    do_auto_add "$url"

    if [ -z "$name" -o -z "$label" ] ; then
      echo "Refusing to auto-add a card without a name or label"
      exit 4
    fi

    trelloassist -a new-card -i "$list" -n "$name" -d "$description" -u "$url" -l "$label"

    ;;

  *)
    usage
    ;;
esac

Here's the shape of the profile config file which is found in $HOME/.config/trelloassist/$profile.config:

KEY=[your api key goes here]
TOKEN=[your api token goes here]
USER=[your default user goes here]

DEFAULT_BOARD=[id of your default board]

MINE="
  [list_id]:[list_alias]
  ...
"

do_auto_add() {
 ... see above ...
}

Tuesday, March 15, 2022

Beats By Ben | Building and Using a Digital Stethoscope

Since 2018, I've had on my Blog Ideas List the topic of recording heart sounds. Mind you, this isn't for any practical purpose; my Garmin watch has me covered in that department. Instead, the motivation was to record one of life's greatest miracles: the always-on, never-tires heart that sustains us all.

When I initially had the idea, I watched a few random videos on YouTube and found a reddit thread on the topic, but none of these resources left me with an obvious path forward.

I recently revisited the idea and was surprised to see a number of new videos on YouTube that were exactly what I was looking for. One tutorial was from two electrical engineers in Israel, and the other was from an ER doc in Toronto. Both videos described how you could cheaply capture heart and lung sounds, and both had the same motivation: to offer low-cost telehealth tech for the Covid-19 pandemic.

In the US, at the moment things are looking fairly stable from a Covid-19 perspective. We've got access to vaccines, high quality masks and promises of additional Covid treatments on the way. When these videos were published, the situation was far more fluid and dire. There was a very real fear that hospitals would be overrun and low-cost, hacky solutions for doing telehealth may very well have been a game changer.

In short, I look at these videos as more than How-Tos. They're the medical community thinking on its feet and MacGyvering solutions in real-time, and it's amazing.

The approach that both the Israeli Team and the Doctor from Toronto recommend are essentially the same. Get a cheap stethoscope and cheap microphone. Cut the tubing of the stethoscope a couple of inches away from the bell. Jam the microphone into the tubing and secure it. And you're done.

The microphone, once plugged into your cell phone, can be used in any video conferencing or audio recording app. Doctors could listen to heart sounds in real time in a Zoom-like session or have patient e-mail samples to them.

I purchased a $6.95 stethoscope and a $10.99 lavaliere microphone from Amazon. I cut the tubing, and unscrewed the microphone to remove the housing. Initially I used mounting putty to secure the microphone in place. I quickly swapped that out for Sugru, which is a more durable and permanent solution.

I recorded the following clip on my Galaxy S10+ by using the built in voice recorder app and plugging the microphone into the headphone jack. I messed with the audio a bit in Audacity, though I have little clue as to what I'm doing there. The first clip is the original version of the recording, the second clip uses Audacity's 'Noise Reduction' effect to clean things up.

As you can hear, it works! The sound quality is far from perfect, but you can definitely hear a steady heartbeat. In the version without noise reduction, you can hear breath sounds, too.

The screenshot below of Audicity shows the wav form of the audio I collected. It even looks like the heartbeat pattern you see in the movies. That's to be expected, but it's still cool to see.

I'm not entirely sure how I'm going to put my $18 digital stethoscope to use. But I'm psyched to add a media capture tool to my toolbox, especially one that let's me record phenomena that are typically undetectable.

Monday, March 14, 2022

But are you really?

Found this Post-It note while cleaning up this last weekend:

(The note reads: I'm also very sorry about the whole spit up in the hat thing <smiley>)

I can't claim to remember this incident, but I do find myself asking: really? Are you really sorry about the "whole spit up in the hat thing?" Because the tone I'm getting from this Post-It note is that you are not sorry in the least.

Wednesday, March 09, 2022

Downgrading to php7.3 on Amazon Linux 2

Installing an up to date version of PHP on Amazon Linux 2 is straightforward. You can follow this tutorial, which makes use of the amazon-linux-extras command.

I found myself, however, in the unusual position of needing to run run an out of date version of PHP on AWS. The issue is that one of my clients is developing a WordPress plugin, and this plugin must run on PHP 7.3. The standard on Amazon Linux 2 these day is PHP 7.4.

Here are the steps I went through to coax my system from PHP 7.4 down to 7.3. I hope you don't find yourself needing these instructions, but if you do, enjoy!

# Grab a list of all the PHP modules currently installed
$ rpm -qa |grep php > all.installed
$ cat all.installed
php-common-7.4.26-1.amzn2.x86_64
php-fpm-7.4.26-1.amzn2.x86_64
php-json-7.4.26-1.amzn2.x86_64
php-pdo-7.4.26-1.amzn2.x86_64
php-cli-7.4.26-1.amzn2.x86_64
php-xml-7.4.26-1.amzn2.x86_64
php-mbstring-7.4.26-1.amzn2.x86_64
php-mysqlnd-7.4.26-1.amzn2.x86_64

# The 'remi' repo offers access to specific version of PHP.
# Here, I'm installing PHP 7.3 using the remi-php73 repo.
$ sudo yum install  http://rpms.remirepo.net/enterprise/remi-release-7.rpm
$ sudo  yum-config-manager --enable remi-php73

# Bye-bye up to date version of PHP.
$ sudo yum -y remove php*
$ sudo amazon-linux-extras disable php7.4

# Hello old, crufty version of PHP.
# Note: to access PHP modules the prefix is now 'php73-'
# So php-pdo is installed as php73-php-pdo.
$ sudo yum install php73
$ sudo yum install $(cat all.installed  | grep ^php-| sed 's/-7.4.*//' | sed 's/^/php73-/')

# Properly install php73 as /usr/bin/php
$ sudo update-alternatives --install /usr/bin/php php /usr/bin/php73 10

# Enable and start the php-fpm service
$ sudo systemctl enable php73-php-fpm
$ sudo systemctl start php73-php-fpm


# Where the heck are the config files for php-fpm? Let's ask rpm.
$ rpm -ql php73-php-fpm
/etc/logrotate.d/php73-php-fpm
/etc/opt/remi/php73/php-fpm.conf
/etc/opt/remi/php73/php-fpm.d
/etc/opt/remi/php73/php-fpm.d/www.conf
/etc/opt/remi/php73/sysconfig/php-fpm
/etc/systemd/system/php73-php-fpm.service.d
/opt/remi/php73/root/usr/sbin/php-fpm
/opt/remi/php73/root/usr/share/doc/php73-php-fpm-7.3.33
/opt/remi/php73/root/usr/share/doc/php73-php-fpm-7.3.33/php-fpm.conf.default
/opt/remi/php73/root/usr/share/doc/php73-php-fpm-7.3.33/www.conf.default
/opt/remi/php73/root/usr/share/fpm
/opt/remi/php73/root/usr/share/fpm/status.html
/opt/remi/php73/root/usr/share/licenses/php73-php-fpm-7.3.33
/opt/remi/php73/root/usr/share/licenses/php73-php-fpm-7.3.33/fpm_LICENSE
/opt/remi/php73/root/usr/share/man/man8/php-fpm.8.gz
/usr/lib/systemd/system/php73-php-fpm.service
/var/opt/remi/php73/lib/php/opcache
/var/opt/remi/php73/lib/php/session
/var/opt/remi/php73/lib/php/wsdlcache
/var/opt/remi/php73/log/php-fpm
/var/opt/remi/php73/run/php-fpm

# Found it. Now, where php-fpm listening?
$ cat /etc/opt/remi/php73/php-fpm.d/www.conf |grep ^listen
listen = 127.0.0.1:9000
listen.allowed_clients = 127.0.0.1

# Use this info to create /etc/httpd/conf.d/php.conf
# so that Apache can talk to php-fpm and support PHP.
$ cat /etc/httpd/conf.d/php.conf
<FilesMatch "\.php$">
    # Note: The only part that varies is /path/to/app.sock
    SetHandler  "proxy:fcgi://localhost:9000"
</FilesMatch>

DirectoryIndex index.php

# Restart httpd and php-fpm
$ sudo systemctl restart httpd php73-php-fpm

And browsing to my server shows me this all worked. Amazing. Uh, I mean, I never had a doubt.

Tuesday, March 08, 2022

Battling Android's Crazy Bright Lock Screen

My Android Phone's night time behavior was just about dialed in. My phone is always on silent, so I don't worry about audio disturbances. I do, however, want to tweak the display so it won't blind me if I check it in the middle of the night. Here's the Tasker code to support that:

At 10pm, I turn off auto-brightness and set the screen to brightness to 2. I then run the 'Display: Go Gray' Task which sets the unexpectedly named Secure setting accessibility_display_daltonizer_enabled to 1.

Daltonization is the process of reducing the number of color combinations on the screen to aid someone who is color blind. Setting it to 1 turns the phone into a gray-scale device and makes it less disturbing to look at in the middle of the night.

At 6am, these settings are reversed and my phone is back to it's normal, bright self.

This was all working great, with one exception. Whenever I'd go to unlock my phone, Android would ignore my brightness setting of 2 and jack it up to crazy bright. Once I got past the lock screen, the system would return to the subdued level.

This meant that my carefully crafted night-time mode was being ignored every time I actually wanted to use my phone.

For months I've been assuming this is a bug in the Android lock screen and something I'd have to live with. One night, finally fed, I Googled around to see if others were running into this.

Not only was this a known problem, but the fix was terrifically simple. What I thought was bug was a feature; and best of all, it was a feature I could disable.

This forum thread neatly described the problem and the fix:

Anyone noticed theirs? Mine auto brightness is already activated, when I unlocked the screen it gets bright even when the environment is dark. But my auto brightness mode is working.

...

This happens for me when I face recognition on so the camera can see my face in the dark. You can change this in Settings > Lock Screen and Security > Face Recognition > Brighten Screen. Turning Brighten Screen off should keep the screen dim in the dark but you'll probably have to unlock with your fingerprint or something.

On my Galaxy S10+, I got to this setting by going to: Settings > Biometrics and security > Face recognition > Brighten screen.

In hindsight this makes perfect sense. I use and enjoy the Face unlock feature, and to make that function work at night, it makes sense to jack up the brightness on the lock screen. I just don't need this feature at night. 

I turned this setting off and one of life's little annoyances has been officially fixed. Whoo!

Monday, March 07, 2022

Colvin Run Mill: Pretty Flowers and Visions of Hand Crafted Maple Syrup

On the surface, it looked like our timing to visit Colvin Run Mill was off. We arrived, and left, before the mill opened and the day's Maple Syrup Boil Down event started. And yet, the day couldn't have been more perfect.

We had the place to ourselves as we walked around the mill, admiring the crocuses and other brilliant spring flowers. The small grounds were the perfect size for G to toddle around.

We walked by a park ranger stoking the fire which would be used for the Maple Syrup Boil Down later in the day. He told us a bit about the setup, and explained how straightforward making maple syrup is. David and I were sold: we'll have to tap some trees on David's property and totally try our hand at this.

After walking around Colvin Run Mill's grounds, we made our way to the nearby Colvin Run Trail. The plan was to get in a hike, but we got distracted by the run itself. If there's a more fun pastime than picking up rocks and chucking them into a body of water, I've not yet found it. So that's what we did. And it was awesome.

I'll be glad to get back to Colvin Run Mill when we can fully explore it. But as a kid friendly, low key, just relax and enjoy the Spring of Deception kind of day, this was beyond perfect.

Friday, March 04, 2022

Obysuf: A Lazy Programmer's First Attempt at a Roblox Game

To inspire my Nieces and Nephew to see Roblox as a platform to create games, not just play them, I decided I should code my own.

The biggest hurdle to tackling this challenge is that I don't play games; Roblox or otherwise. Me crafting a game is like someone writing a novel who's never actually read one.

Still, I couldn't resist giving this a try.

My first step was to run through Introduction to Roblox Studio tutorial. Here I coded my very first game, an absurdly short obstacle course. Or is it's known in gamer lingo, an 'obby'.

But now what? Carefully crafting an obby would take hours of meticulous effort. To a lover of this art form, this would be fun. For myself it seemed like tedious work. And then it hit me: why not code the game so that it generates itself?

And with that, Obysuf was born. 'Ainsuf' is the Hebrew word for infinity, and if all went to plan, that's what I'd get: an infinitely long Obby that I didn't have to create from scratch.

After many false starts, I ended up with the following initialization code:

spawn(1, CFrame.new(-12, 0, 0));
spawn(1, CFrame.new(12, 0, 0));
spawn(1, CFrame.new(0, 0, -12));
spawn(1, CFrame.new(0, 0, 12));

These lines of code create four different Parts for the user to jump to. They are positioned around the user's SpawnLocation.

The magic happens when a Part is touched and the following code is executed:

function touched(depth, part)
	return function(source)
		if(part.BrickColor == untouchedColor and (source.Name == "RightFoot" or source.Name == "LeftFoot")) then
			part.BrickColor = touchedColor;
			earnPoint();
			local currentCf = part.CFrame;
			local gap = fuzz(depth * .1, depth * 1) + fuzz(-3, 3);
			local sX = (part.Size.Z + 2.5 + gap) * direction(part.Position.X);
			local sZ = (part.Size.X + 2.5 + gap) * direction(part.Position.Z);
			local sY = fuzz(-5, 5);
			local rX = math.deg(fuzz(1, 100) > 50 and fuzz(-3, 3) or 0);
			local rY = math.deg(fuzz(1, 100) > 50 and fuzz(-3, 3) or 0);
			local rZ = math.deg(fuzz(1, 100) > 50 and fuzz(-3, 3) or 0);

			local twist = CFrame.Angles(rX, rY, rZ);
			local nextCf = (currentCf + Vector3.new(sX, sY, sZ)) * twist;
			spawn(depth + 1, nextCf);
		end;
	end;
end

If the Part still has the untouchedColor, then the system knows this part hasn't been visited yet. Knowing this, the system can grant the user a point, change the color of the Part to the touchedColor and most importantly spawn a new Part. This freshly minted Part uses the fuzz function to add some randomness to its look and placement.

And that's essentially it. Every time the player lands on an obstacle the system will generate a fresh one for them to visit.

I'm really impressed with how little code I had to write before I could see Obysuf do something useful. Even in this very crude form, I found that after I died I'd check my point score and instinctually want to try again to best it.

Of course, I'm a long way from calling this a high quality game. The obstacles are being positioned too regularly, and I need to add more factors that impact the user's score. Still, it's a solid start and gives me some serious street cred when the kids start talking about gaming in Roblox.

You can play Obysuf on Roblox over here. And you can access the source code here.