[Composed 1/6/2026]
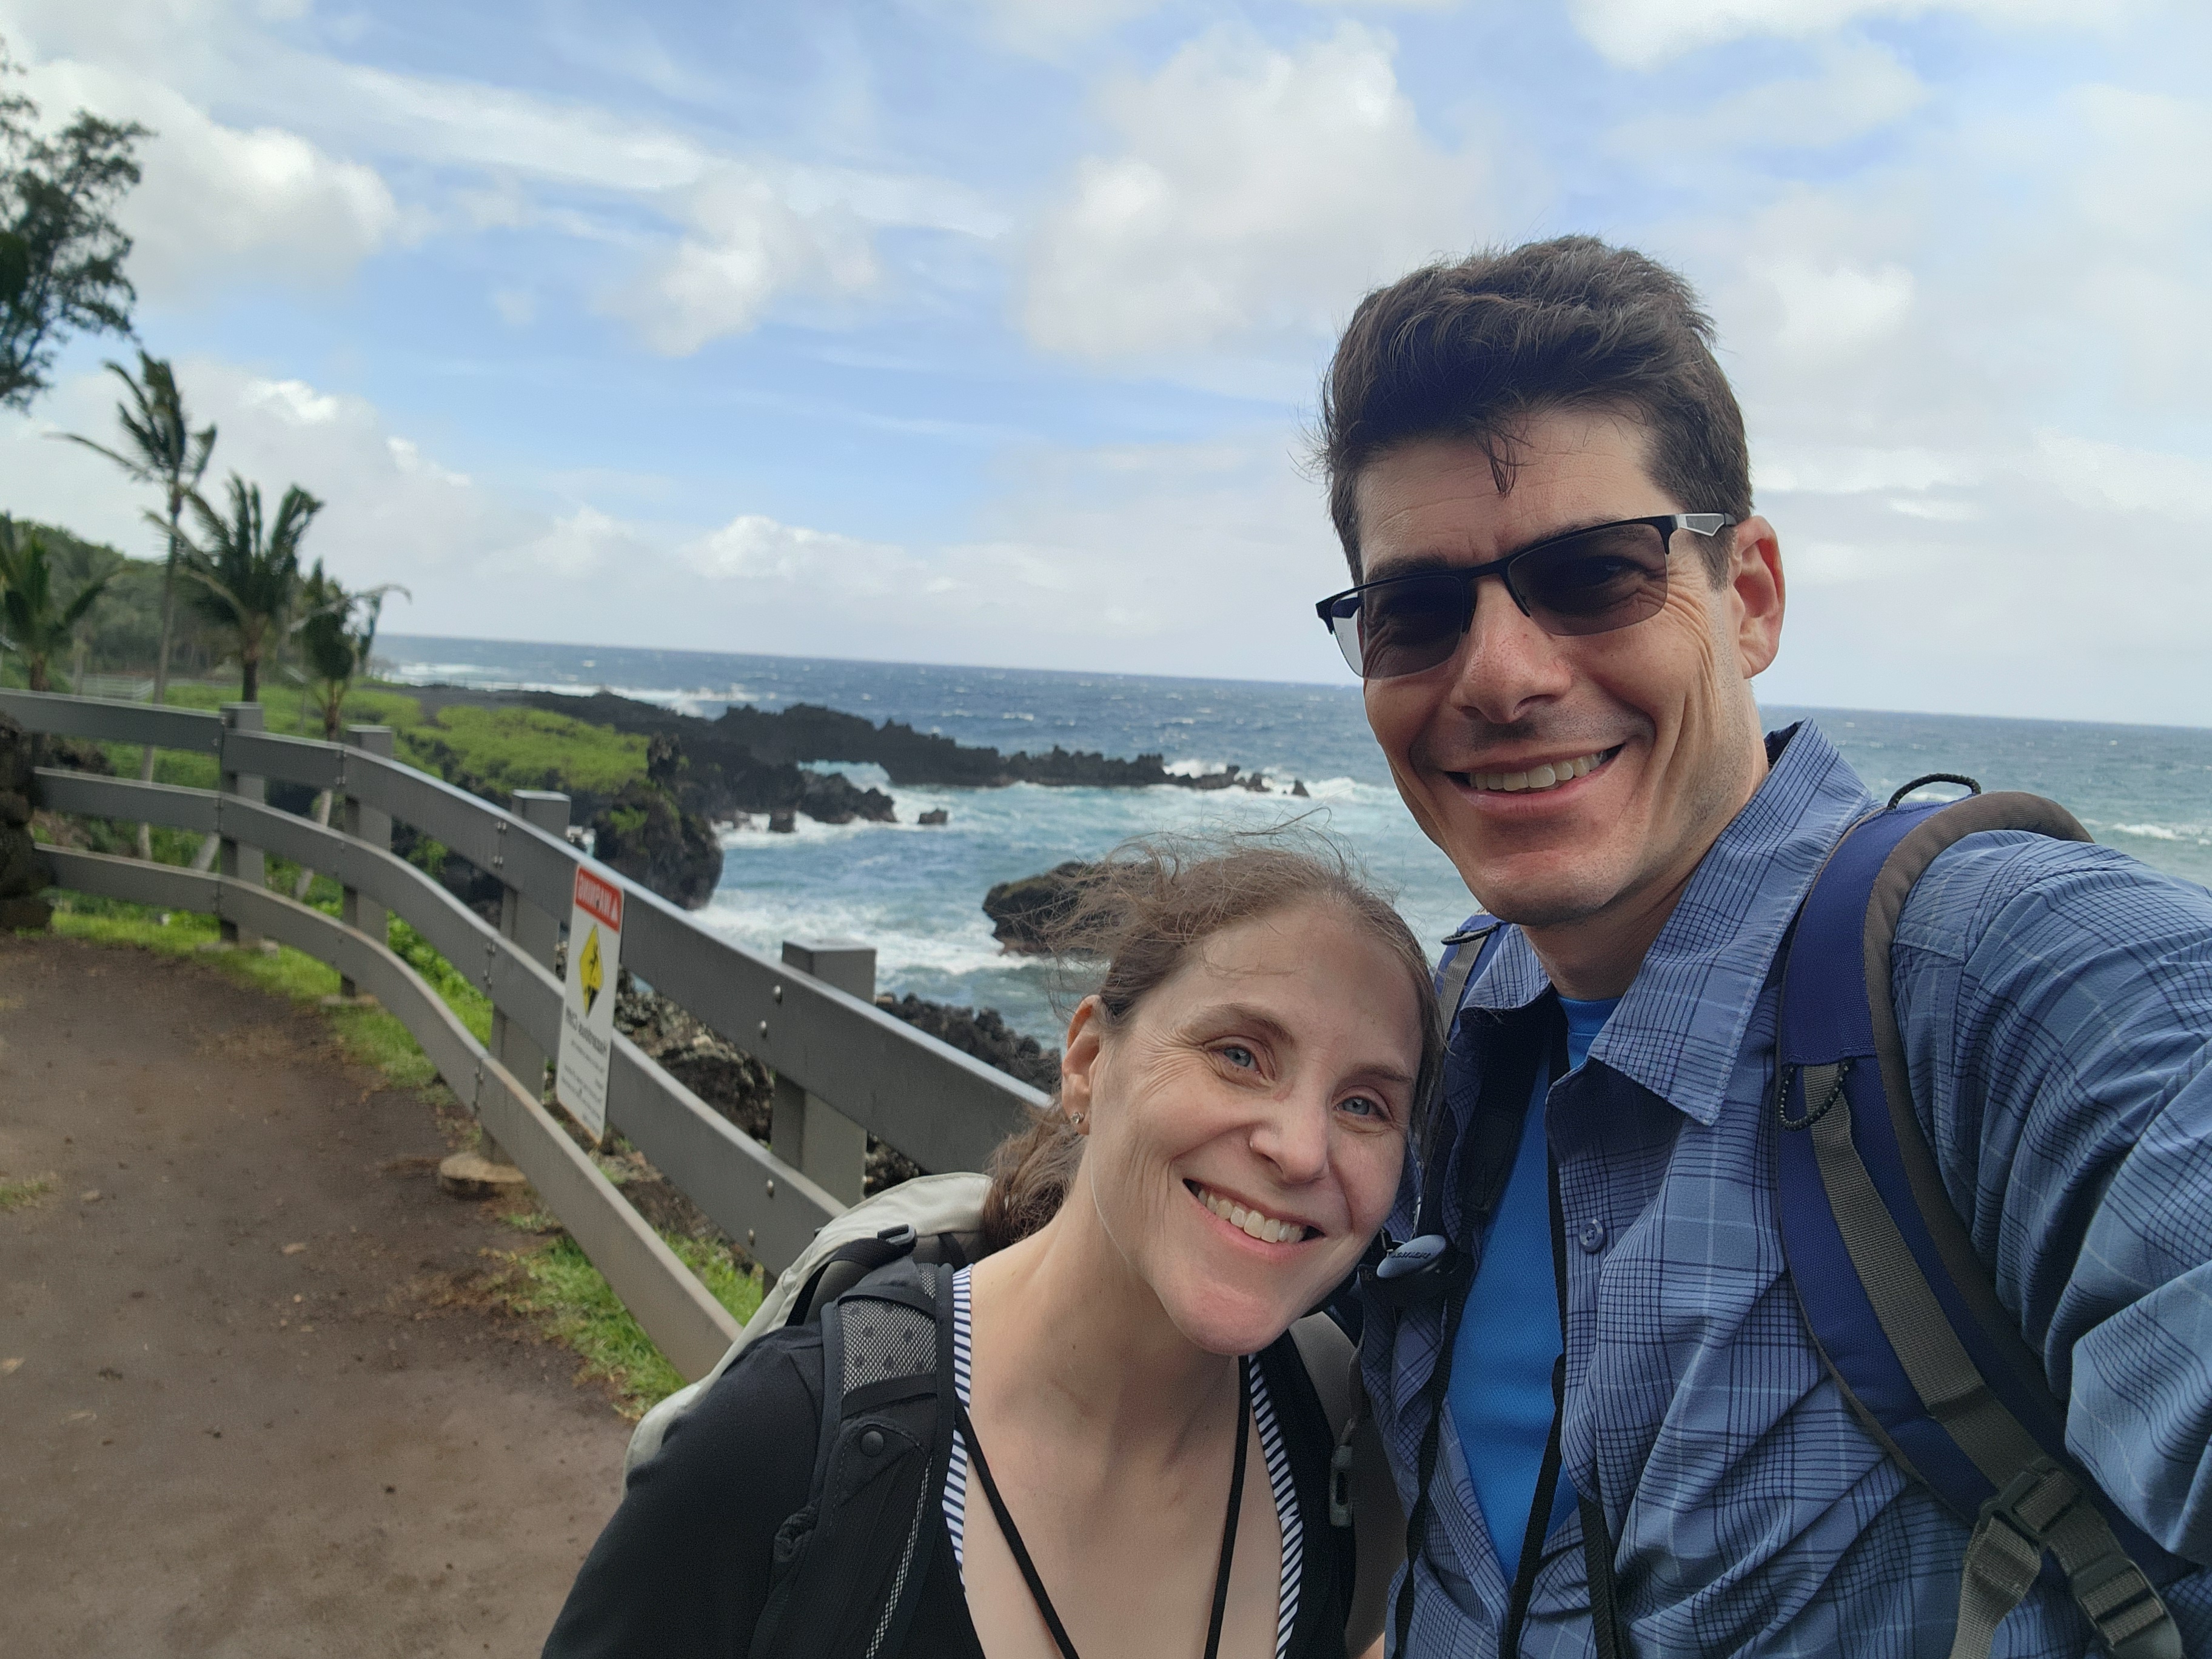
Pulling into the parking lot at 12:20 for our 12:30 slot, I already felt like the day was a win — because a genuinely tricky part of visiting Waiʻānapanapa State Park isn't the hiking, it's the math. This black-sand-beach park just shy of Hāna is popular enough that Hawaiʻi now gates it behind a timed reservation, and fitting that fixed window into the rest of the day is a puzzle: we were way out at the Westin on the northwest corner, the park sits at the far end of the white-knuckle Road to Hāna, and you want that drive in daylight both ways. Book too early and you rush the drive; too late and you lose the hike or creep home in the dark.
So we did our homework — debating it, leaning on ChatGPT, running search after search for an authoritative answer that doesn't really exist — and landed on 12:30. We finally had our answer: coming from West Maui, 12:30 is the slot.
The welcome committee
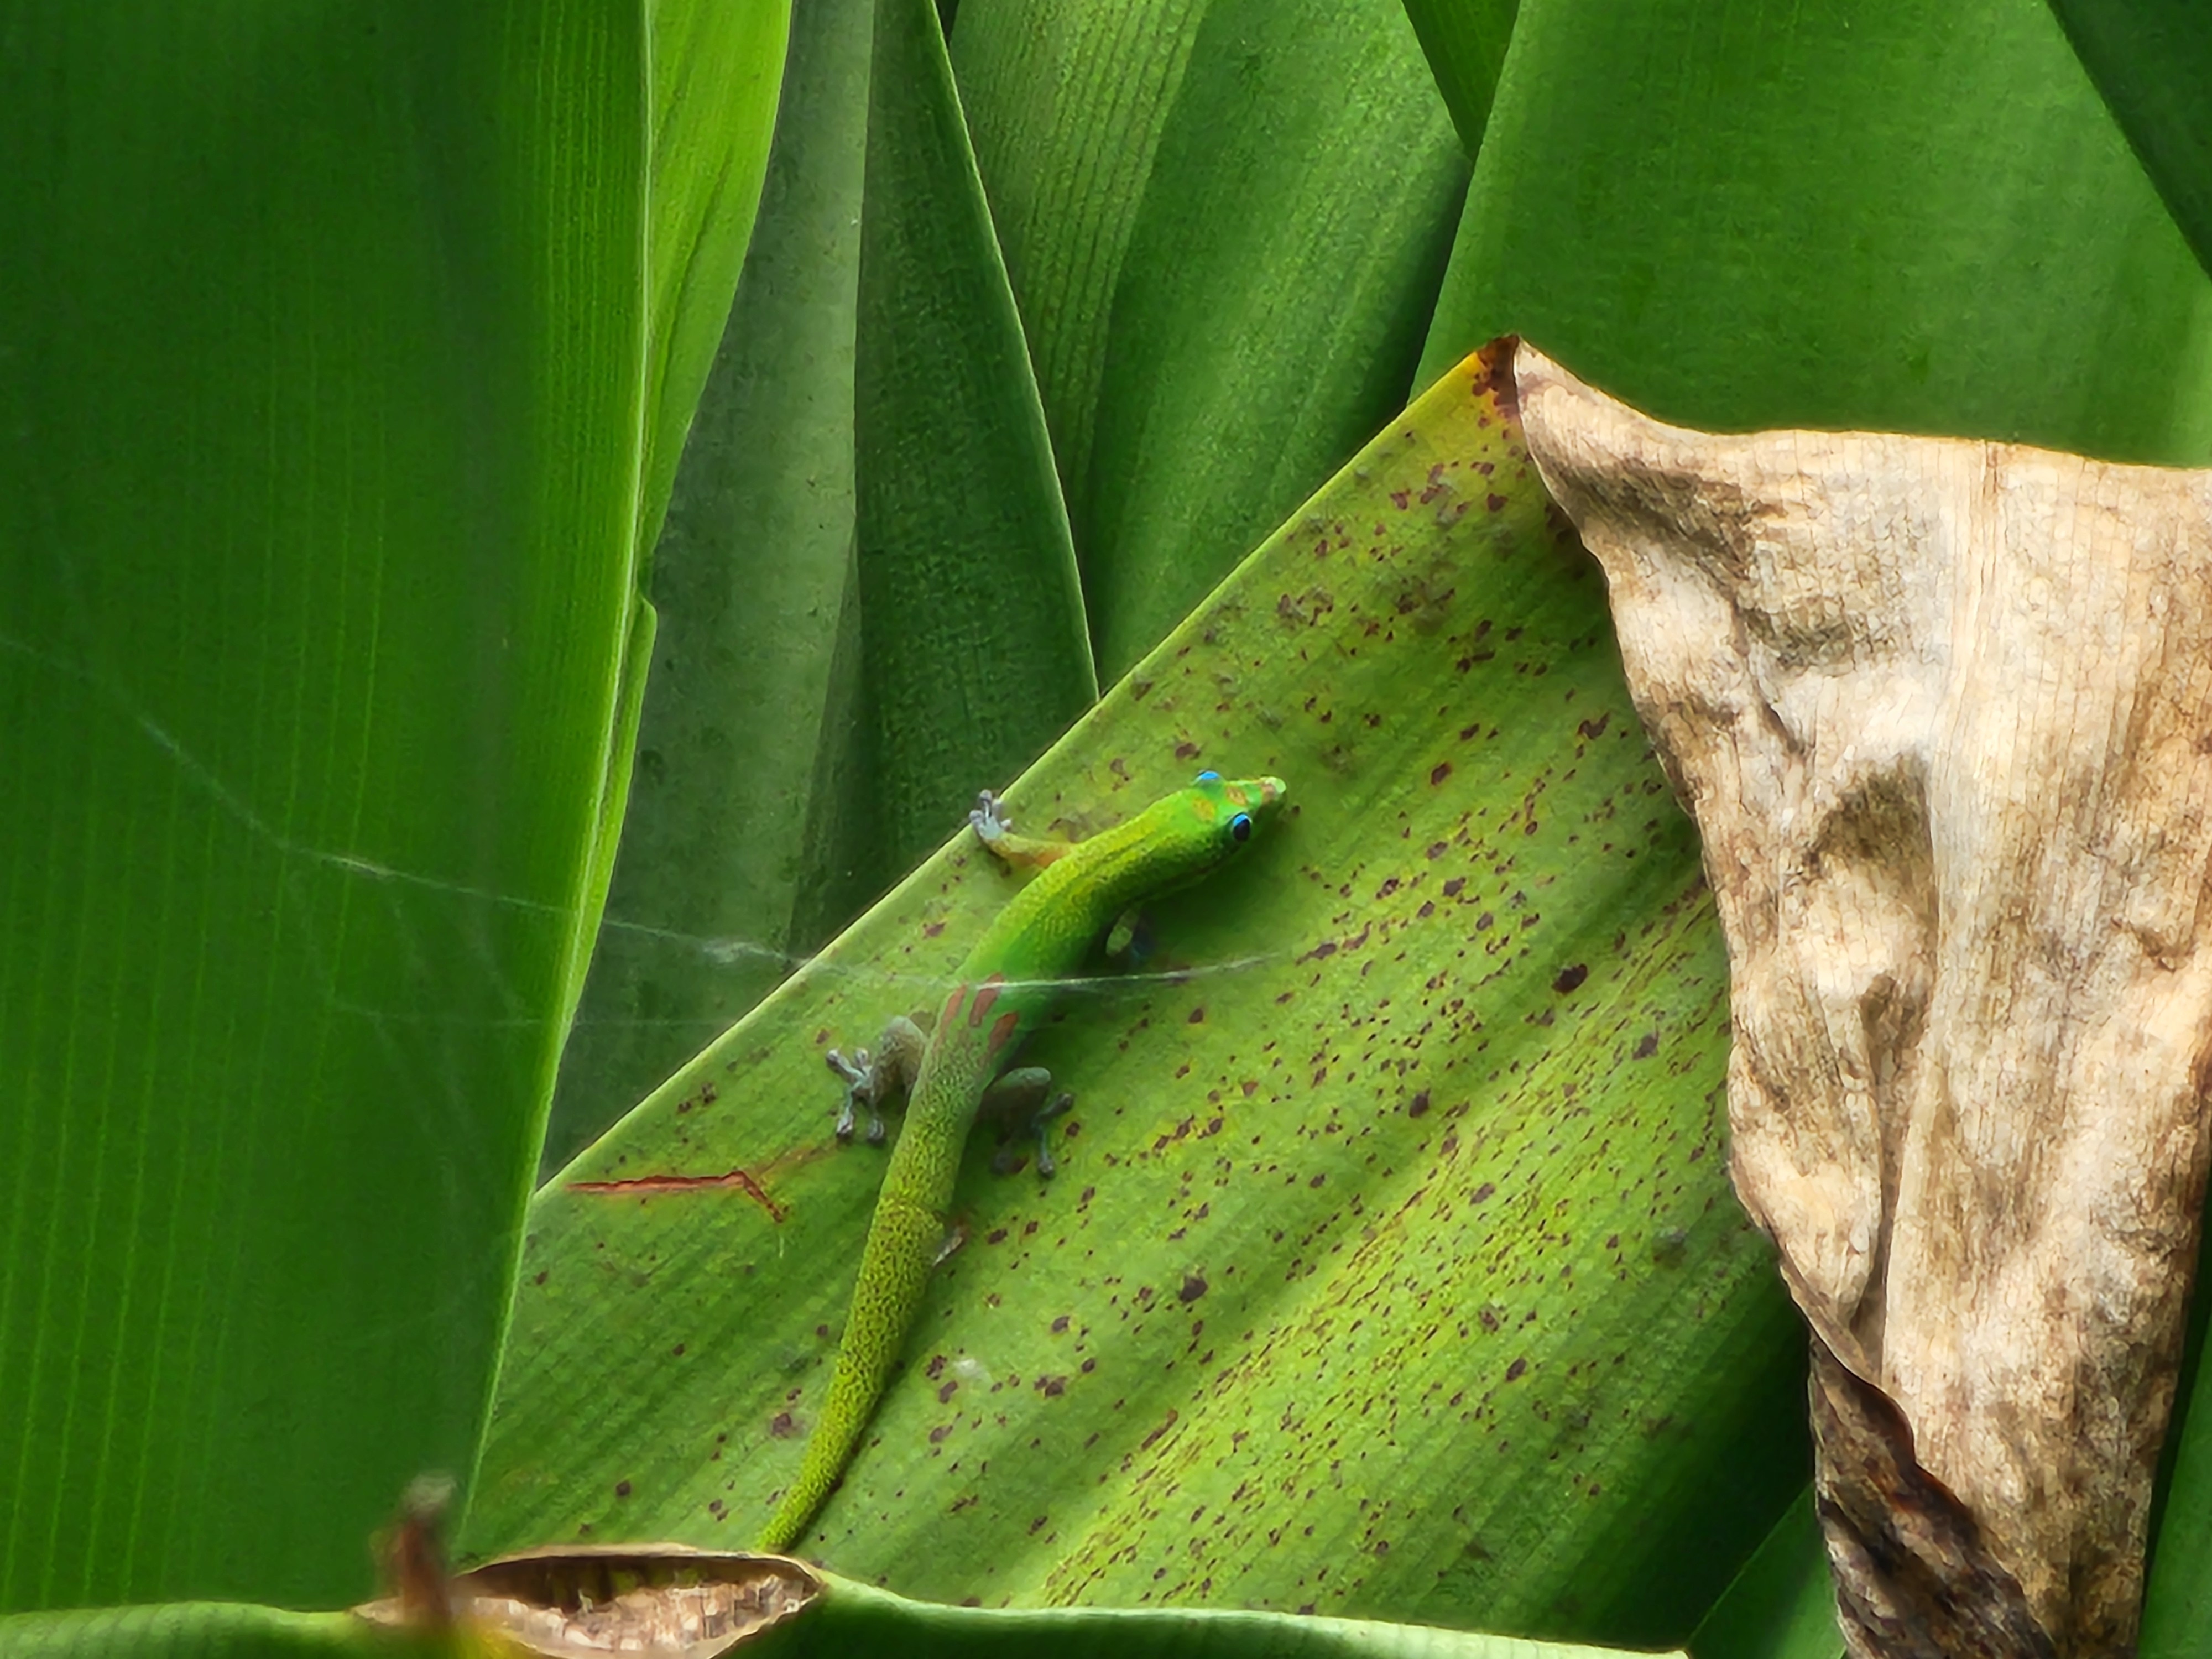
First thing out of the car, before we'd taken ten steps, I met the greeter: a small, electric-green gecko streaked like someone had flicked a paintbrush at it. I was thrilled. I took half a dozen pictures. Look at this little tropical jewel, I thought. We've arrived.
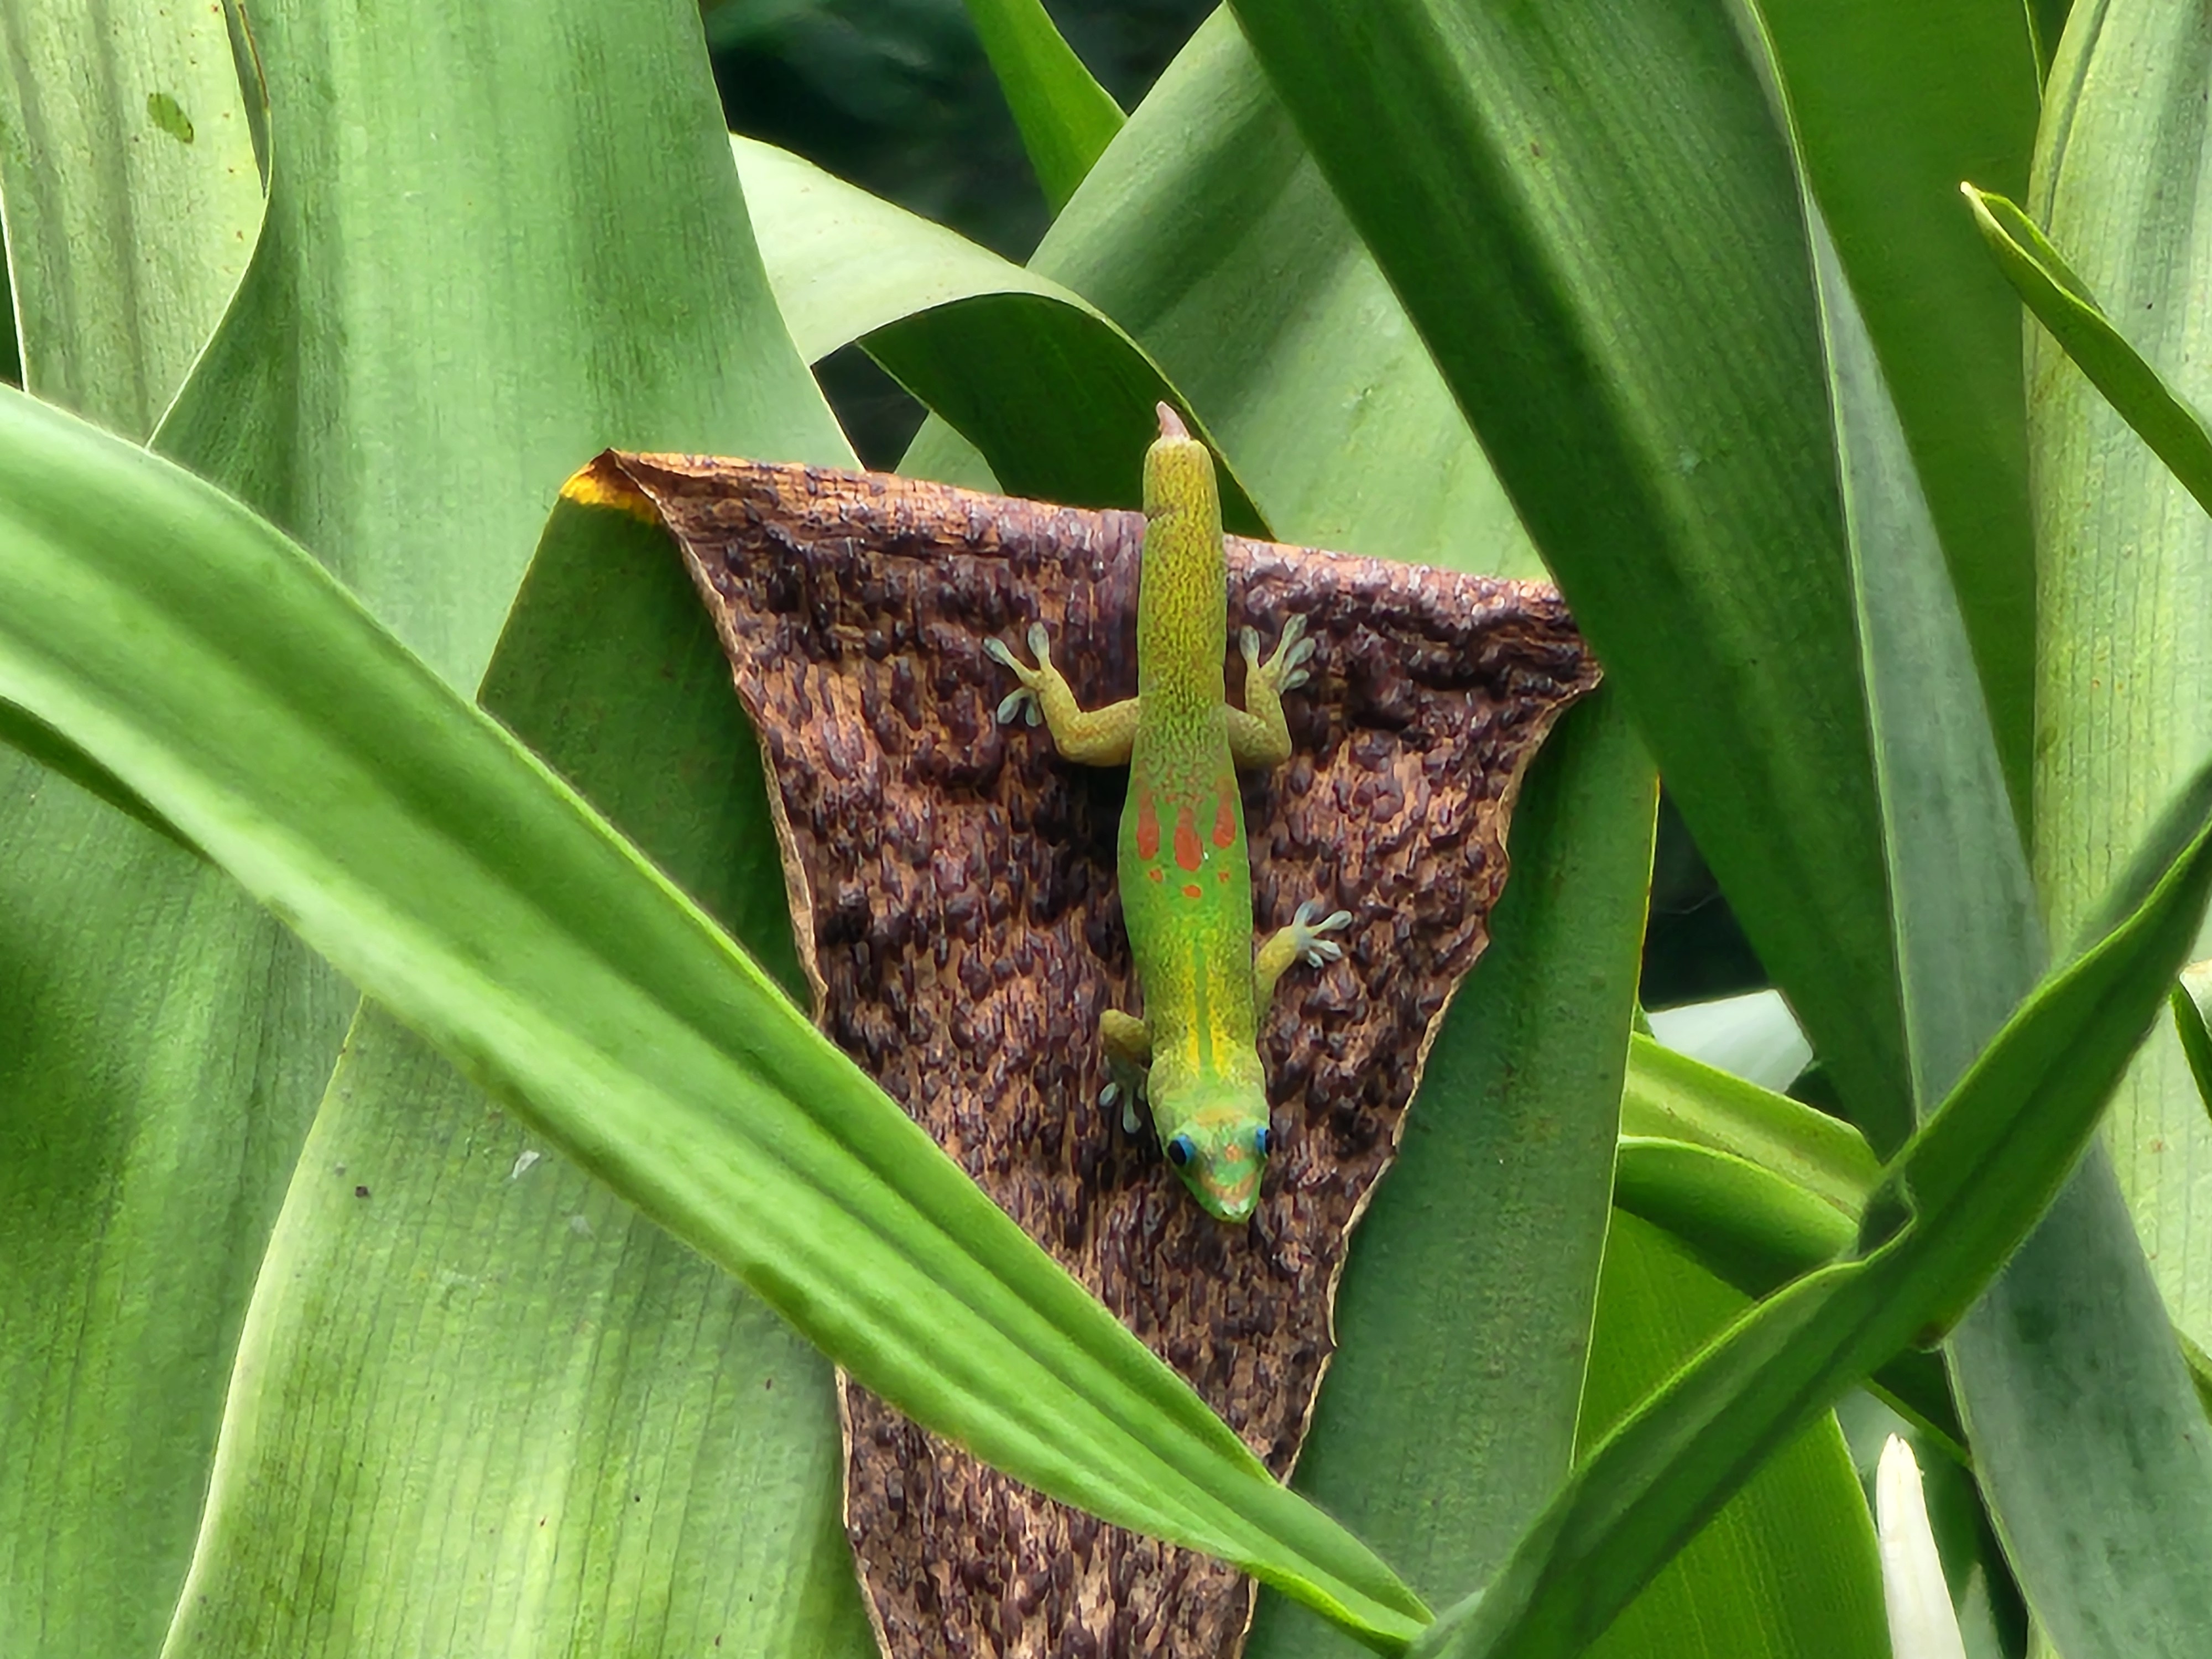
Surely, I figured, this is some quintessential native Hawaiian creature. Nope. It's a gold dust day gecko (Phelsuma laticauda), native to Madagascar — and the way it got here is the actual marvel. Every gold dust gecko in the islands traces back to about eight individuals a University of Hawaiʻi student let loose near Mānoa, on Oʻahu, in 1974. Eight. From that one release they spread island to island, reaching Maui by the mid-1990s.
It's an alien, so the next question is the obvious one: just how much harm did that one student do? And surprisingly, in this case, there doesn't seem to be any. Hawaiʻi has no native land reptiles, so the geckos this one might be shoving aside — the house gecko, the mourning gecko — are themselves imports, and its effect on anything truly native is so unstudied that nobody bothers to manage it. So there you go: introducing a species doesn't always spell disaster. Who knew.
Down to the black sand
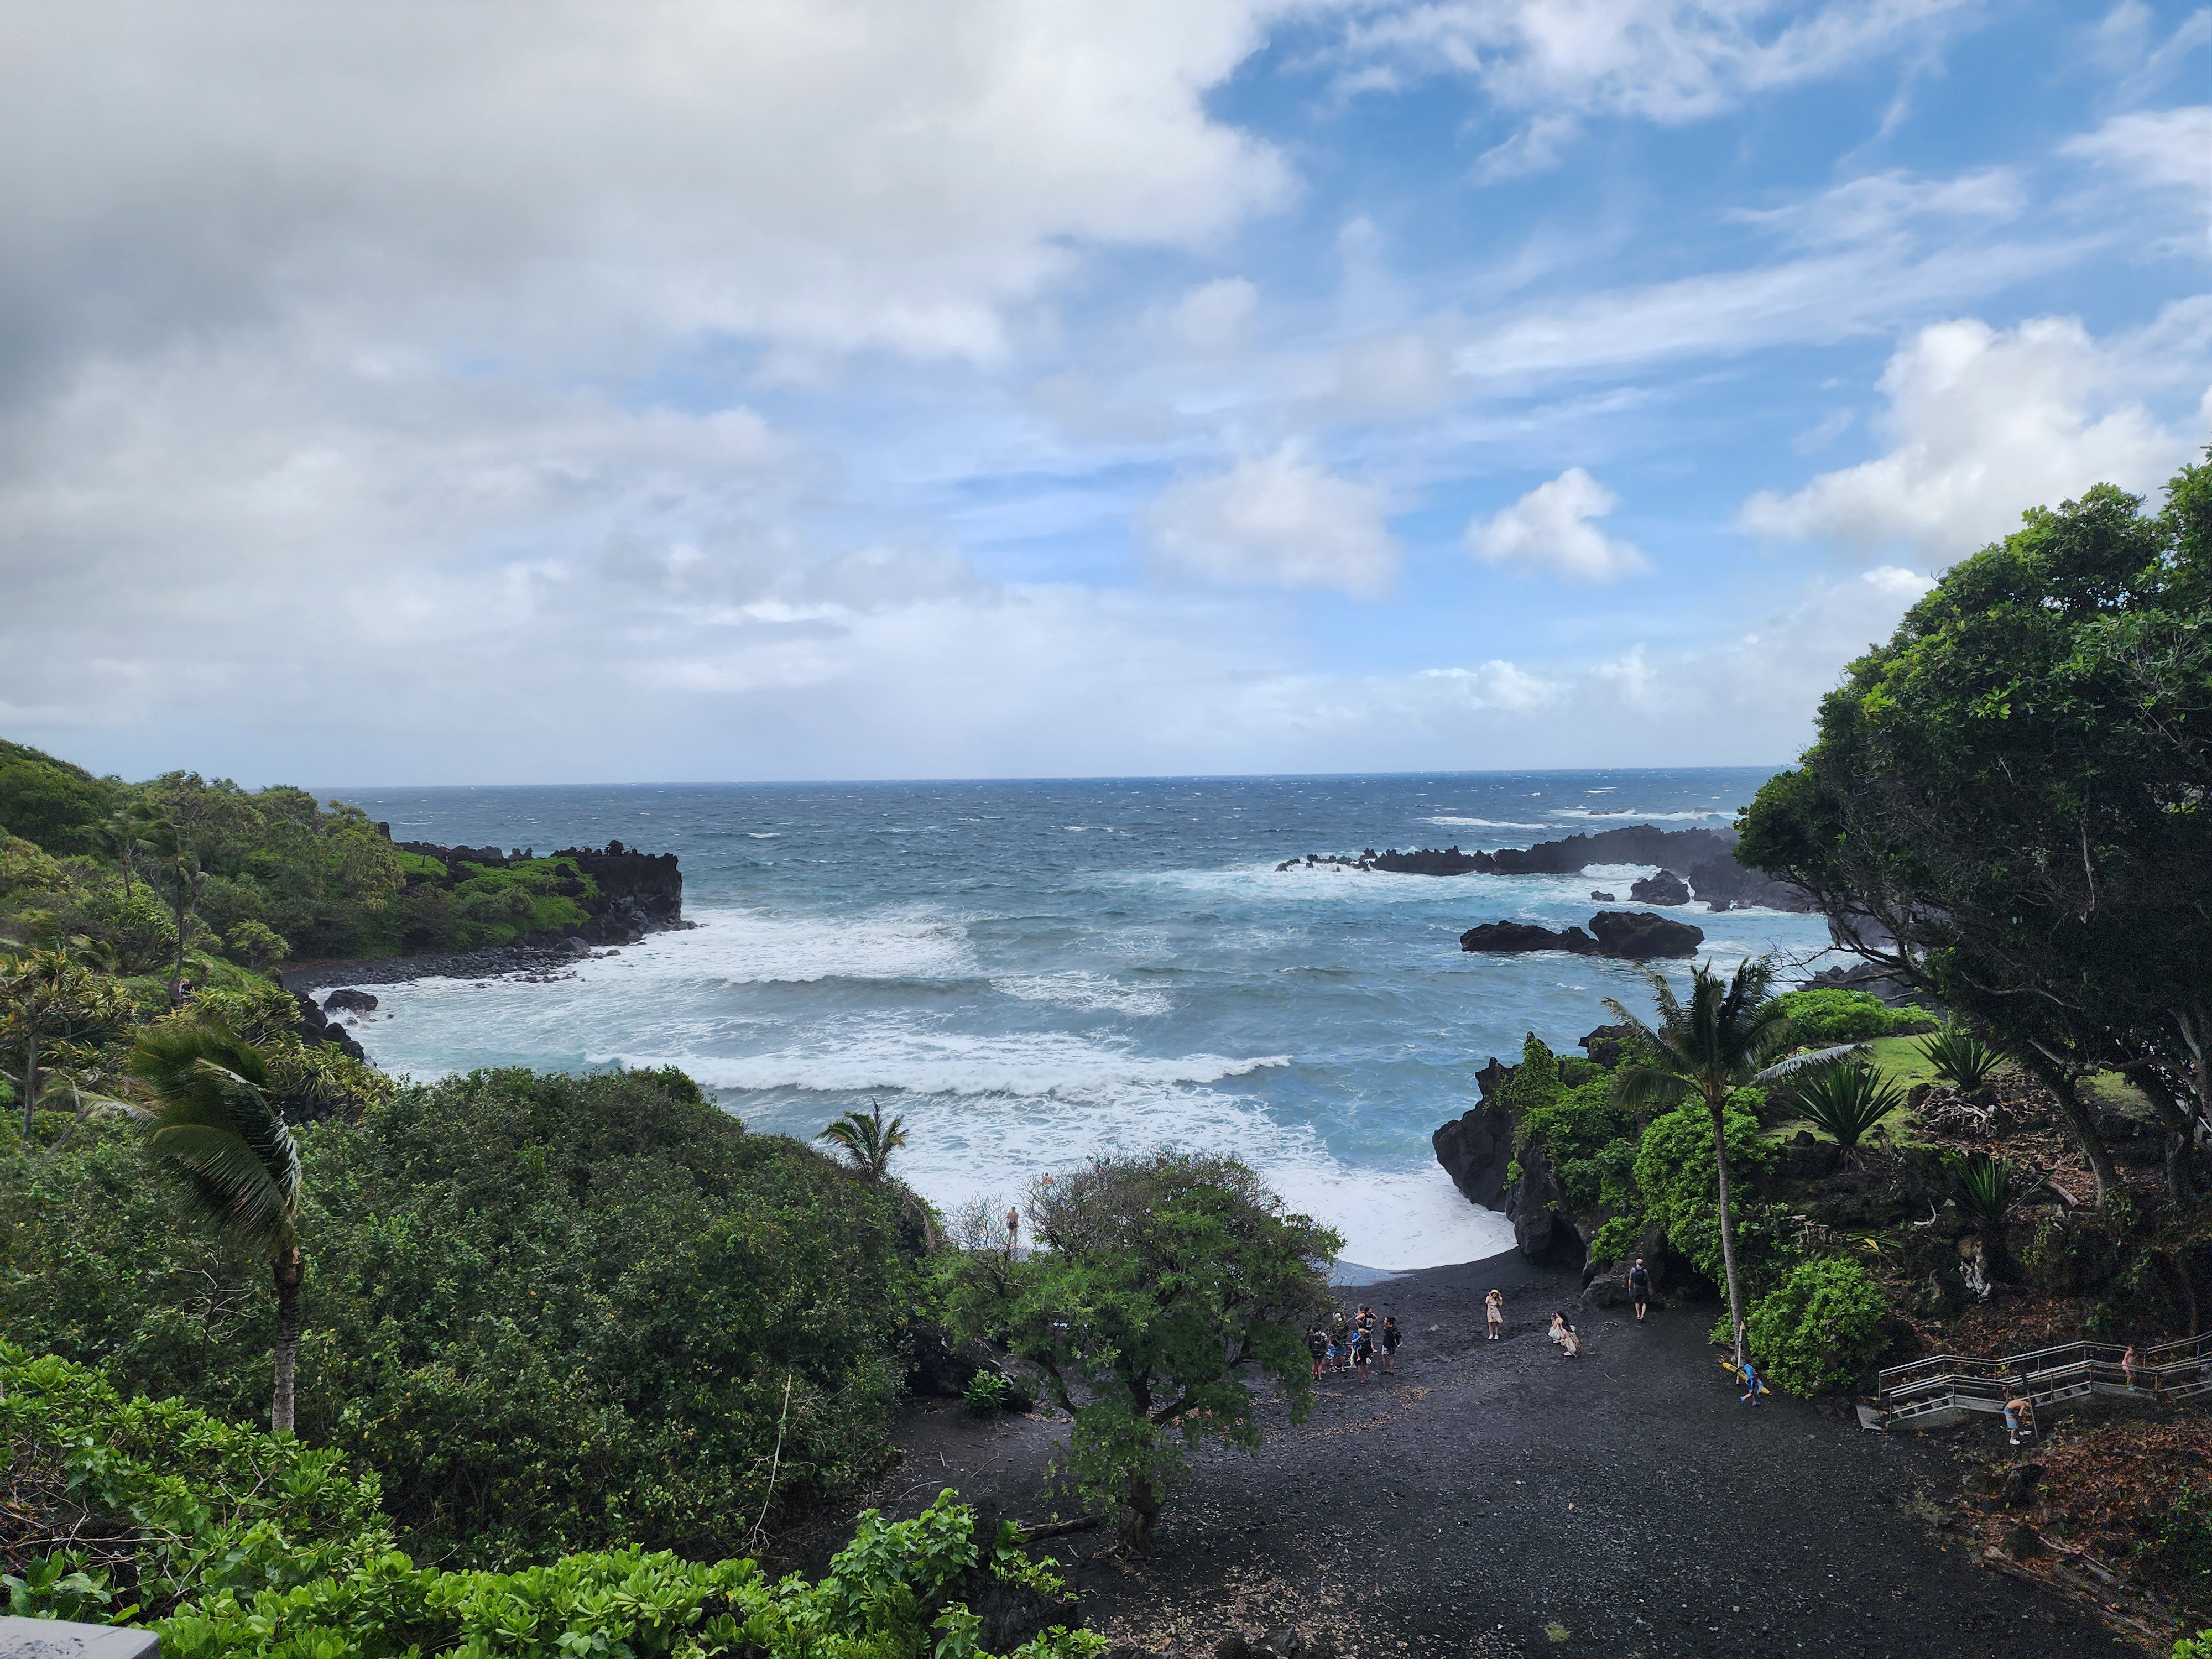
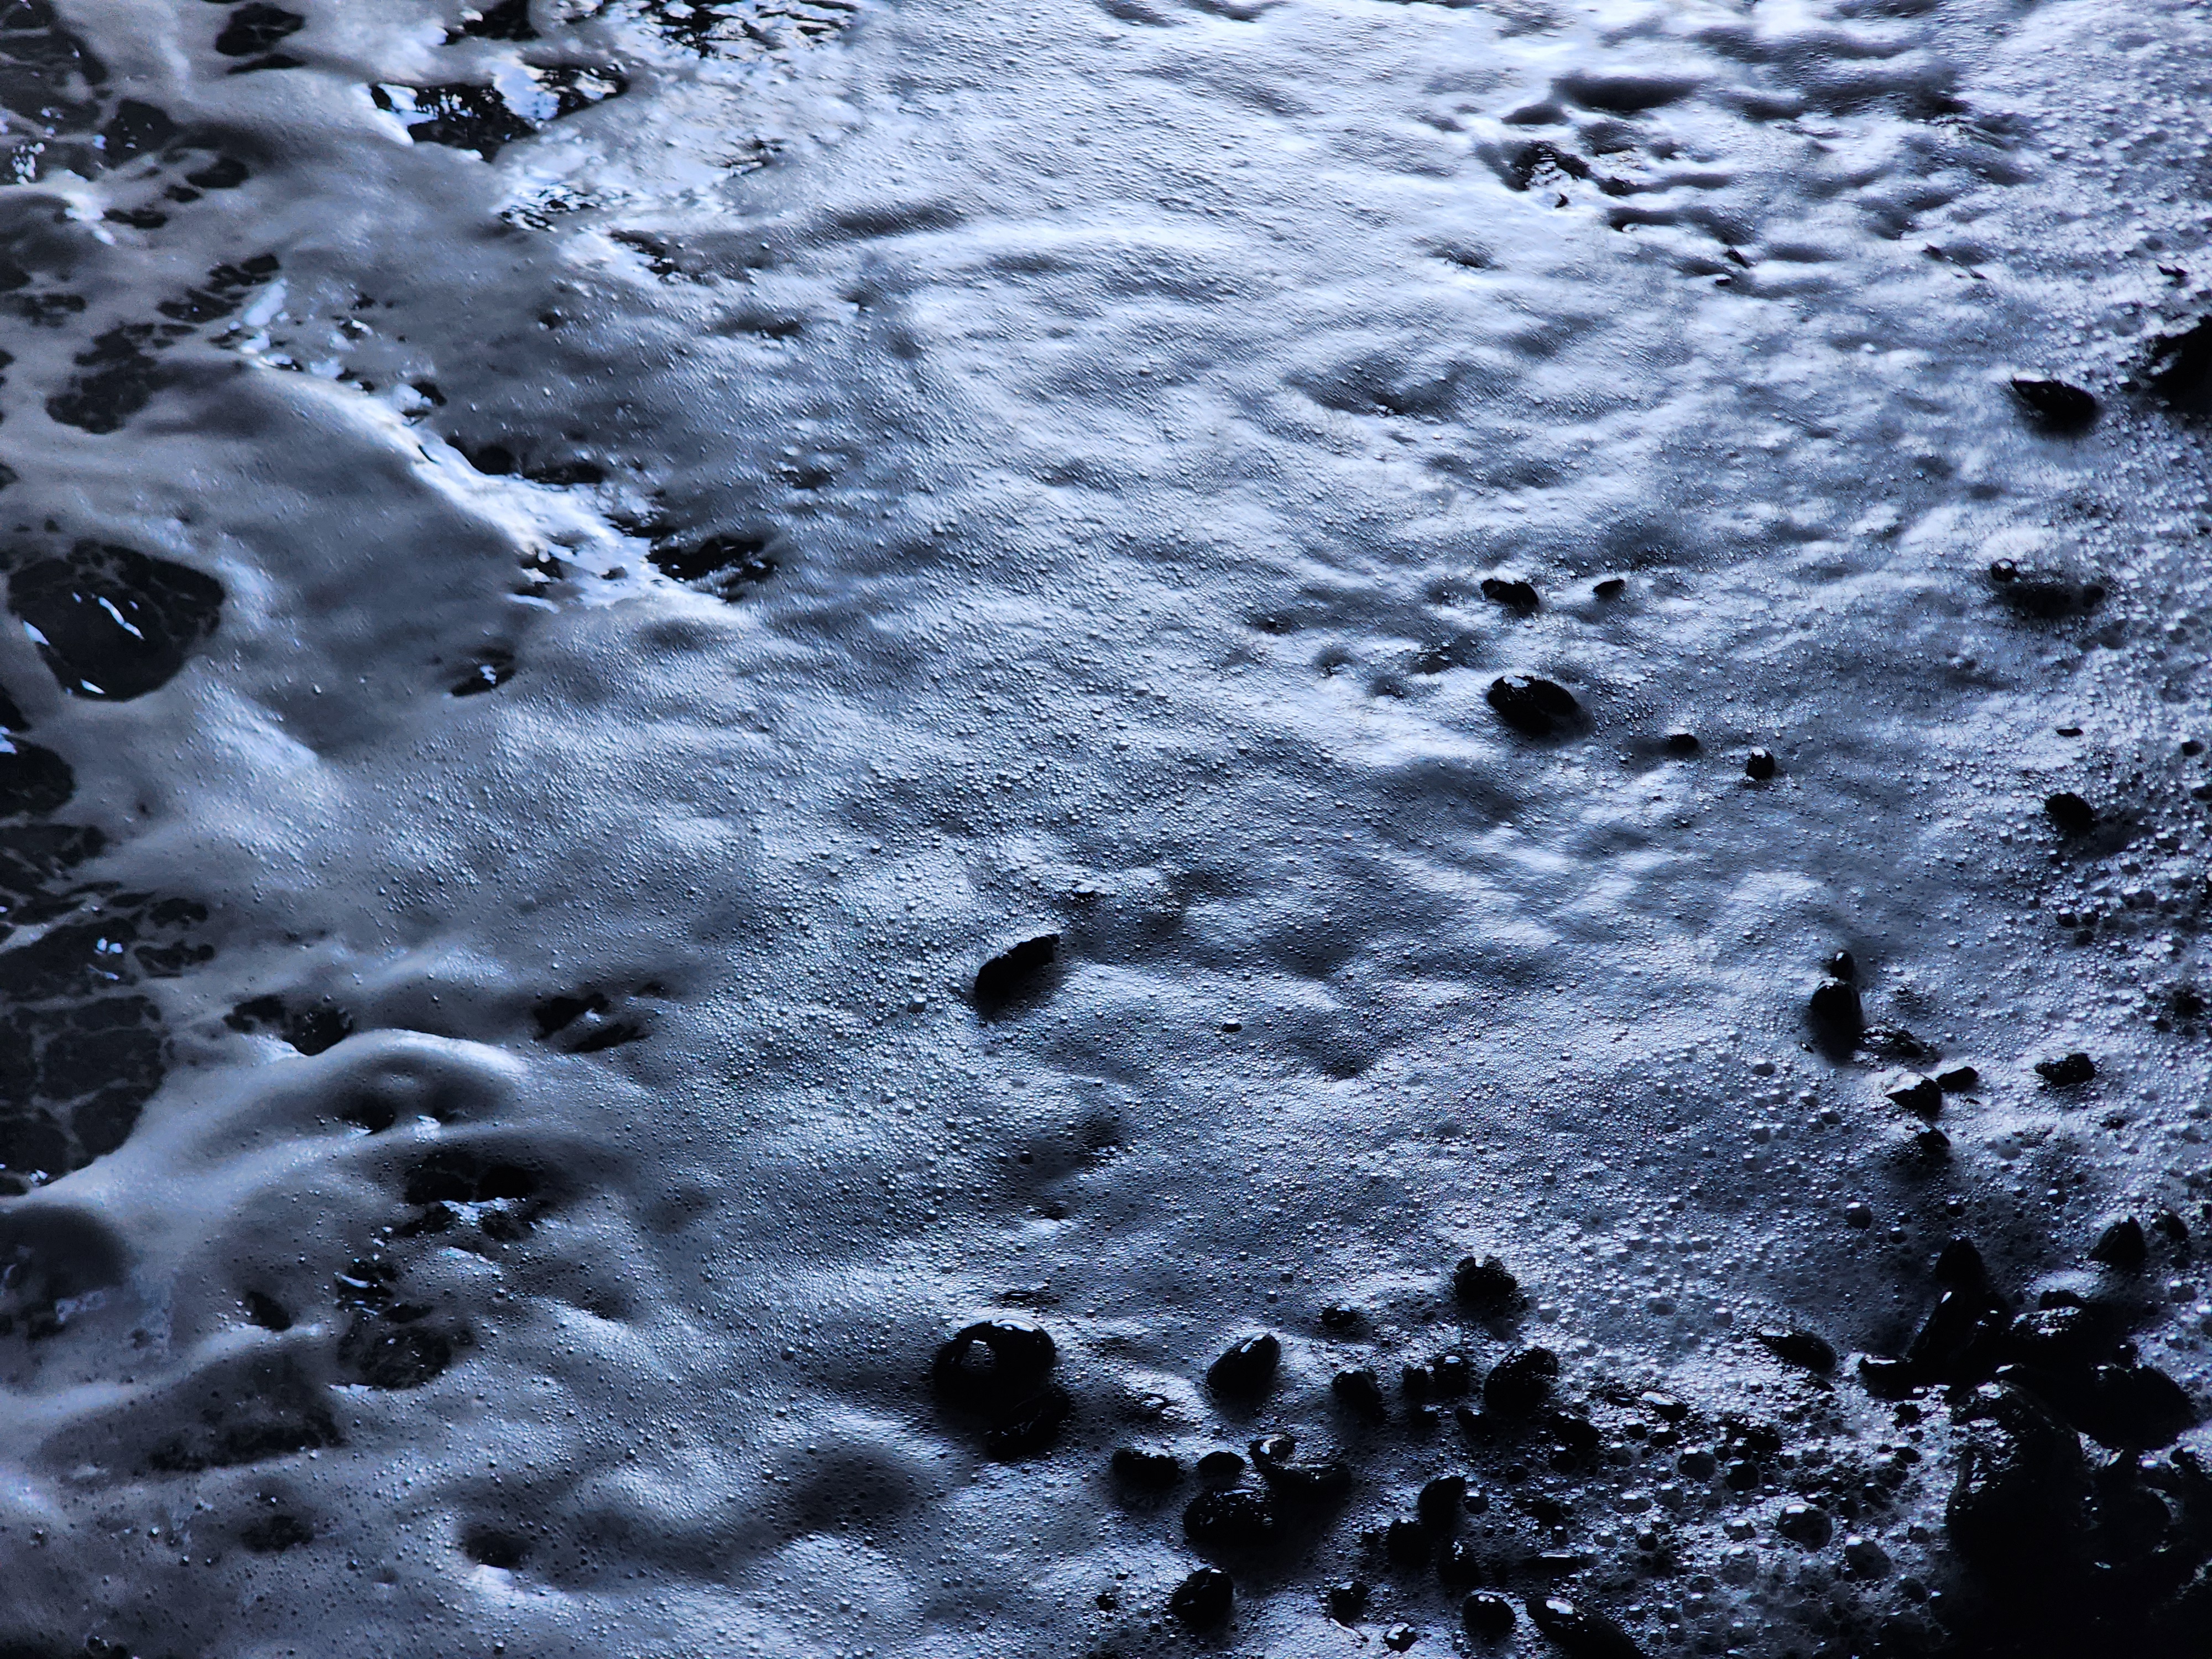
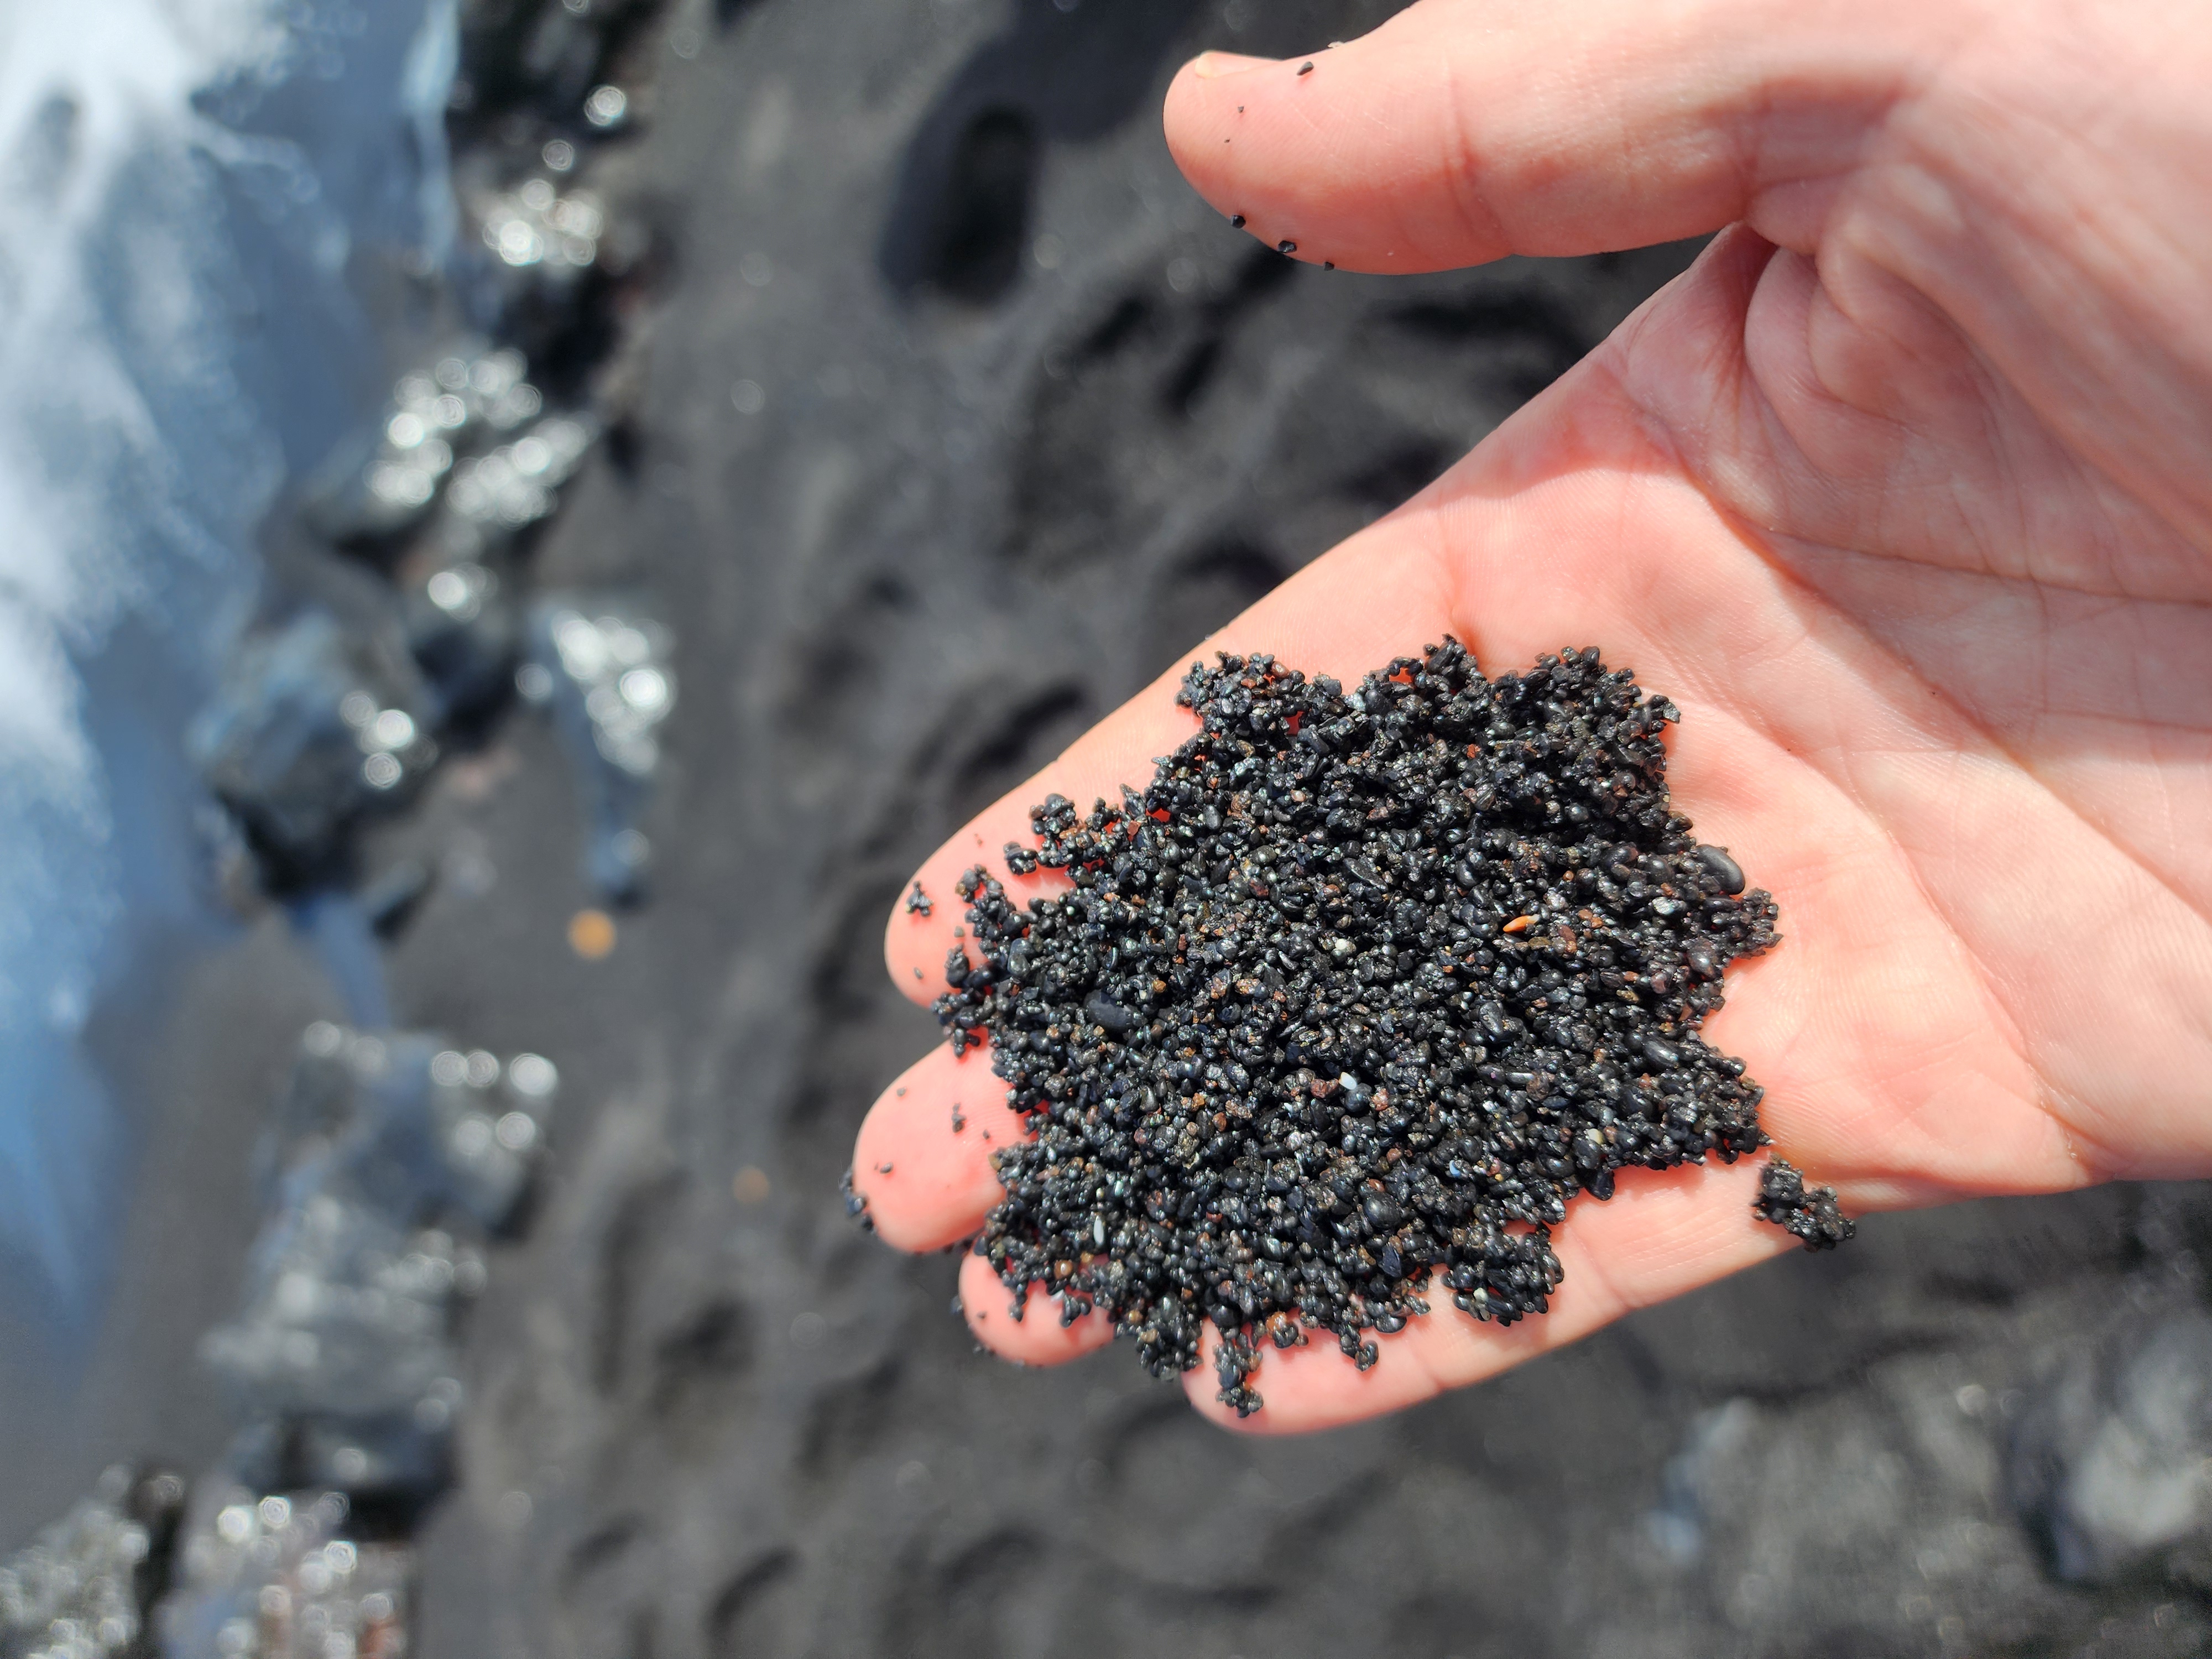
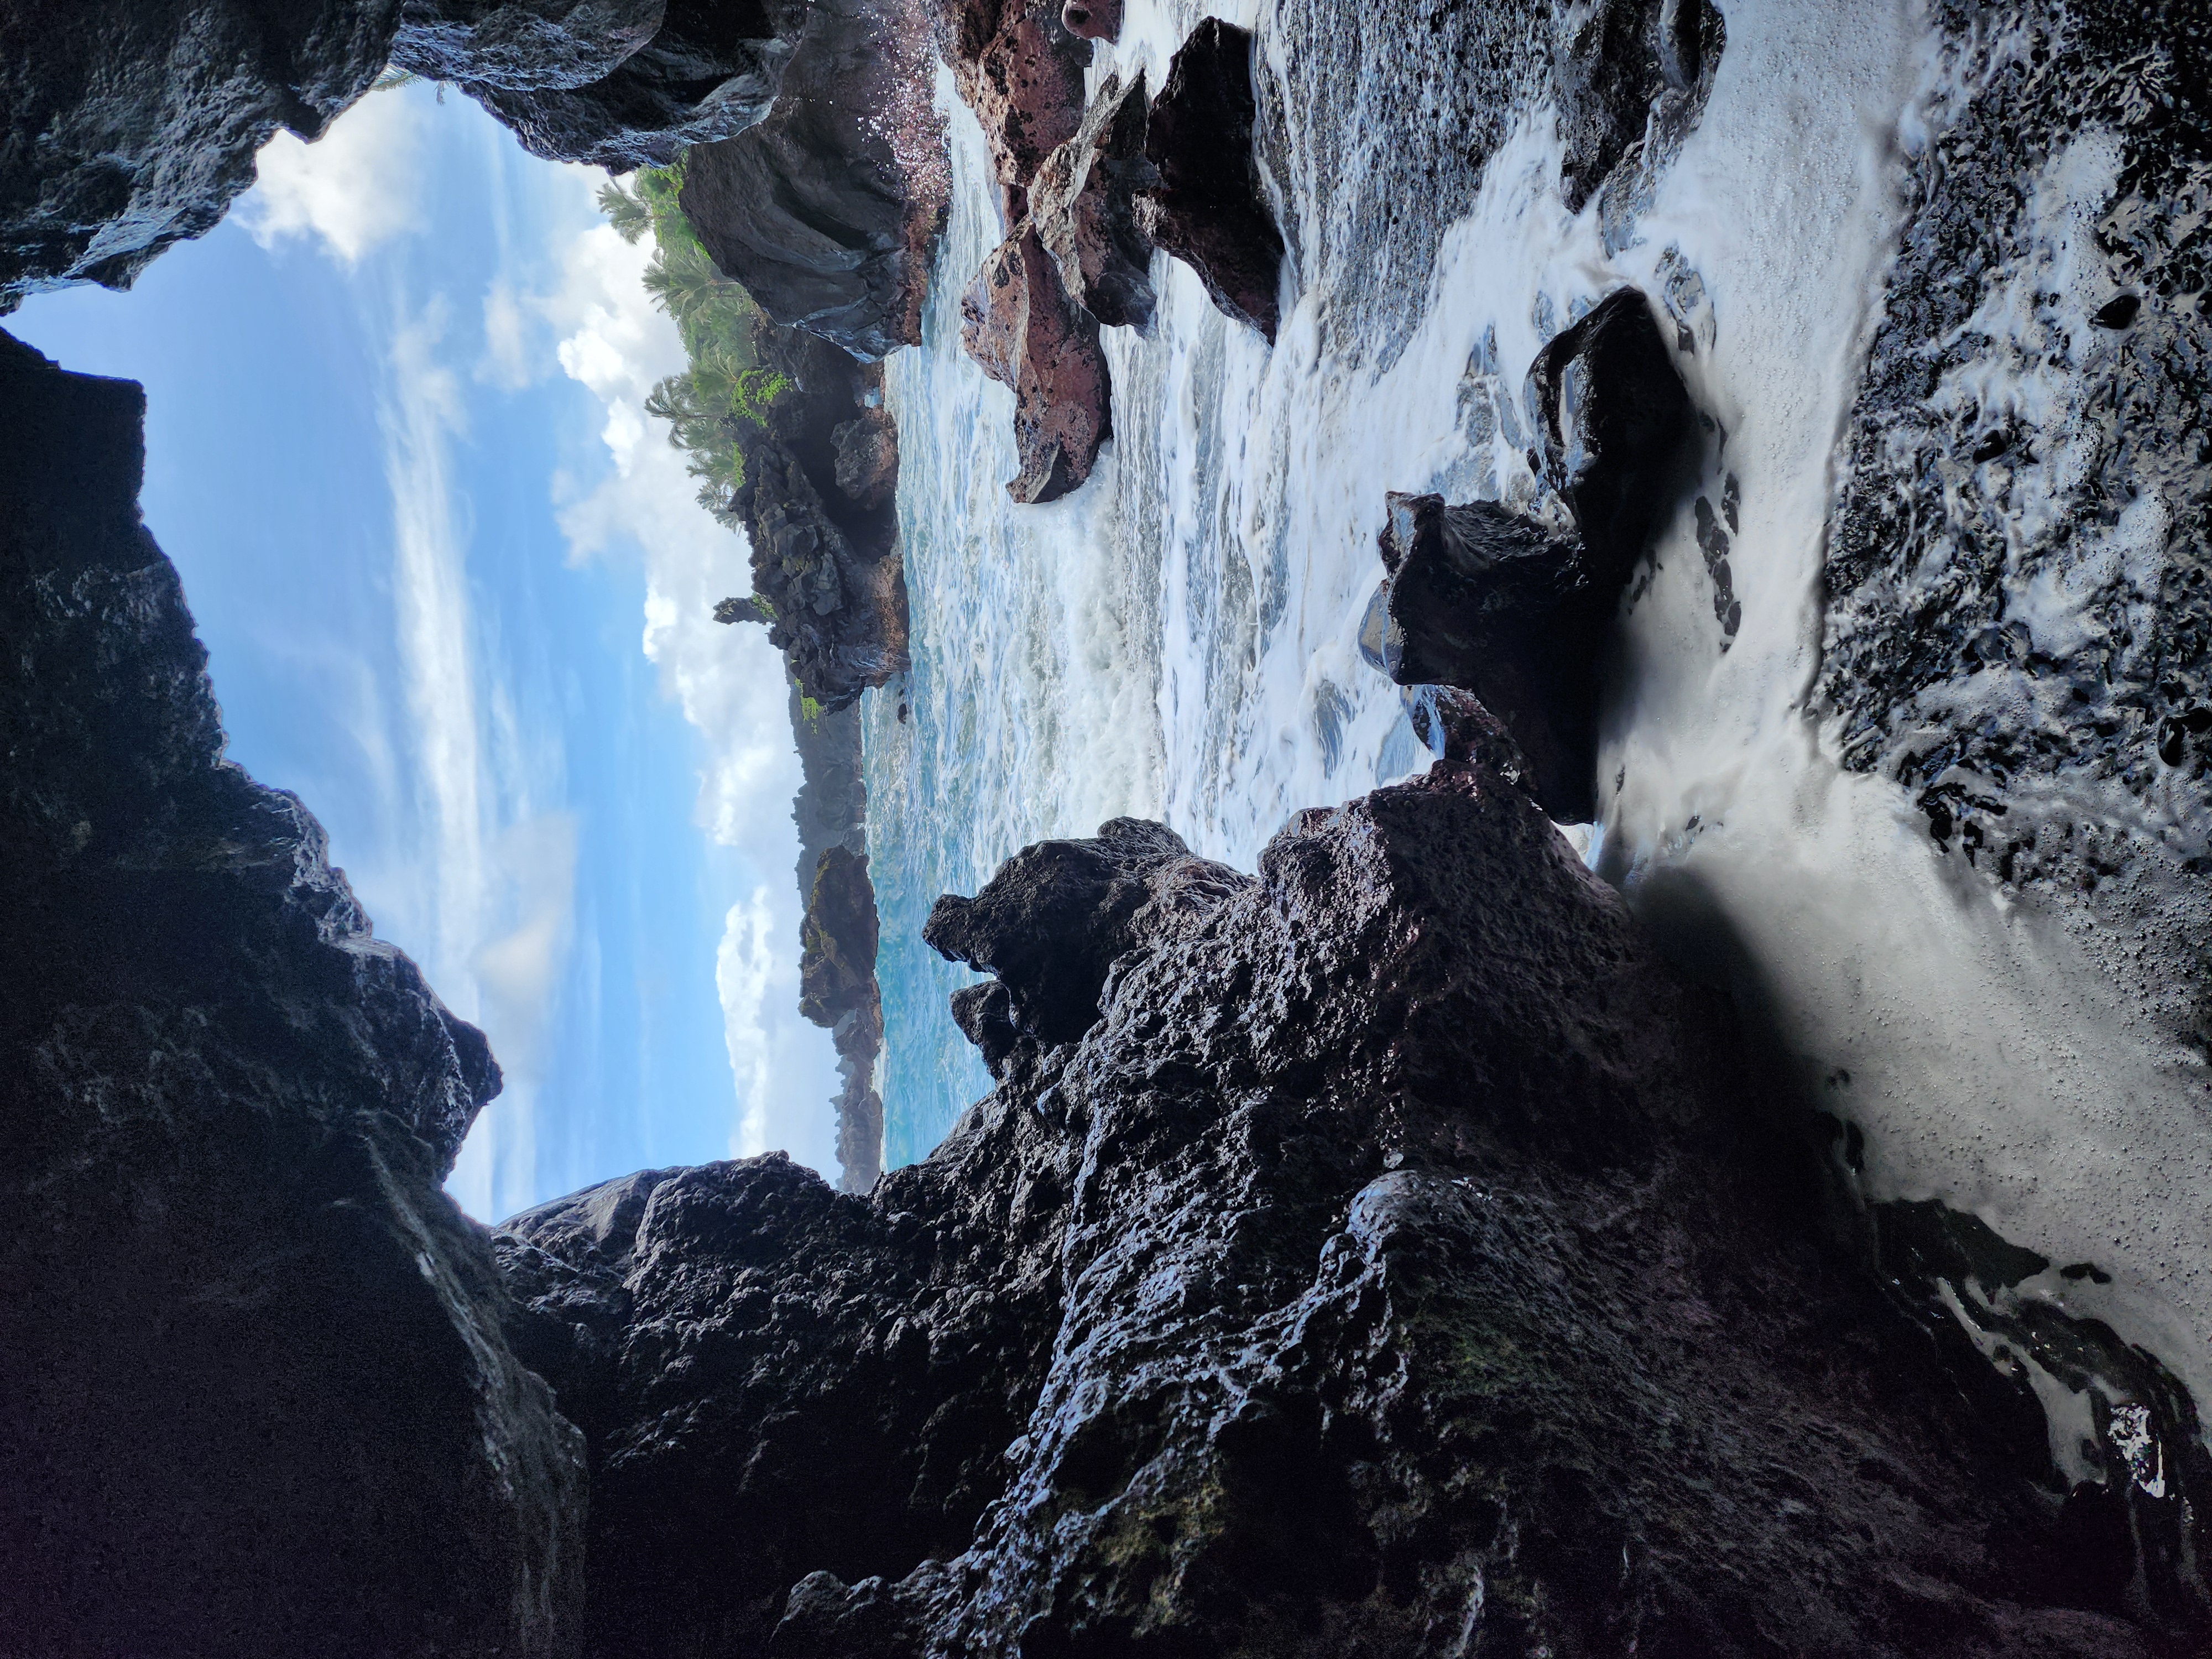
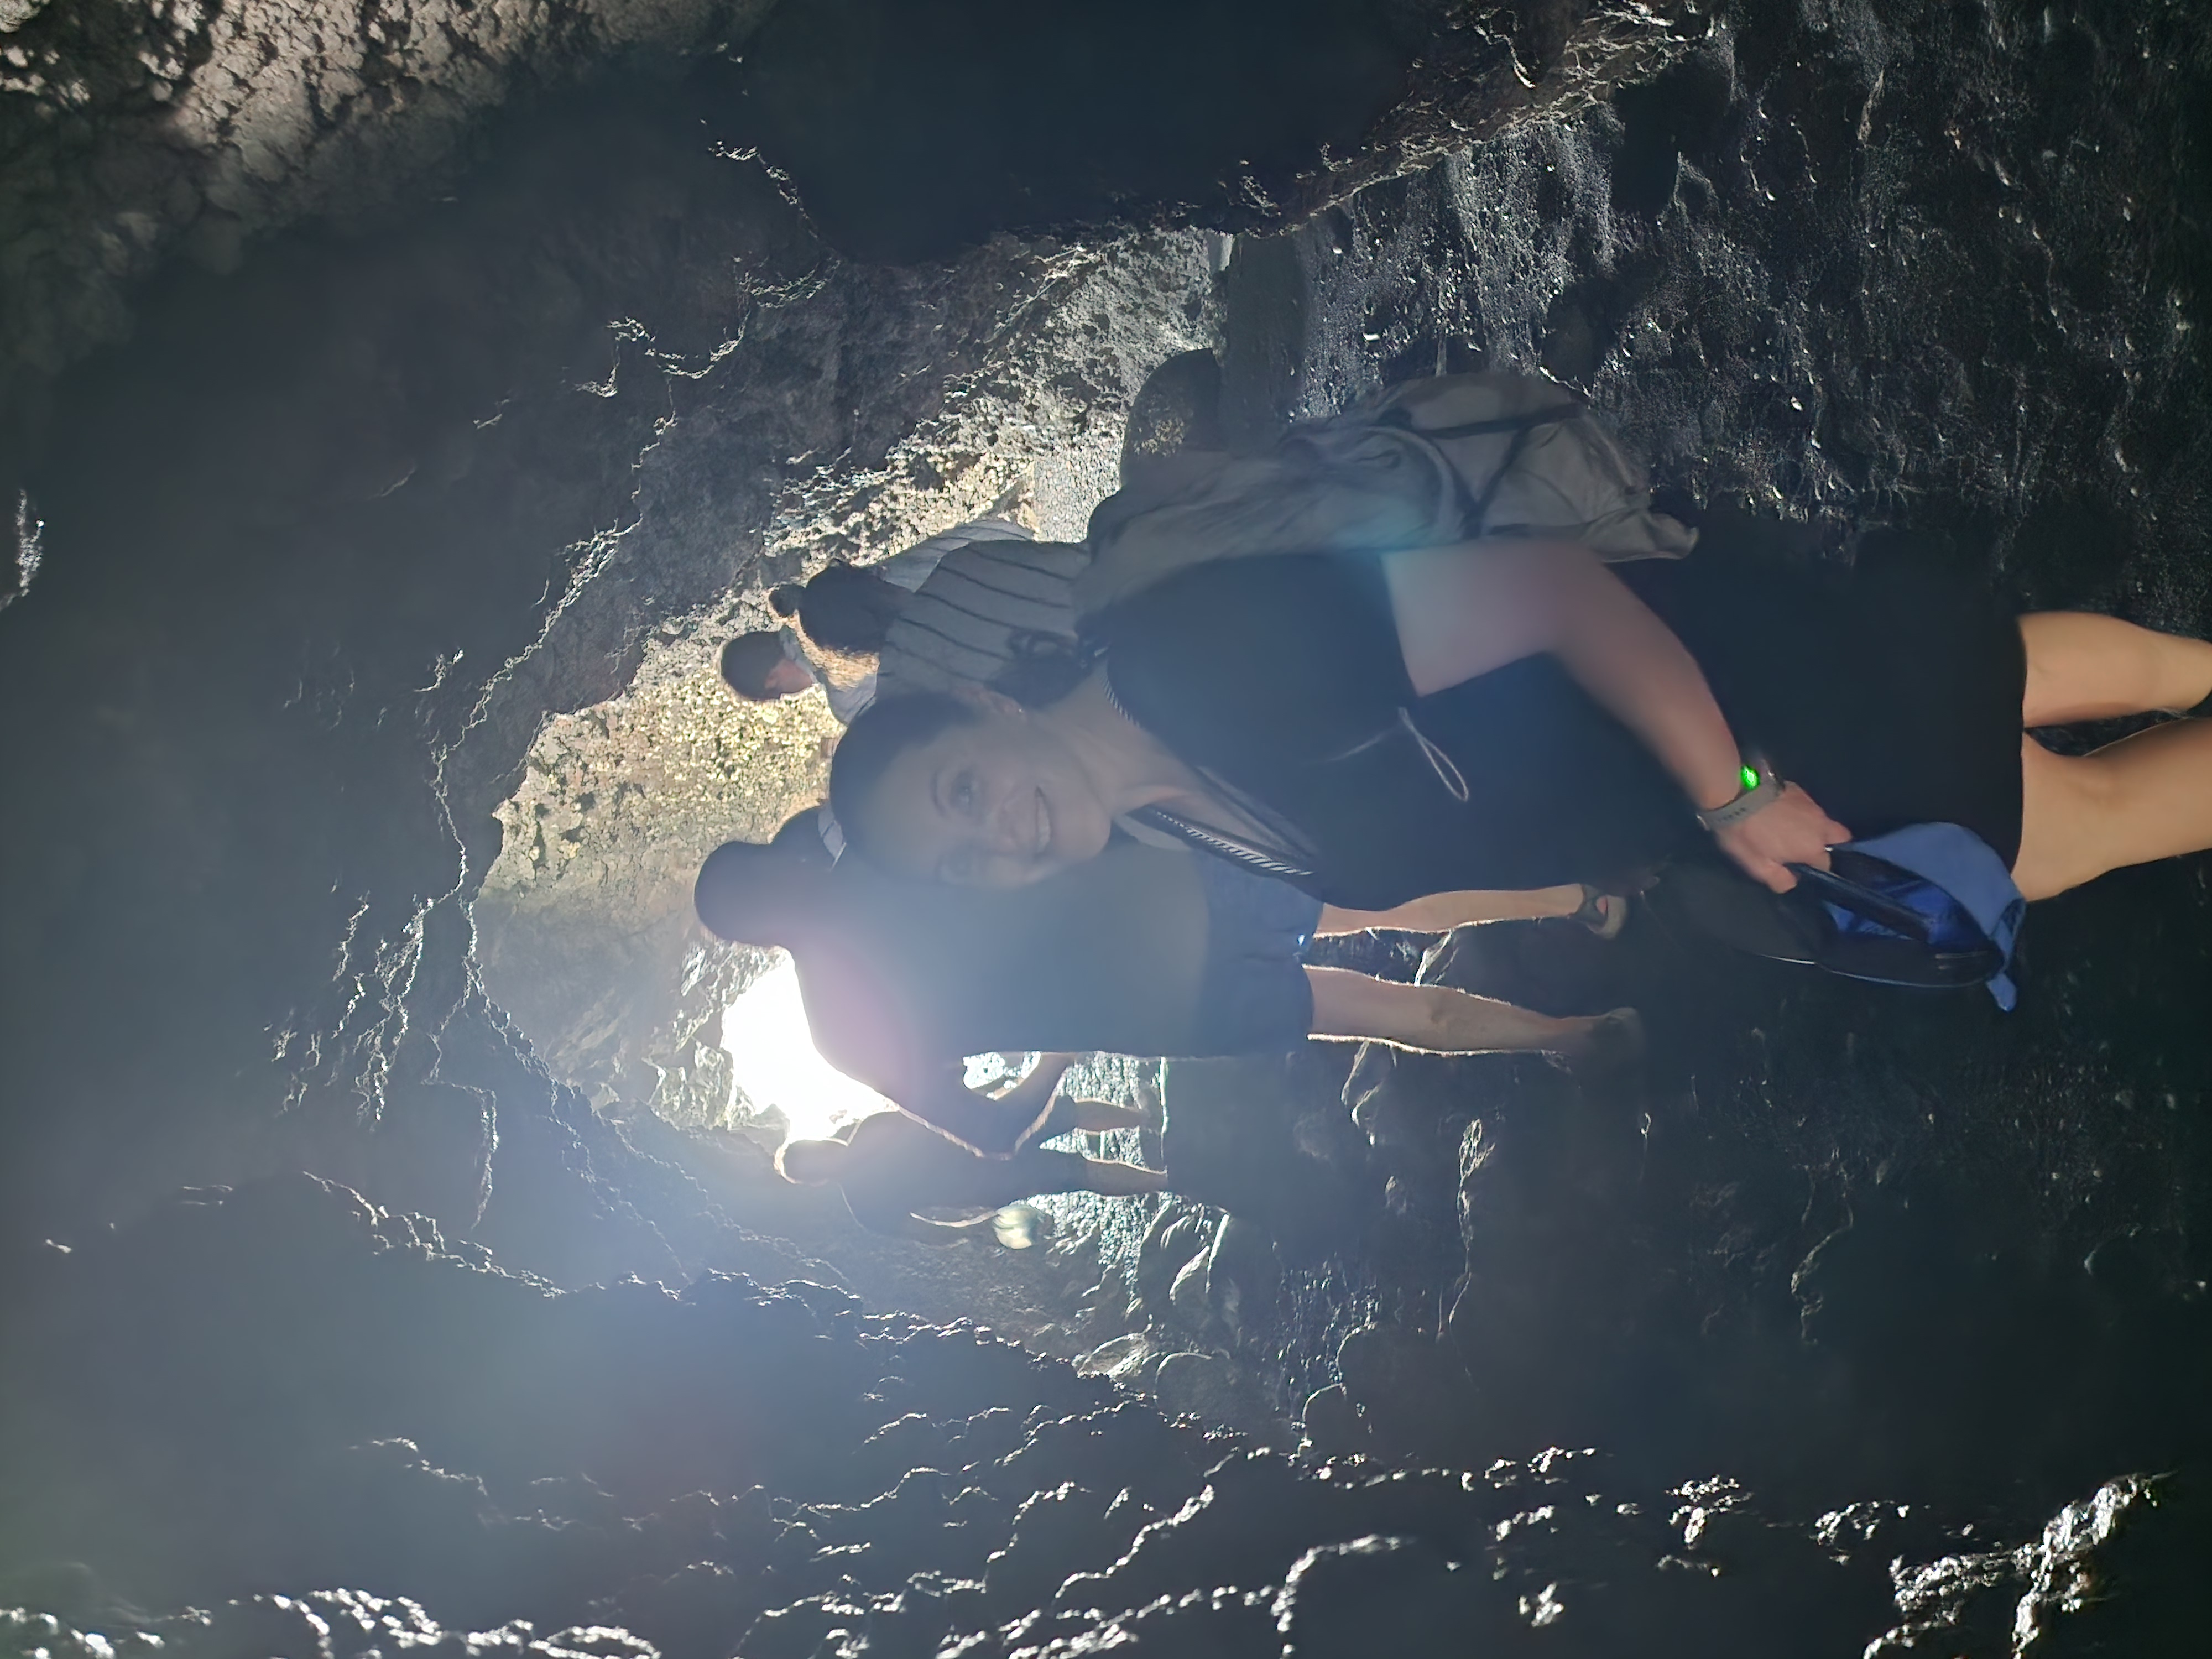
From the lot, a short, steep descent — maybe a hundred yards — drops you onto the black-sand beach. Black sand still gets me; it did on our first-ever trip to Hawaiʻi, and it did again here. This is the postcard, and everybody knows it. There's a lava tube that looks calm until the surf slides in to catch you off guard, and a tunnel cut through a thicket of hau (beach hibiscus, its branches sprawling and self-rooting into one dense tangle).
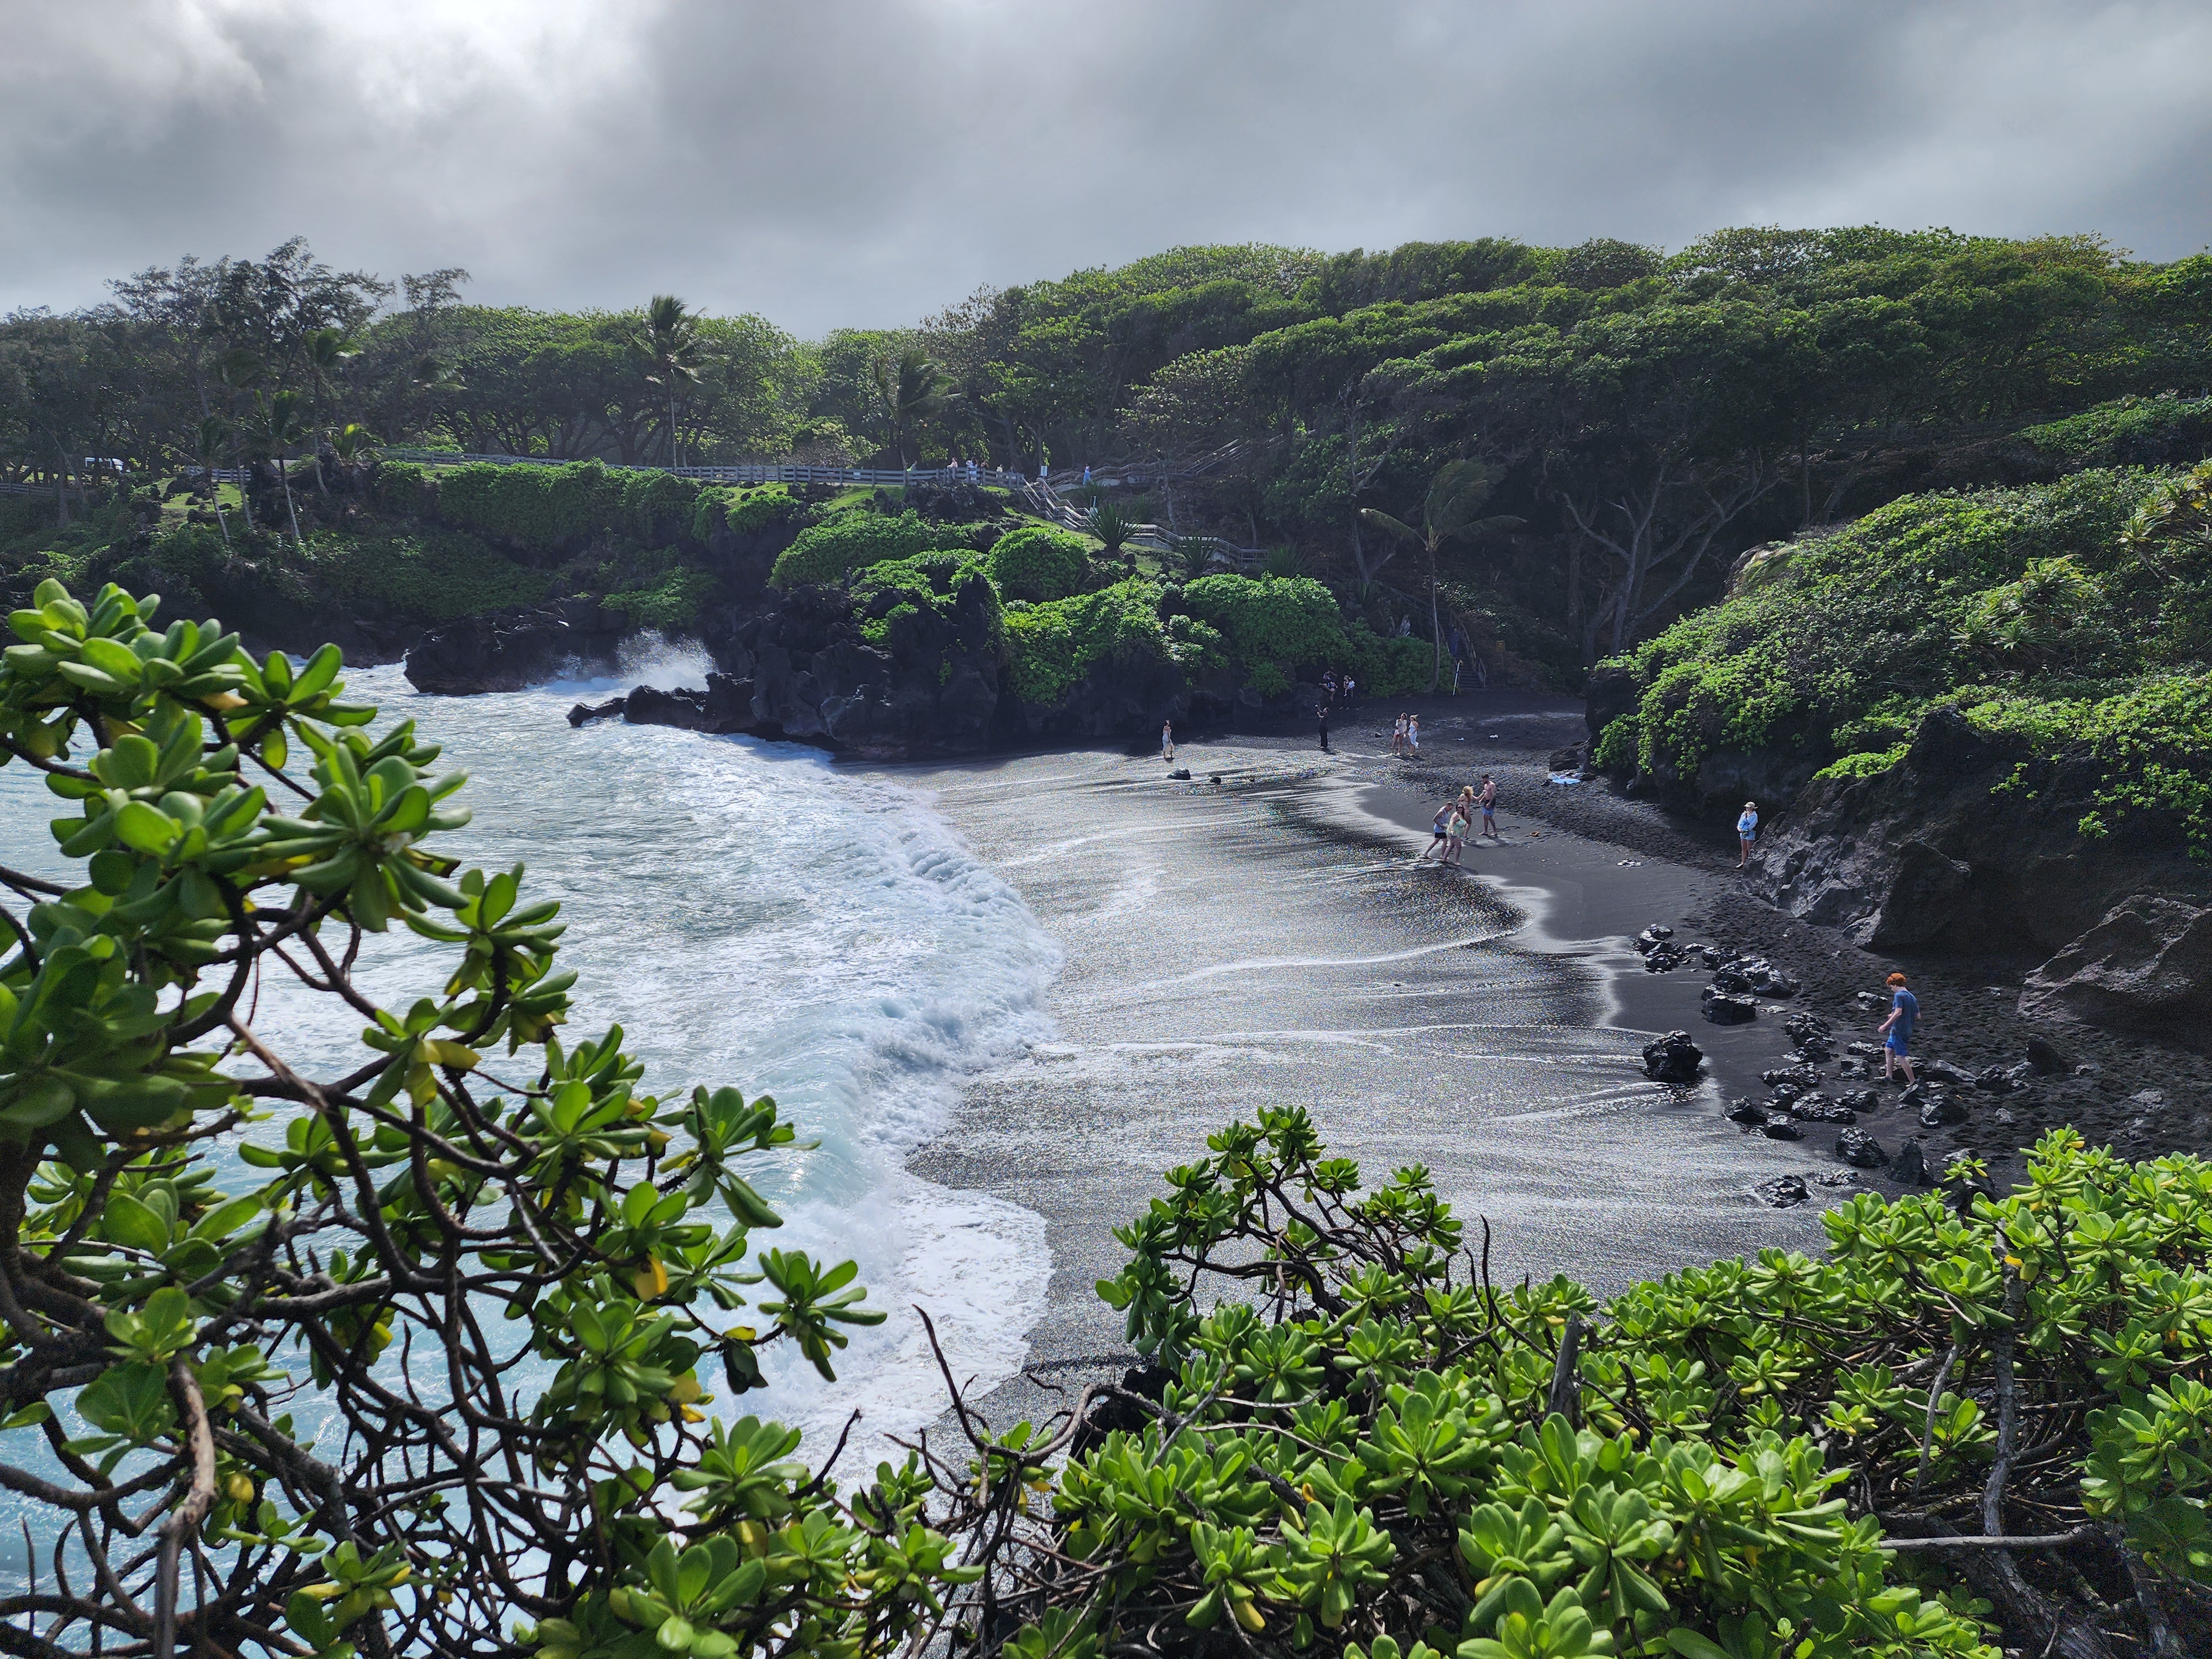
It's all delightful. Which is sort of the catch. The beach is barely a staircase below the parking lot, and it doesn't take many people to feel crowded. There's a version of this visit where you post up on the black sand for an hour. That wasn't ours. We snapped our photos and kept moving. It's also, I suspect, exactly why the place is timed: the postcard spot is small, and a lot of people want it at once.
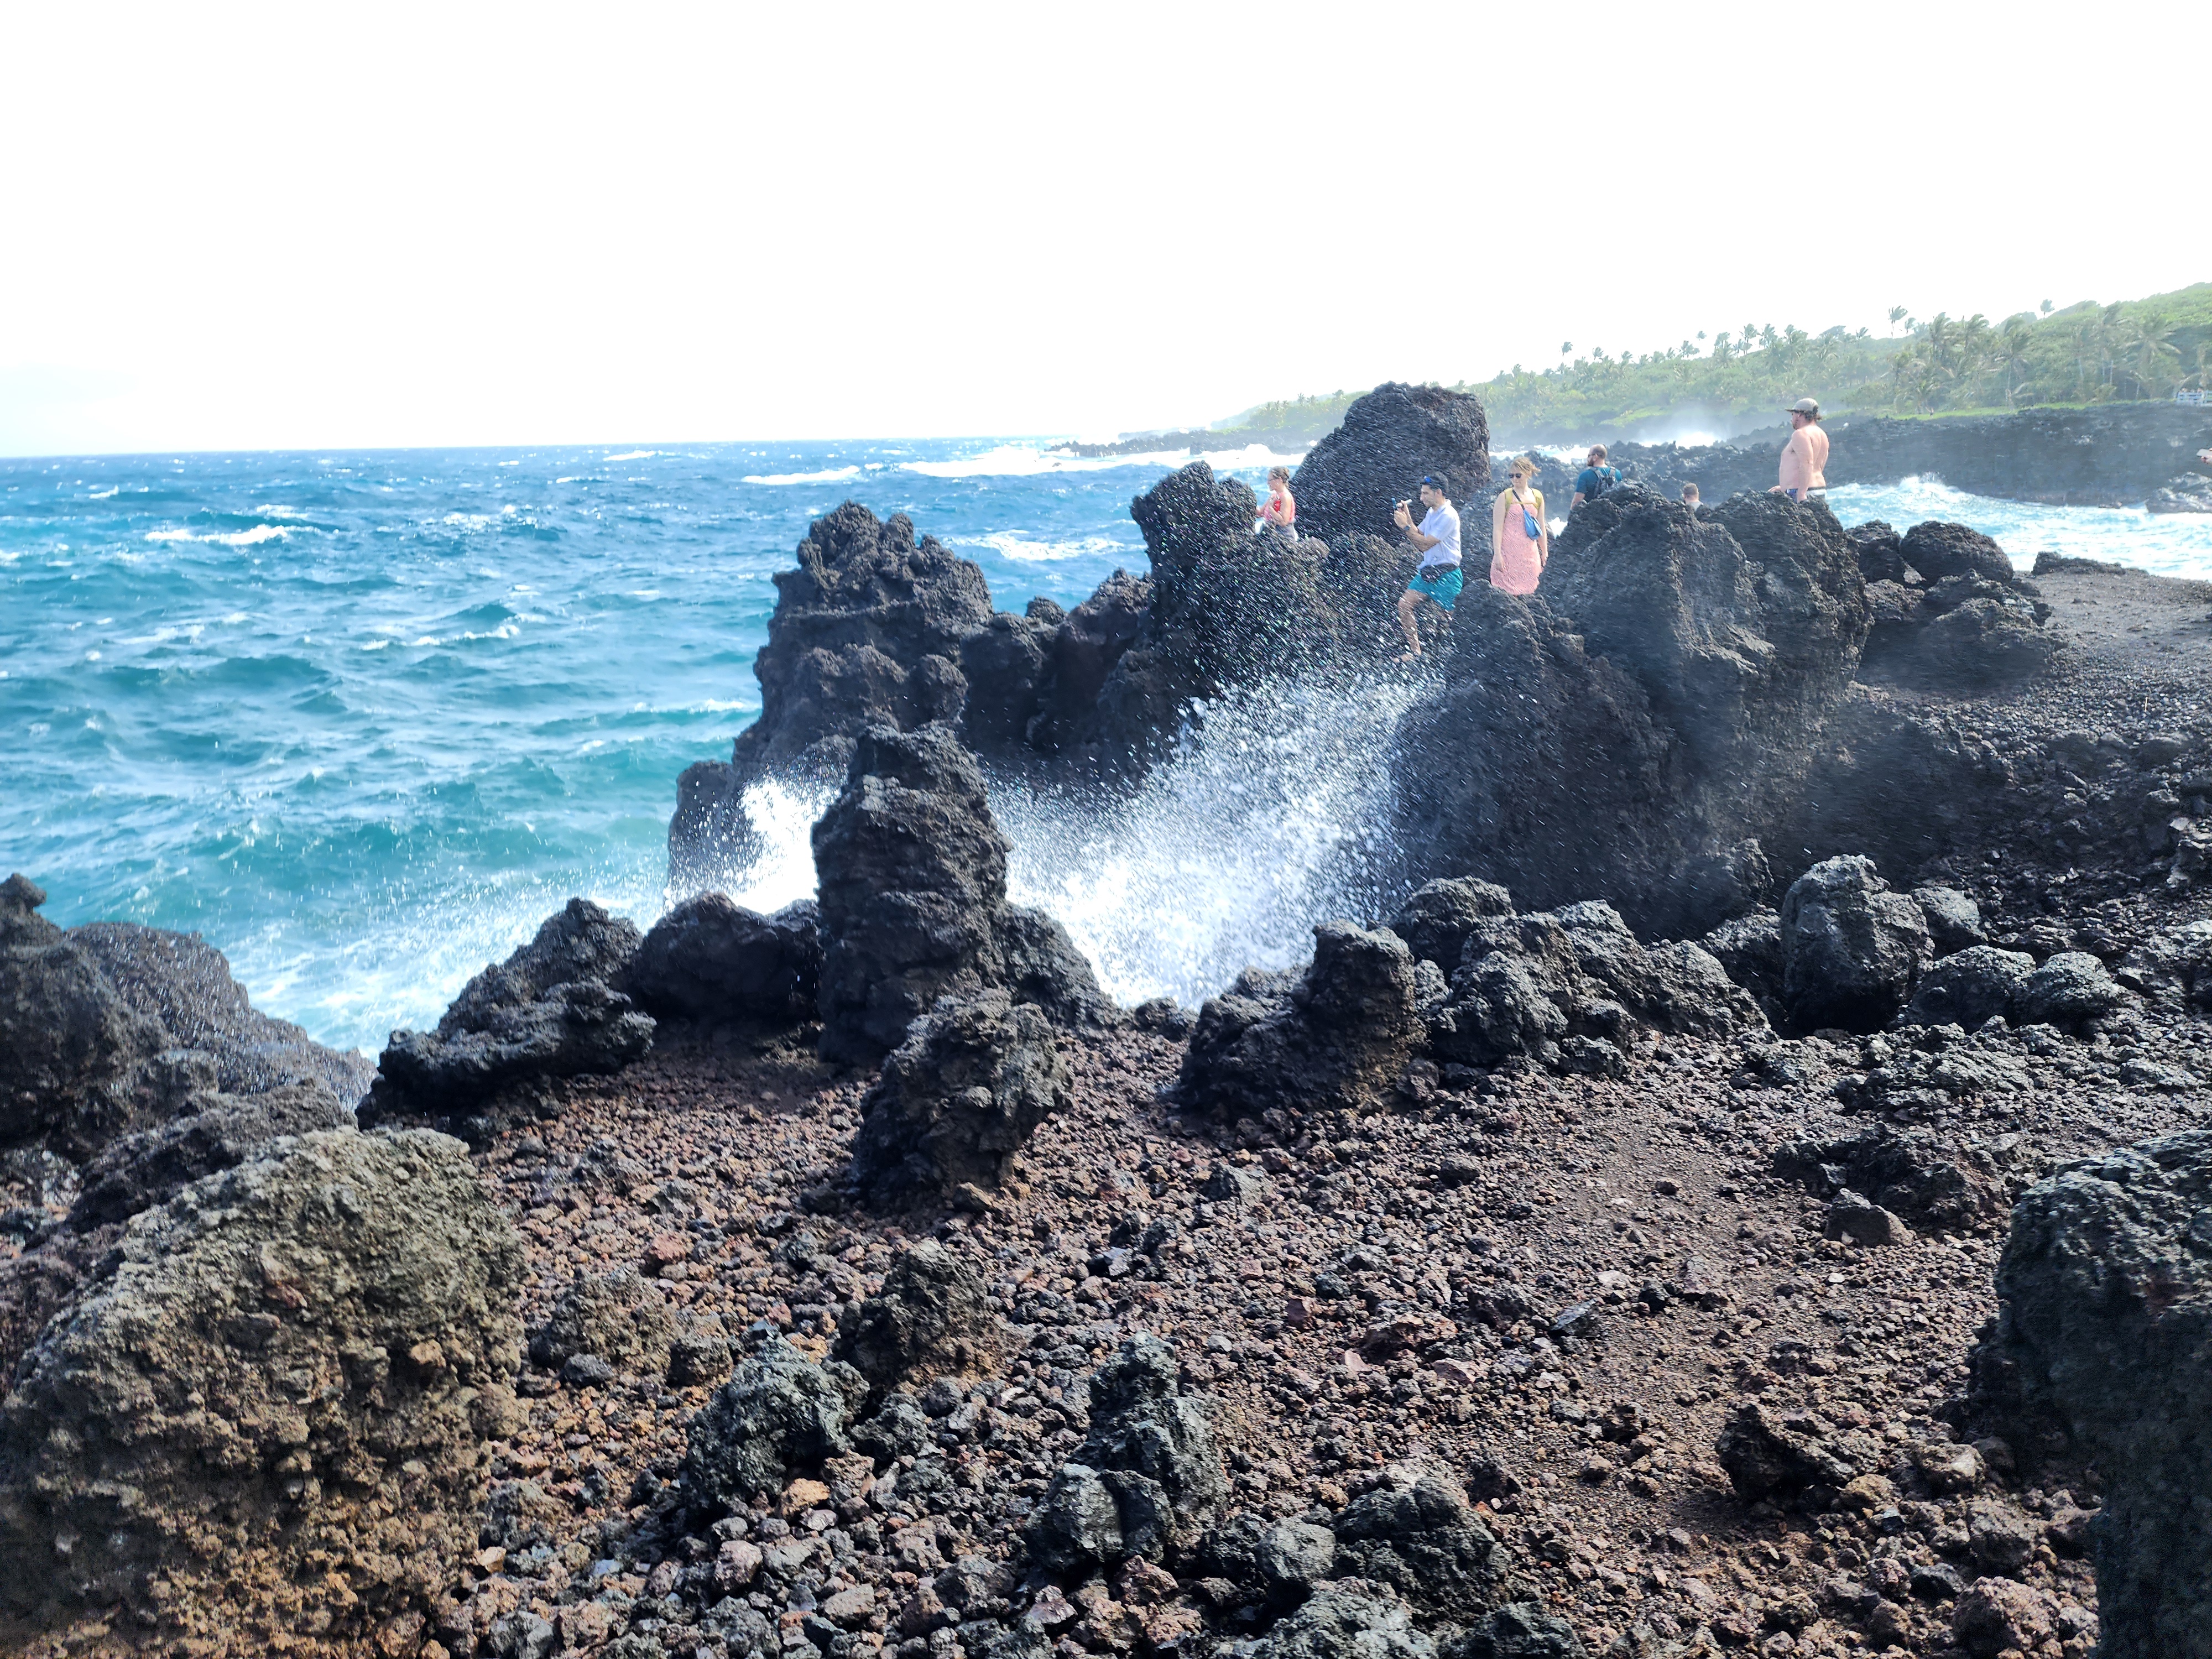
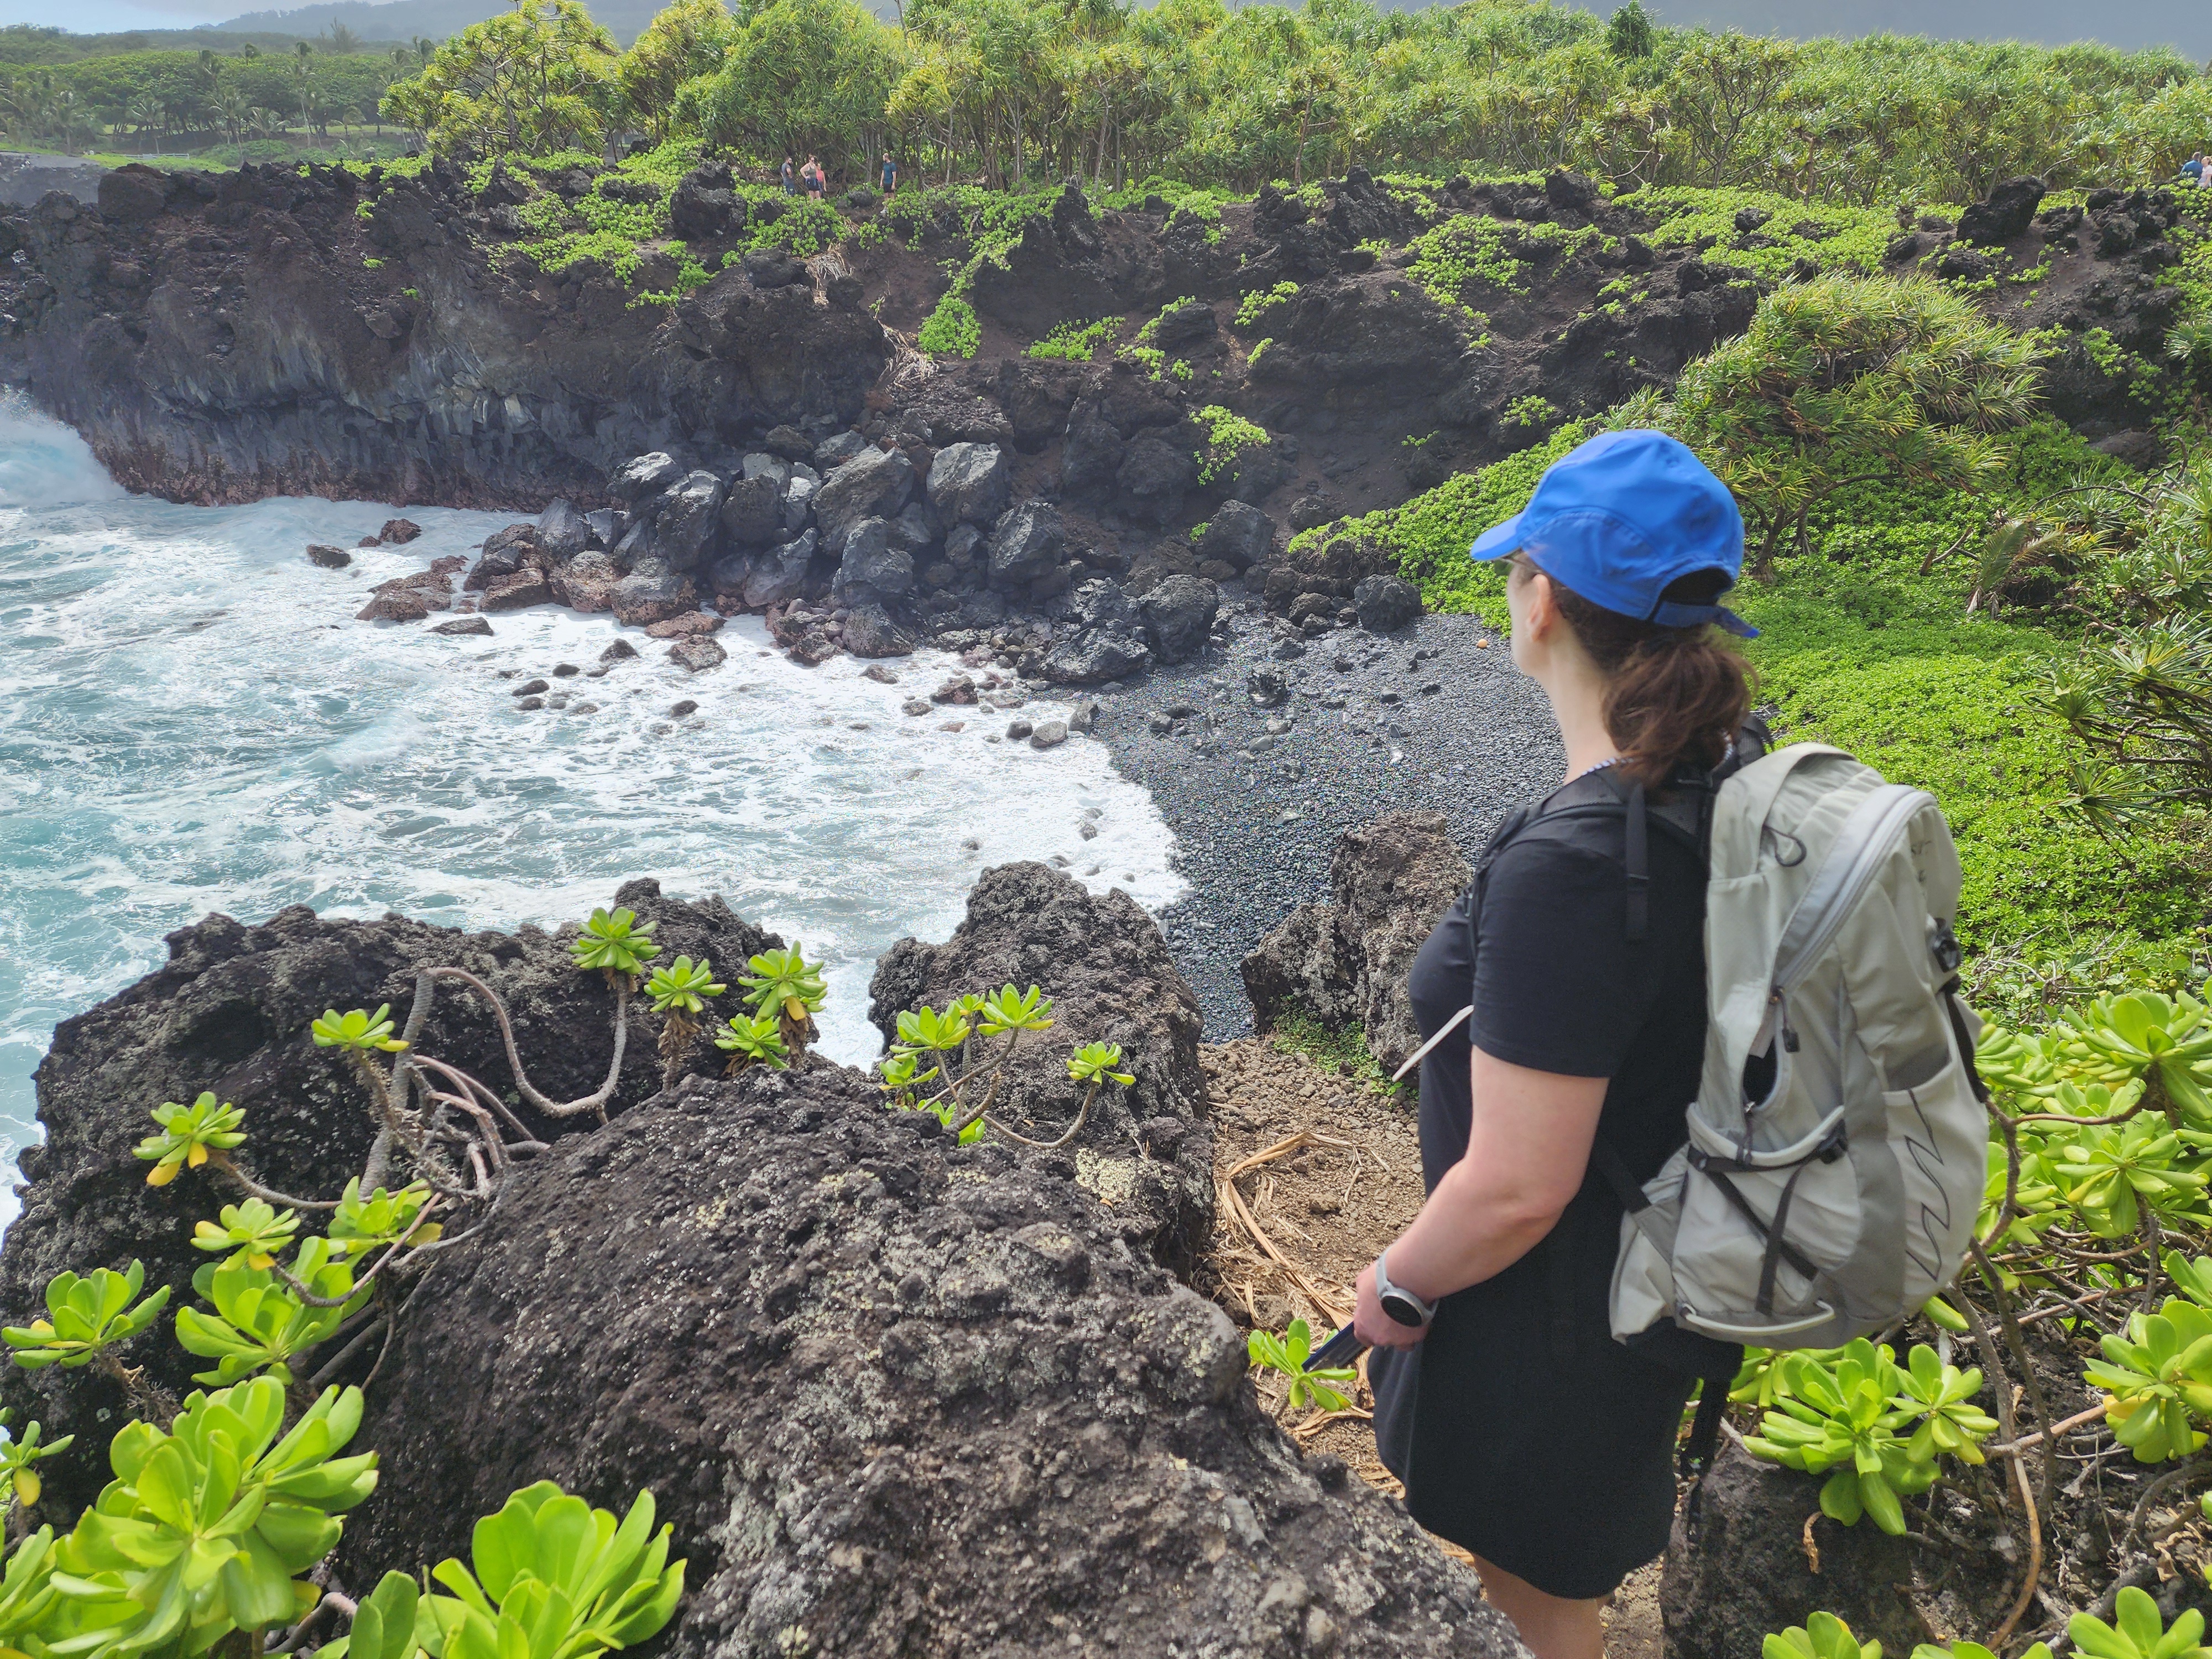
Up on the cliffs
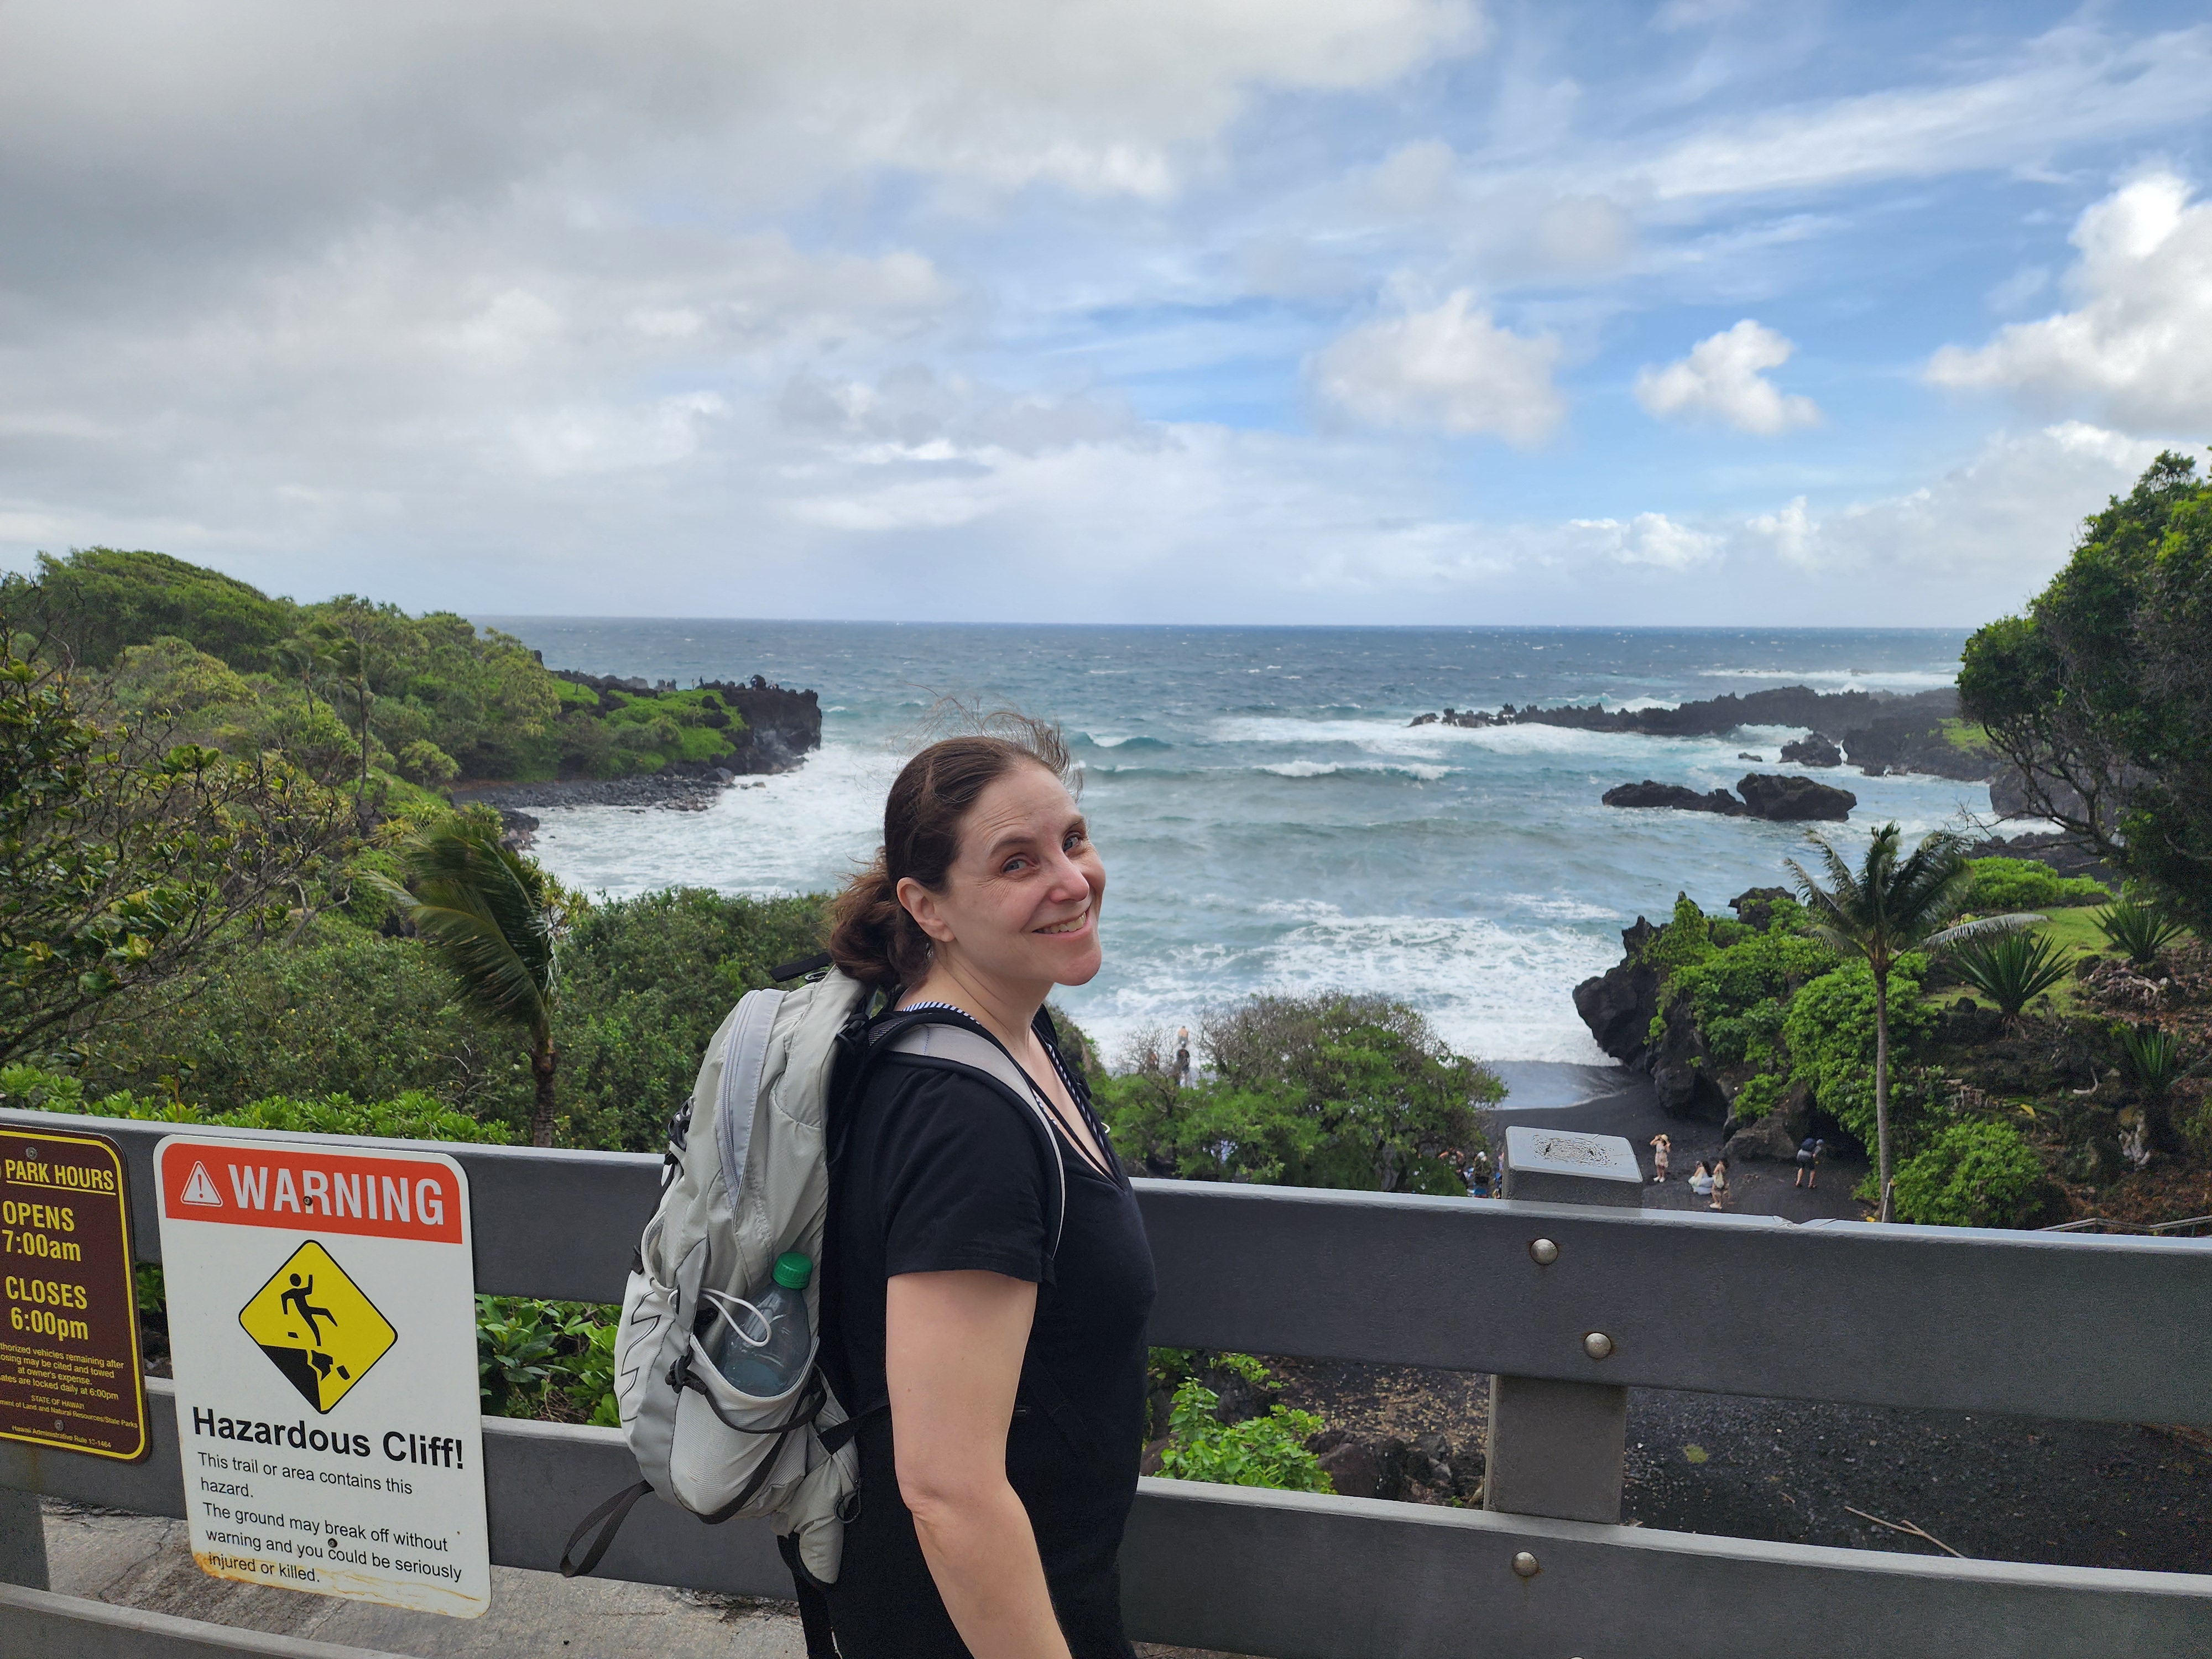
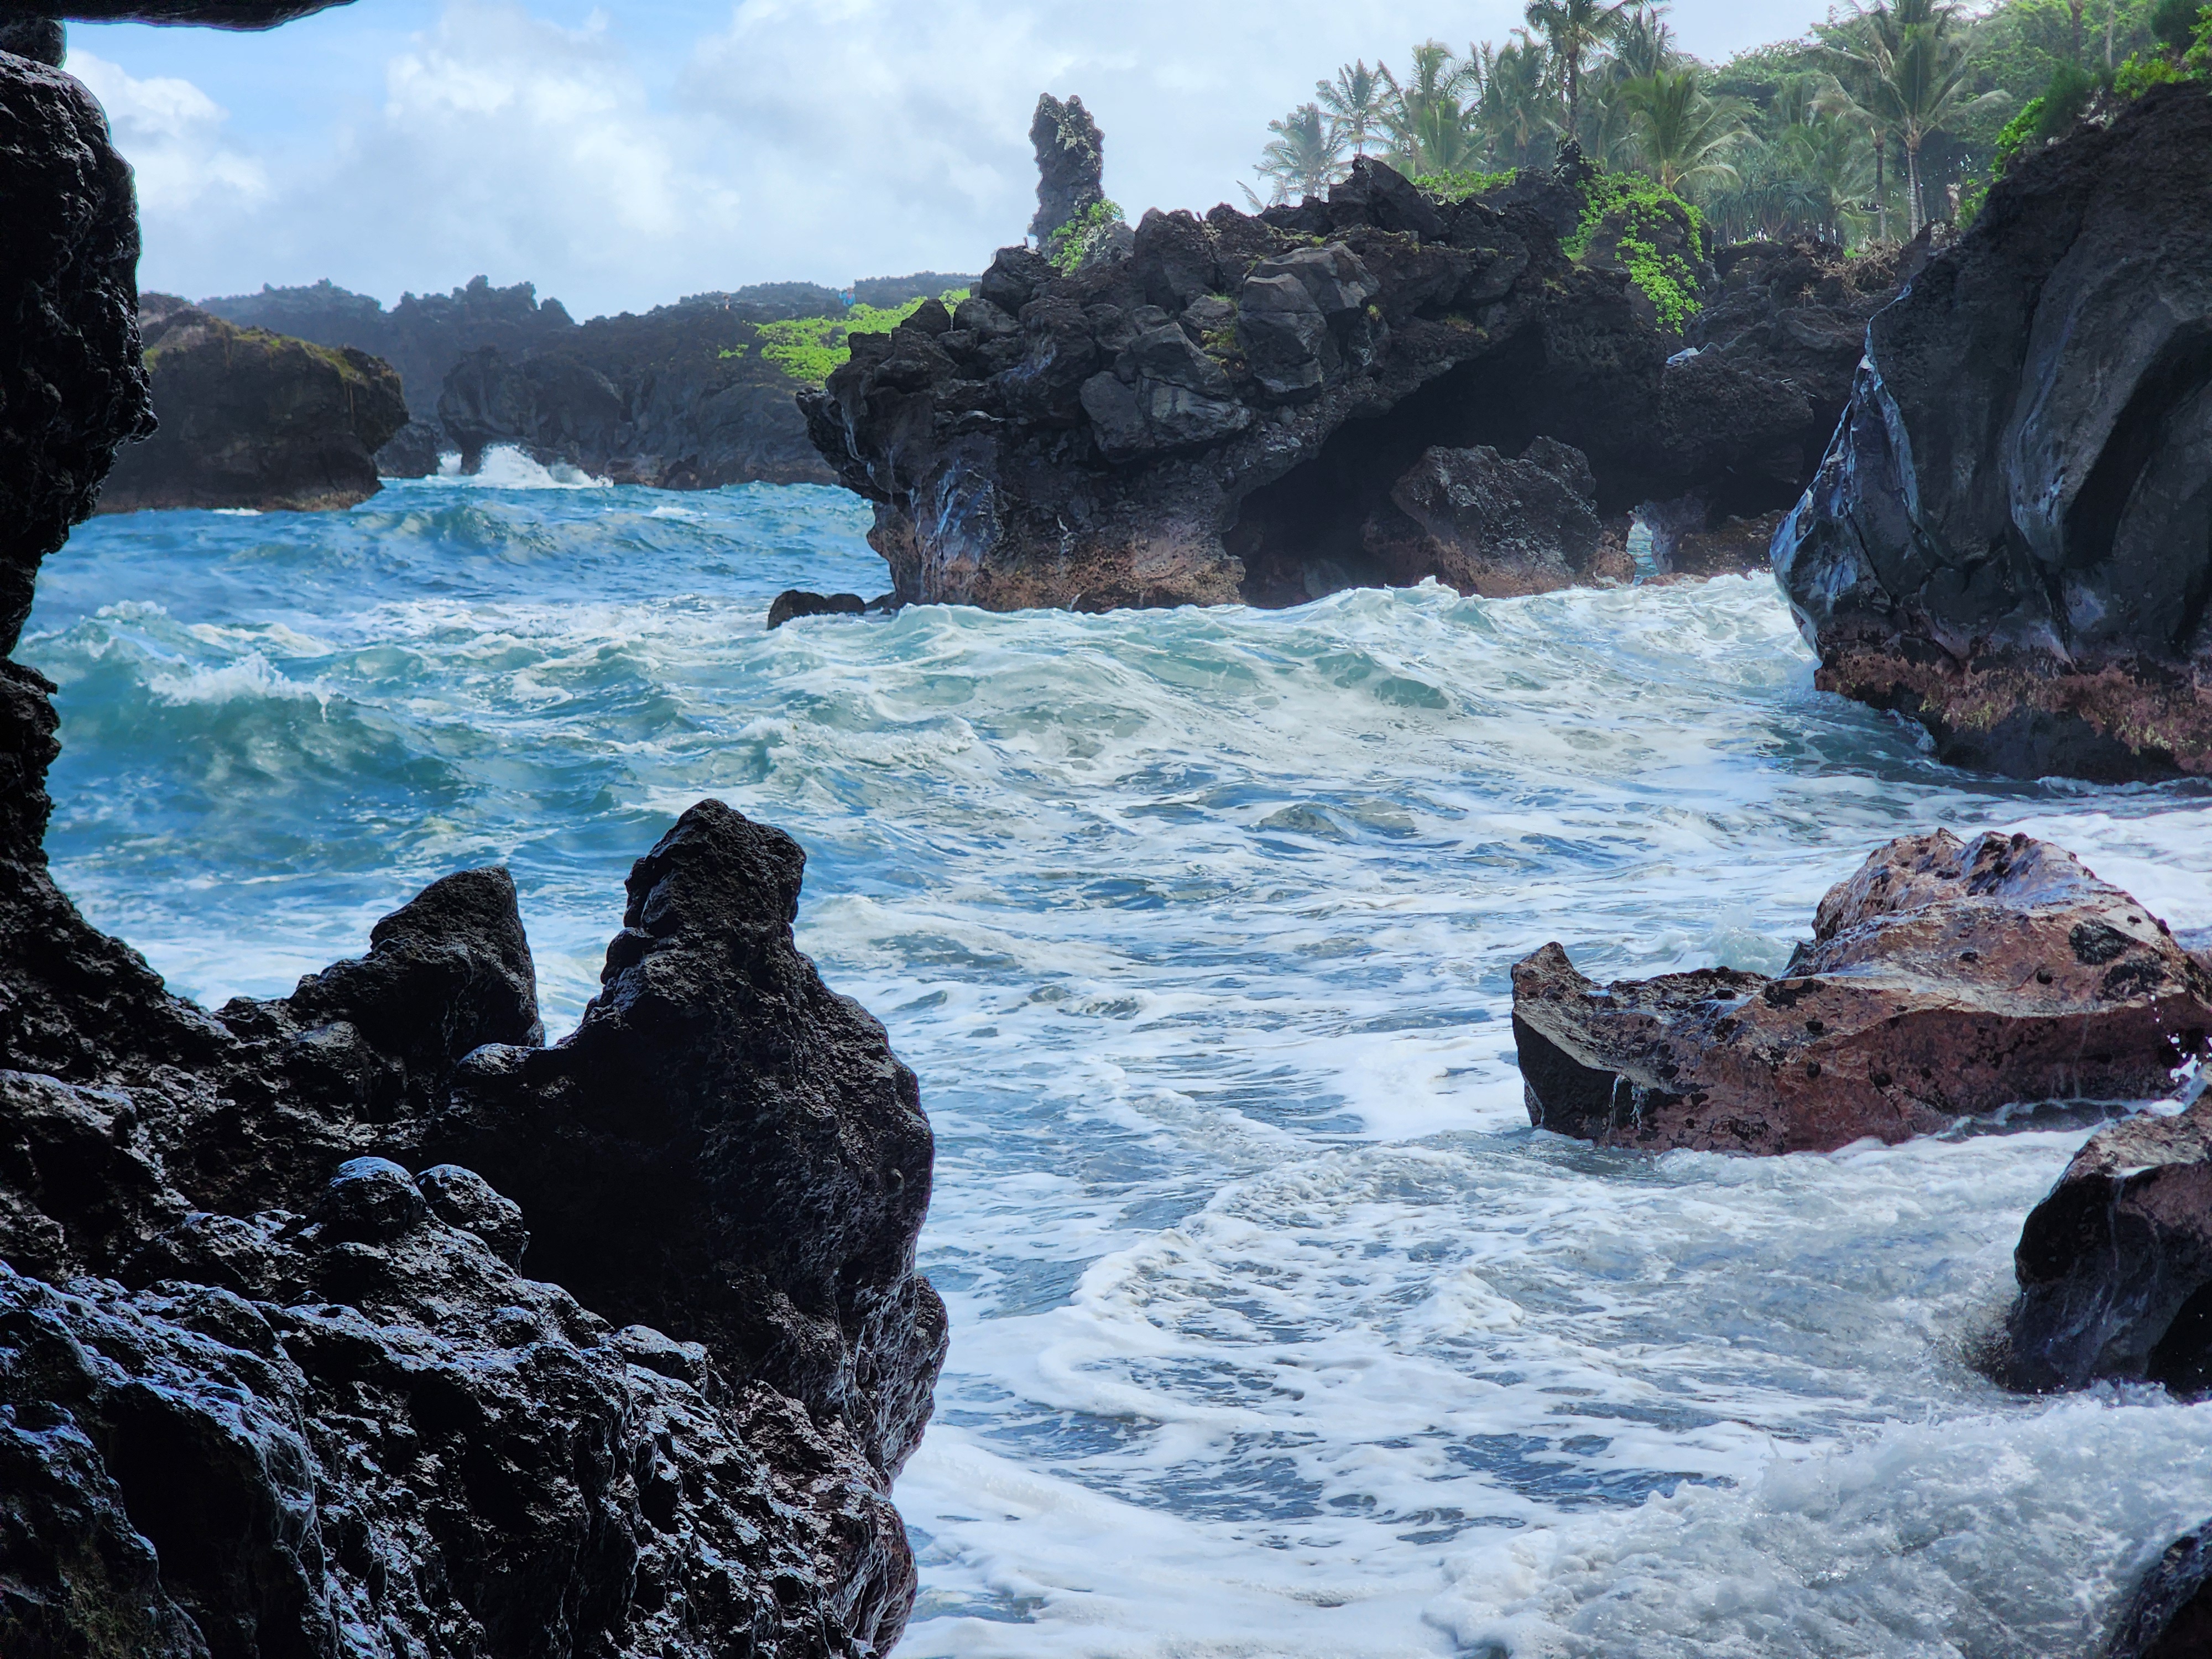
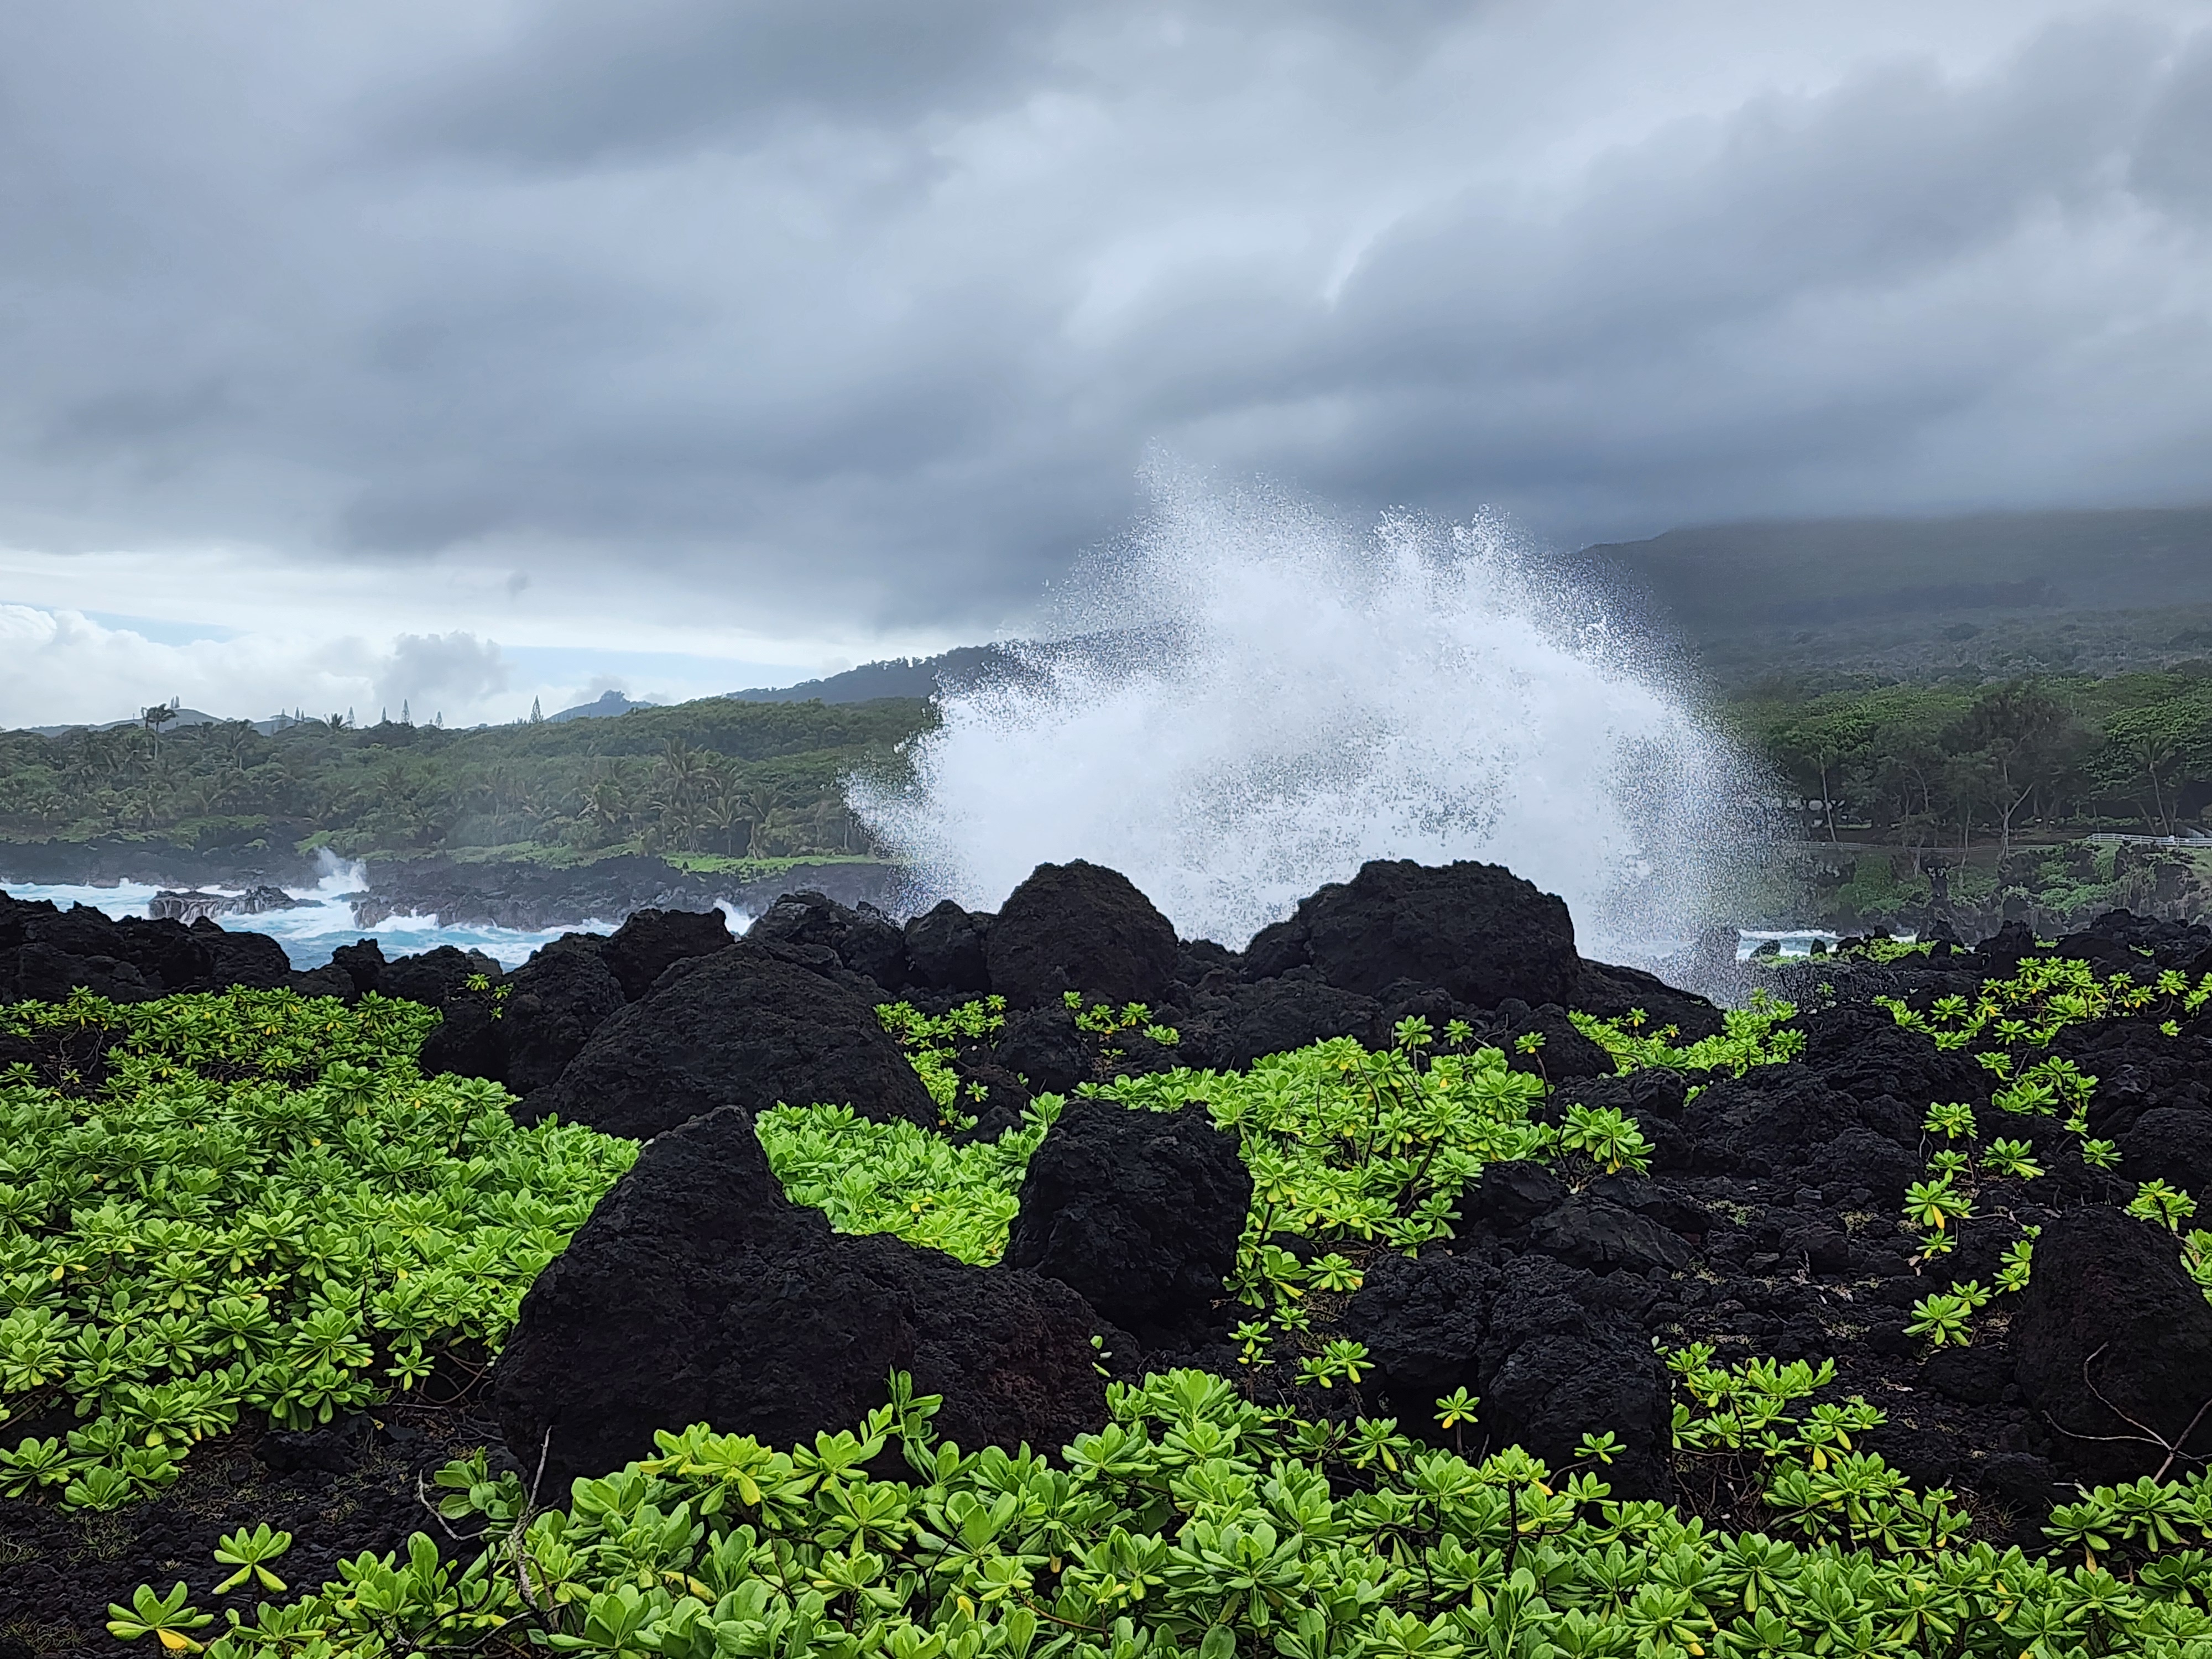
Climb back out of the beach cove and the trail lifts you onto the cliffs. For a while the crowd comes with you — up here is an impressive blowhole that fires a column of seawater out of the rock when the timing is right. You also get a hint of the power of the sea as you watch the waves roll in to the shore.
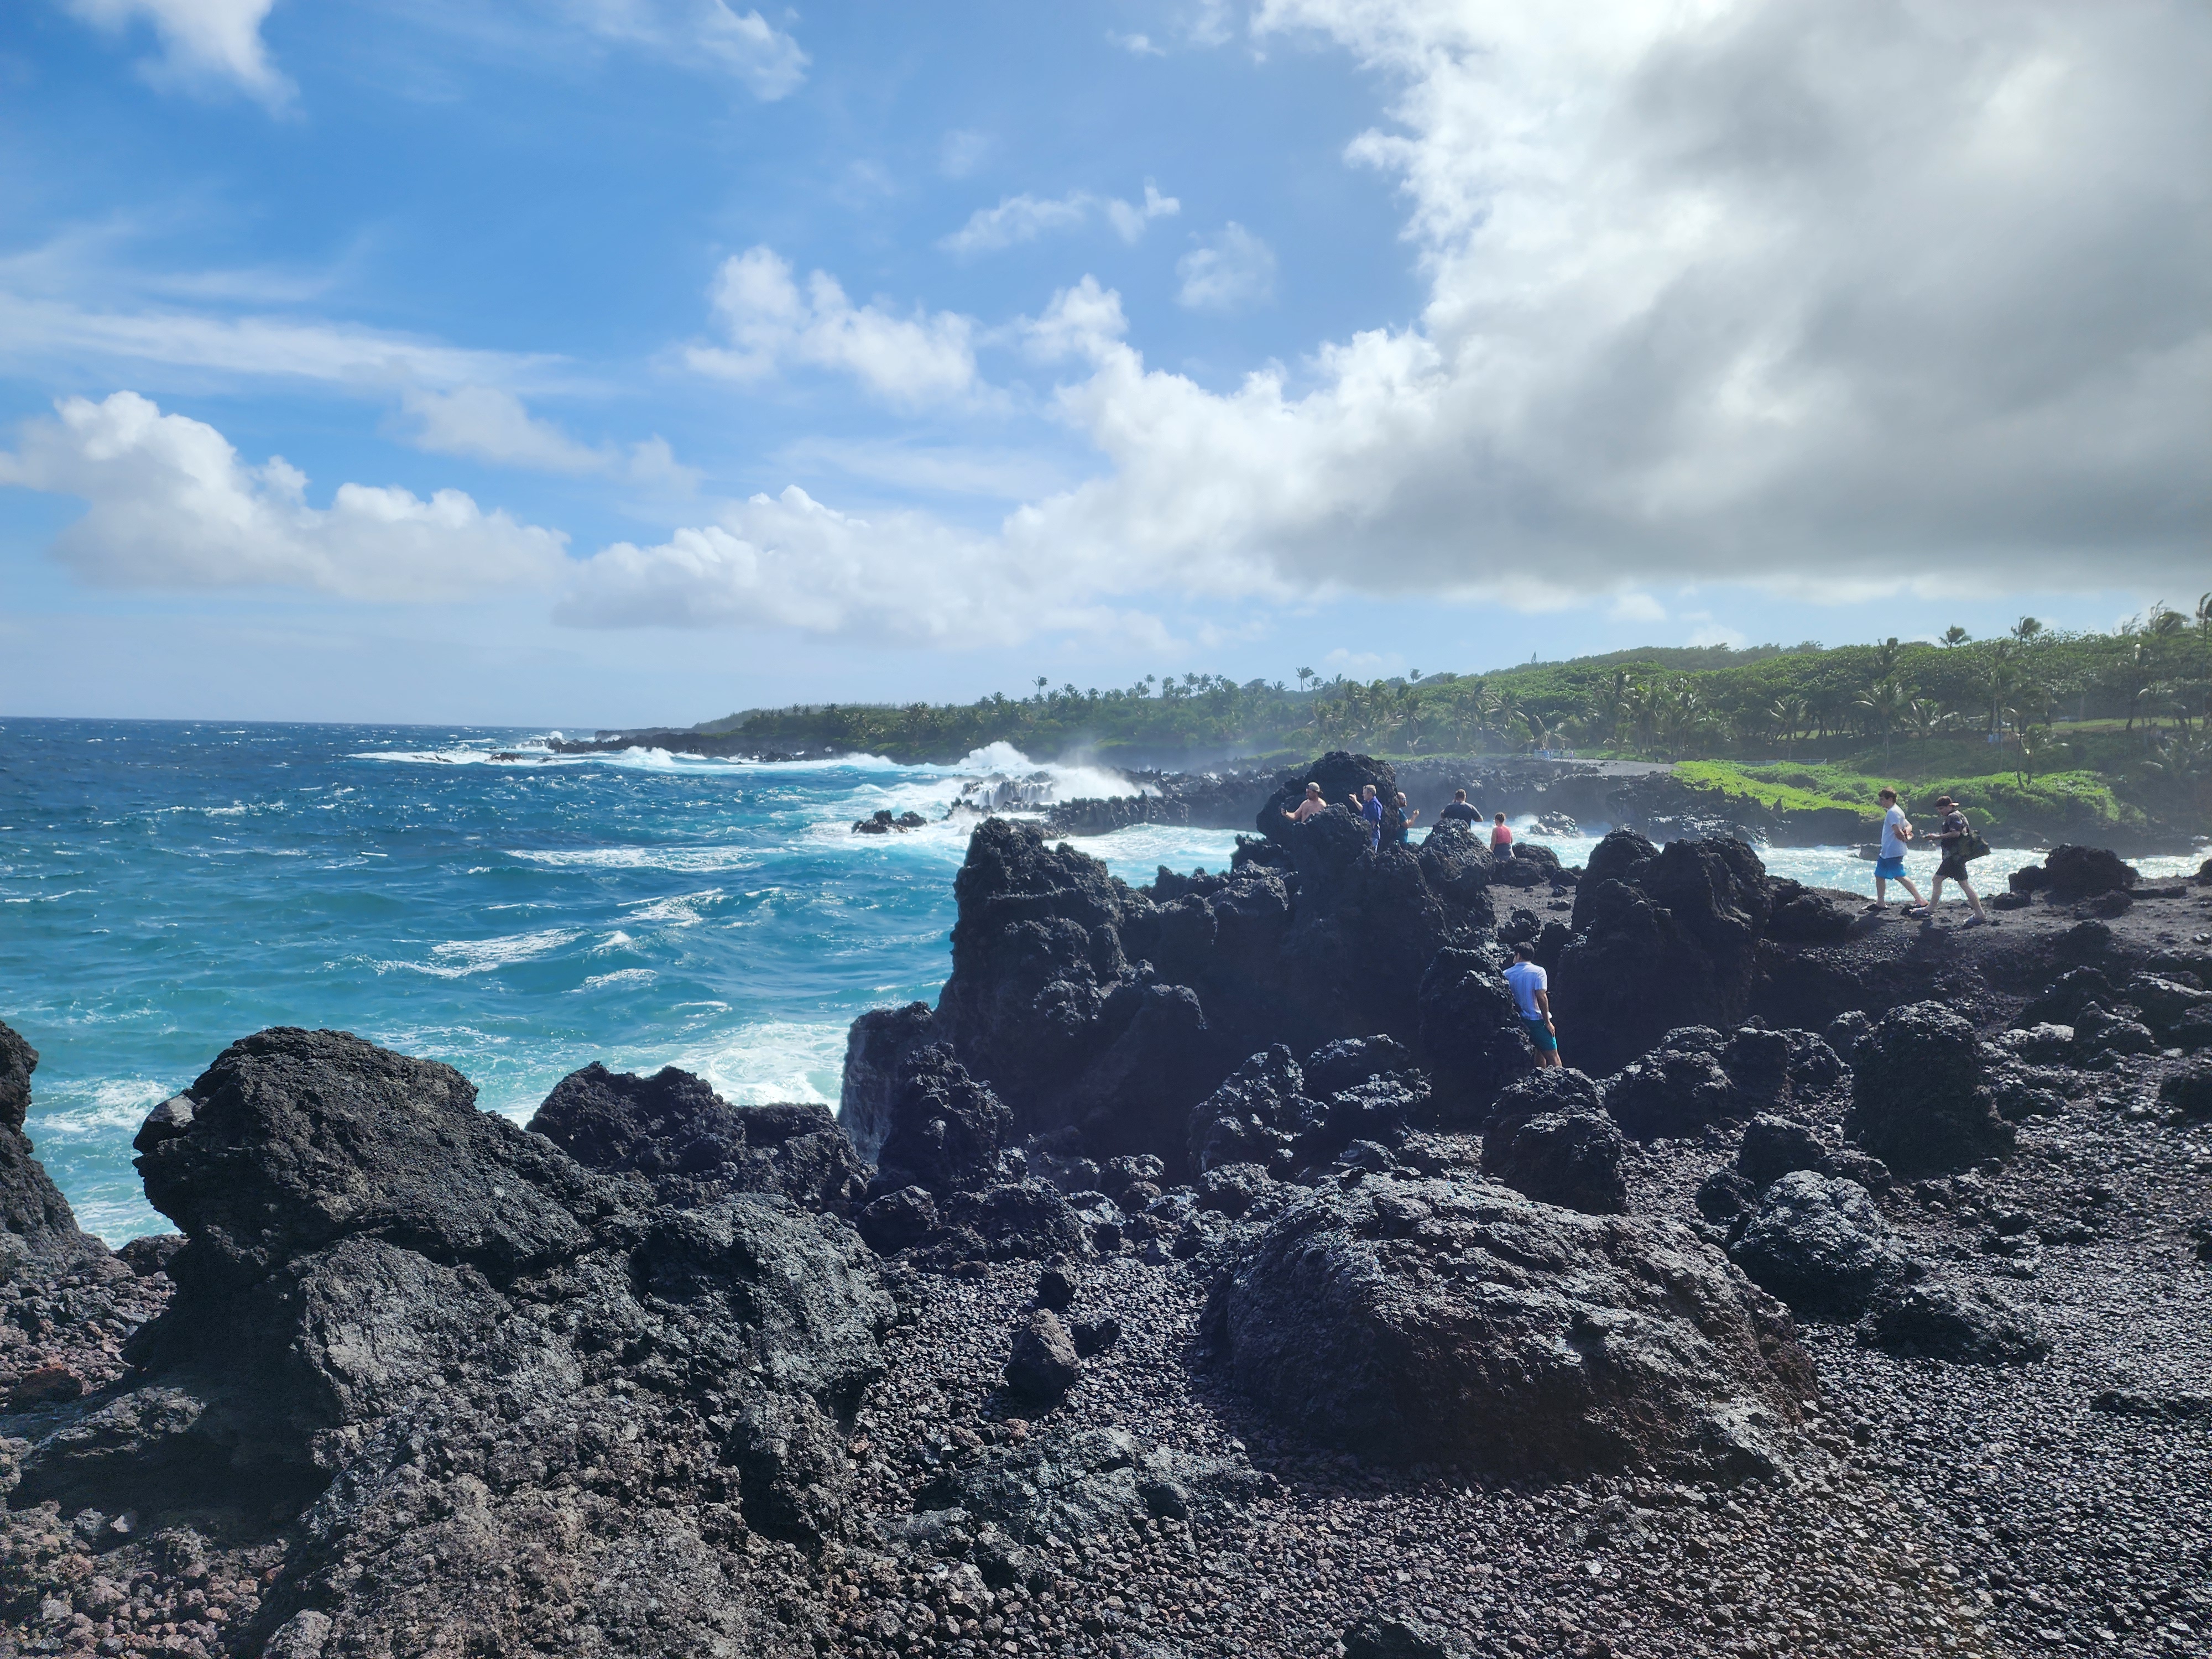
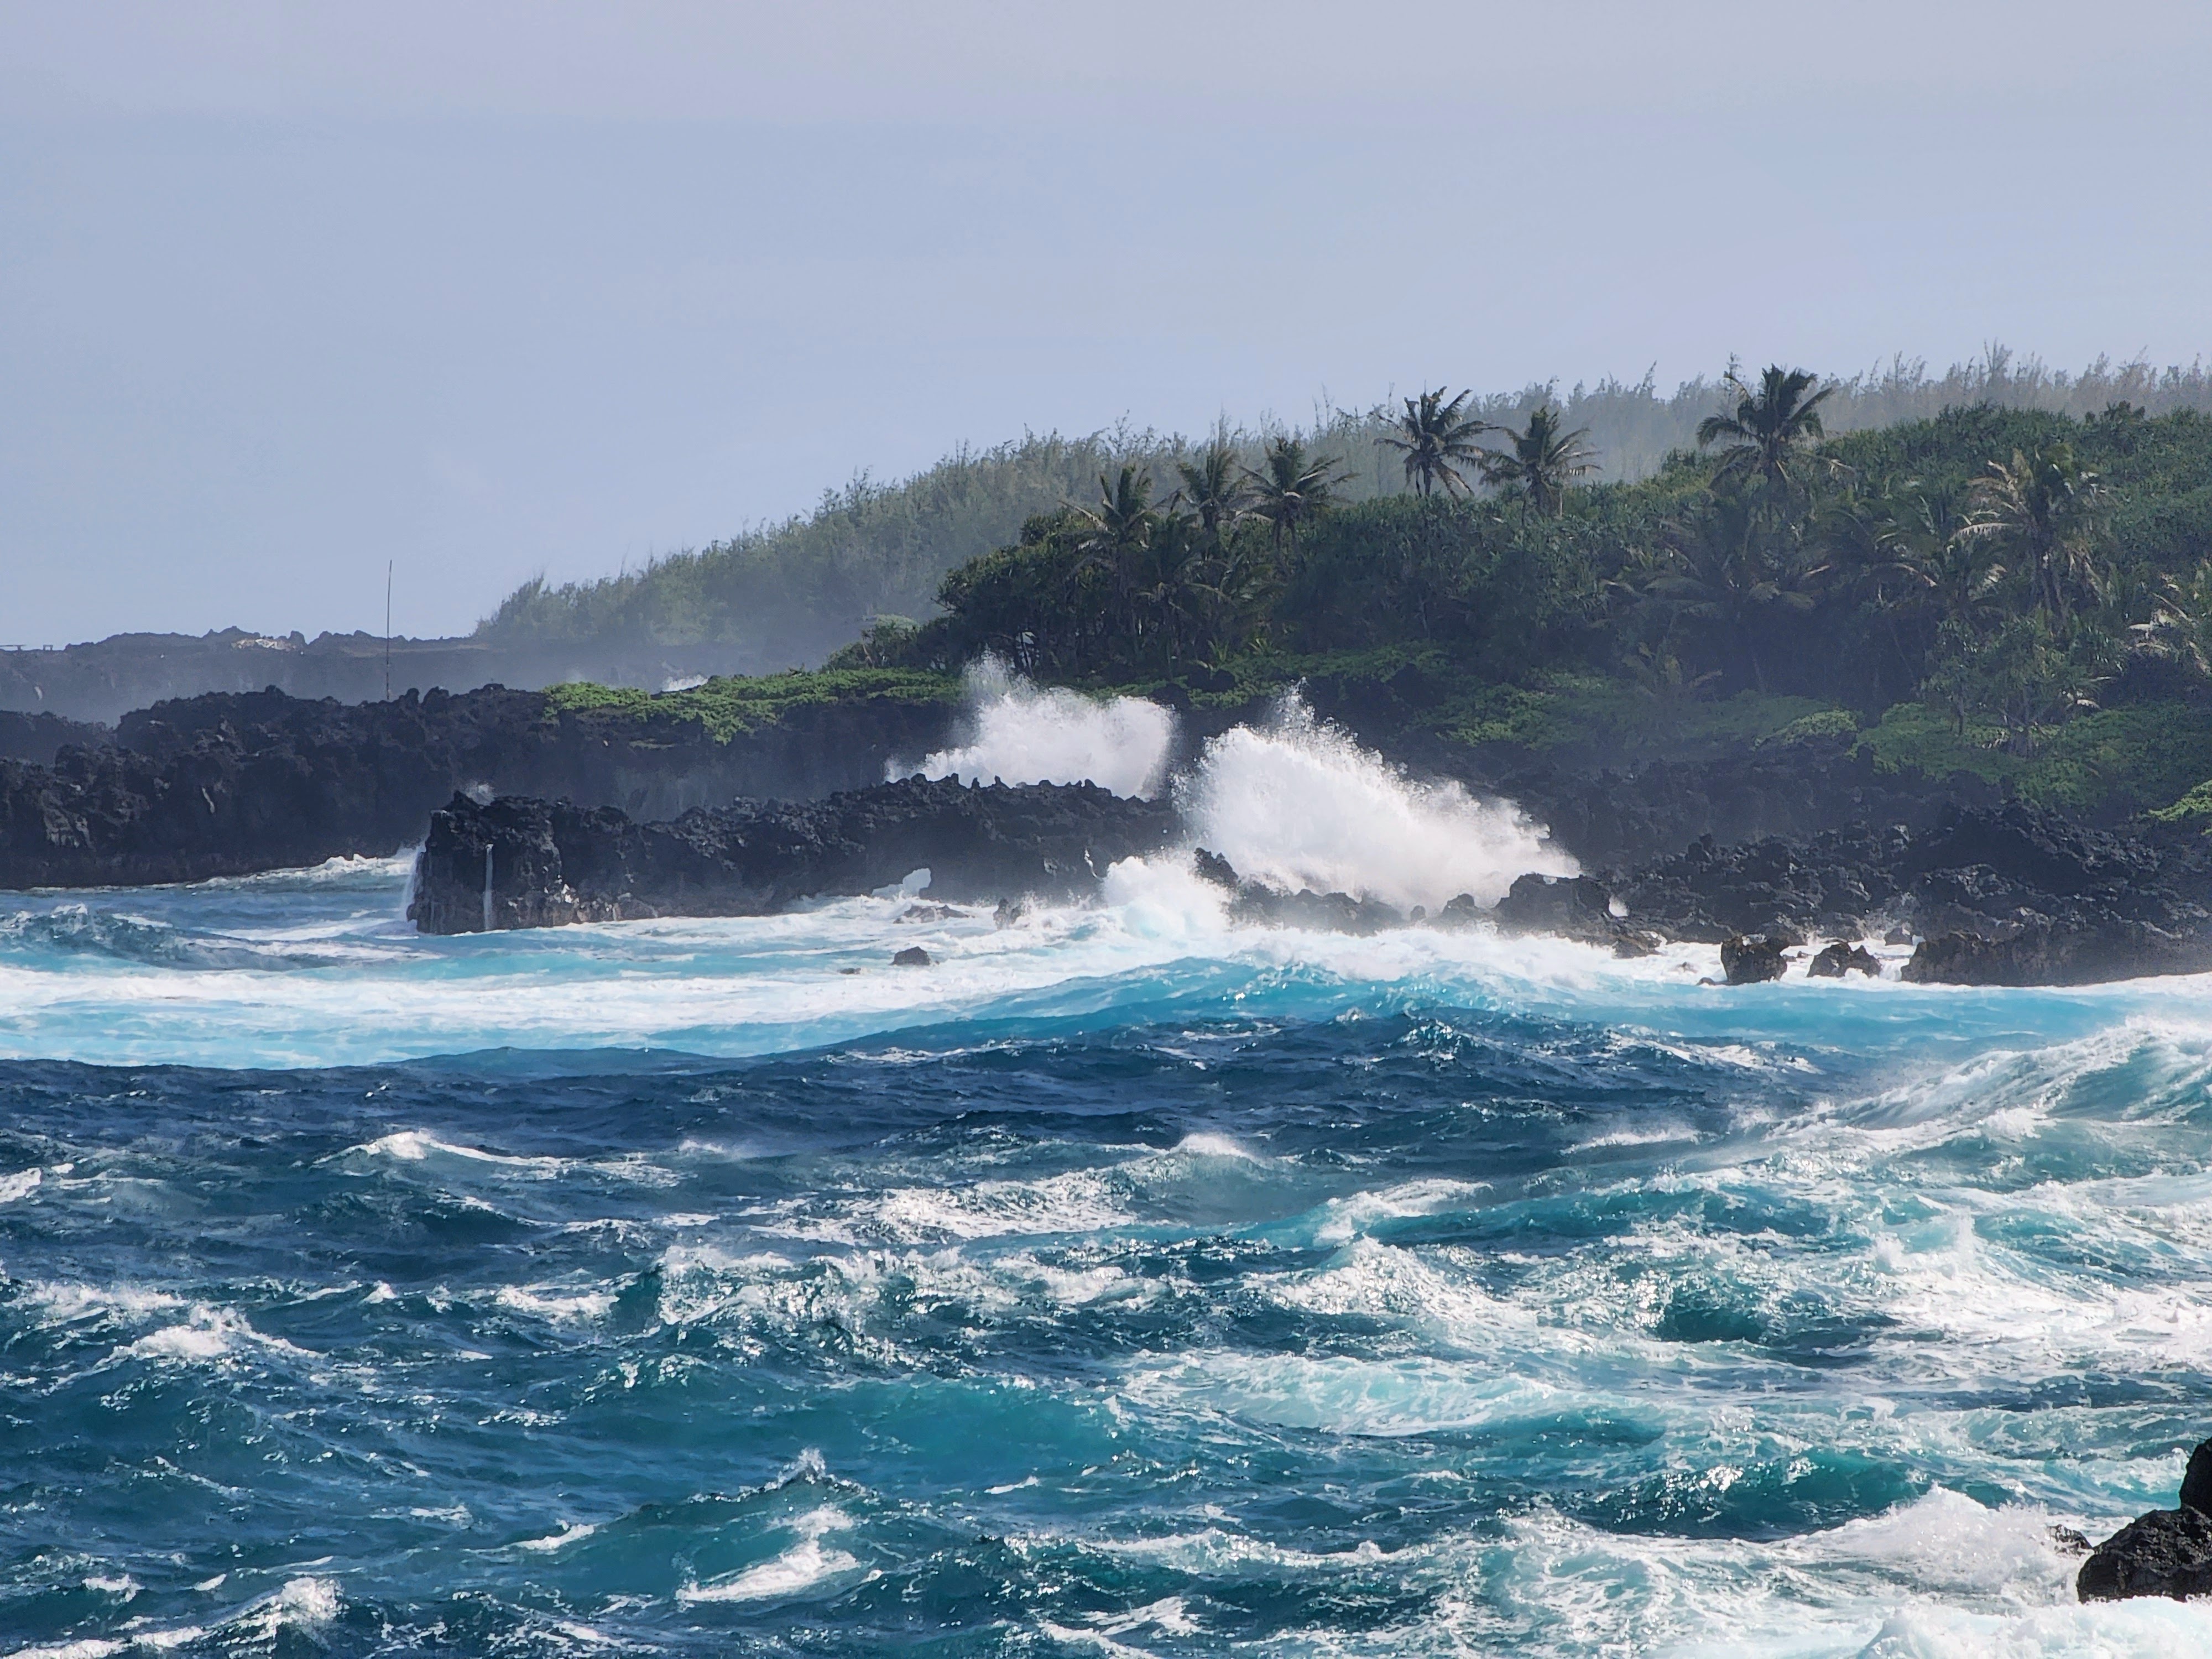
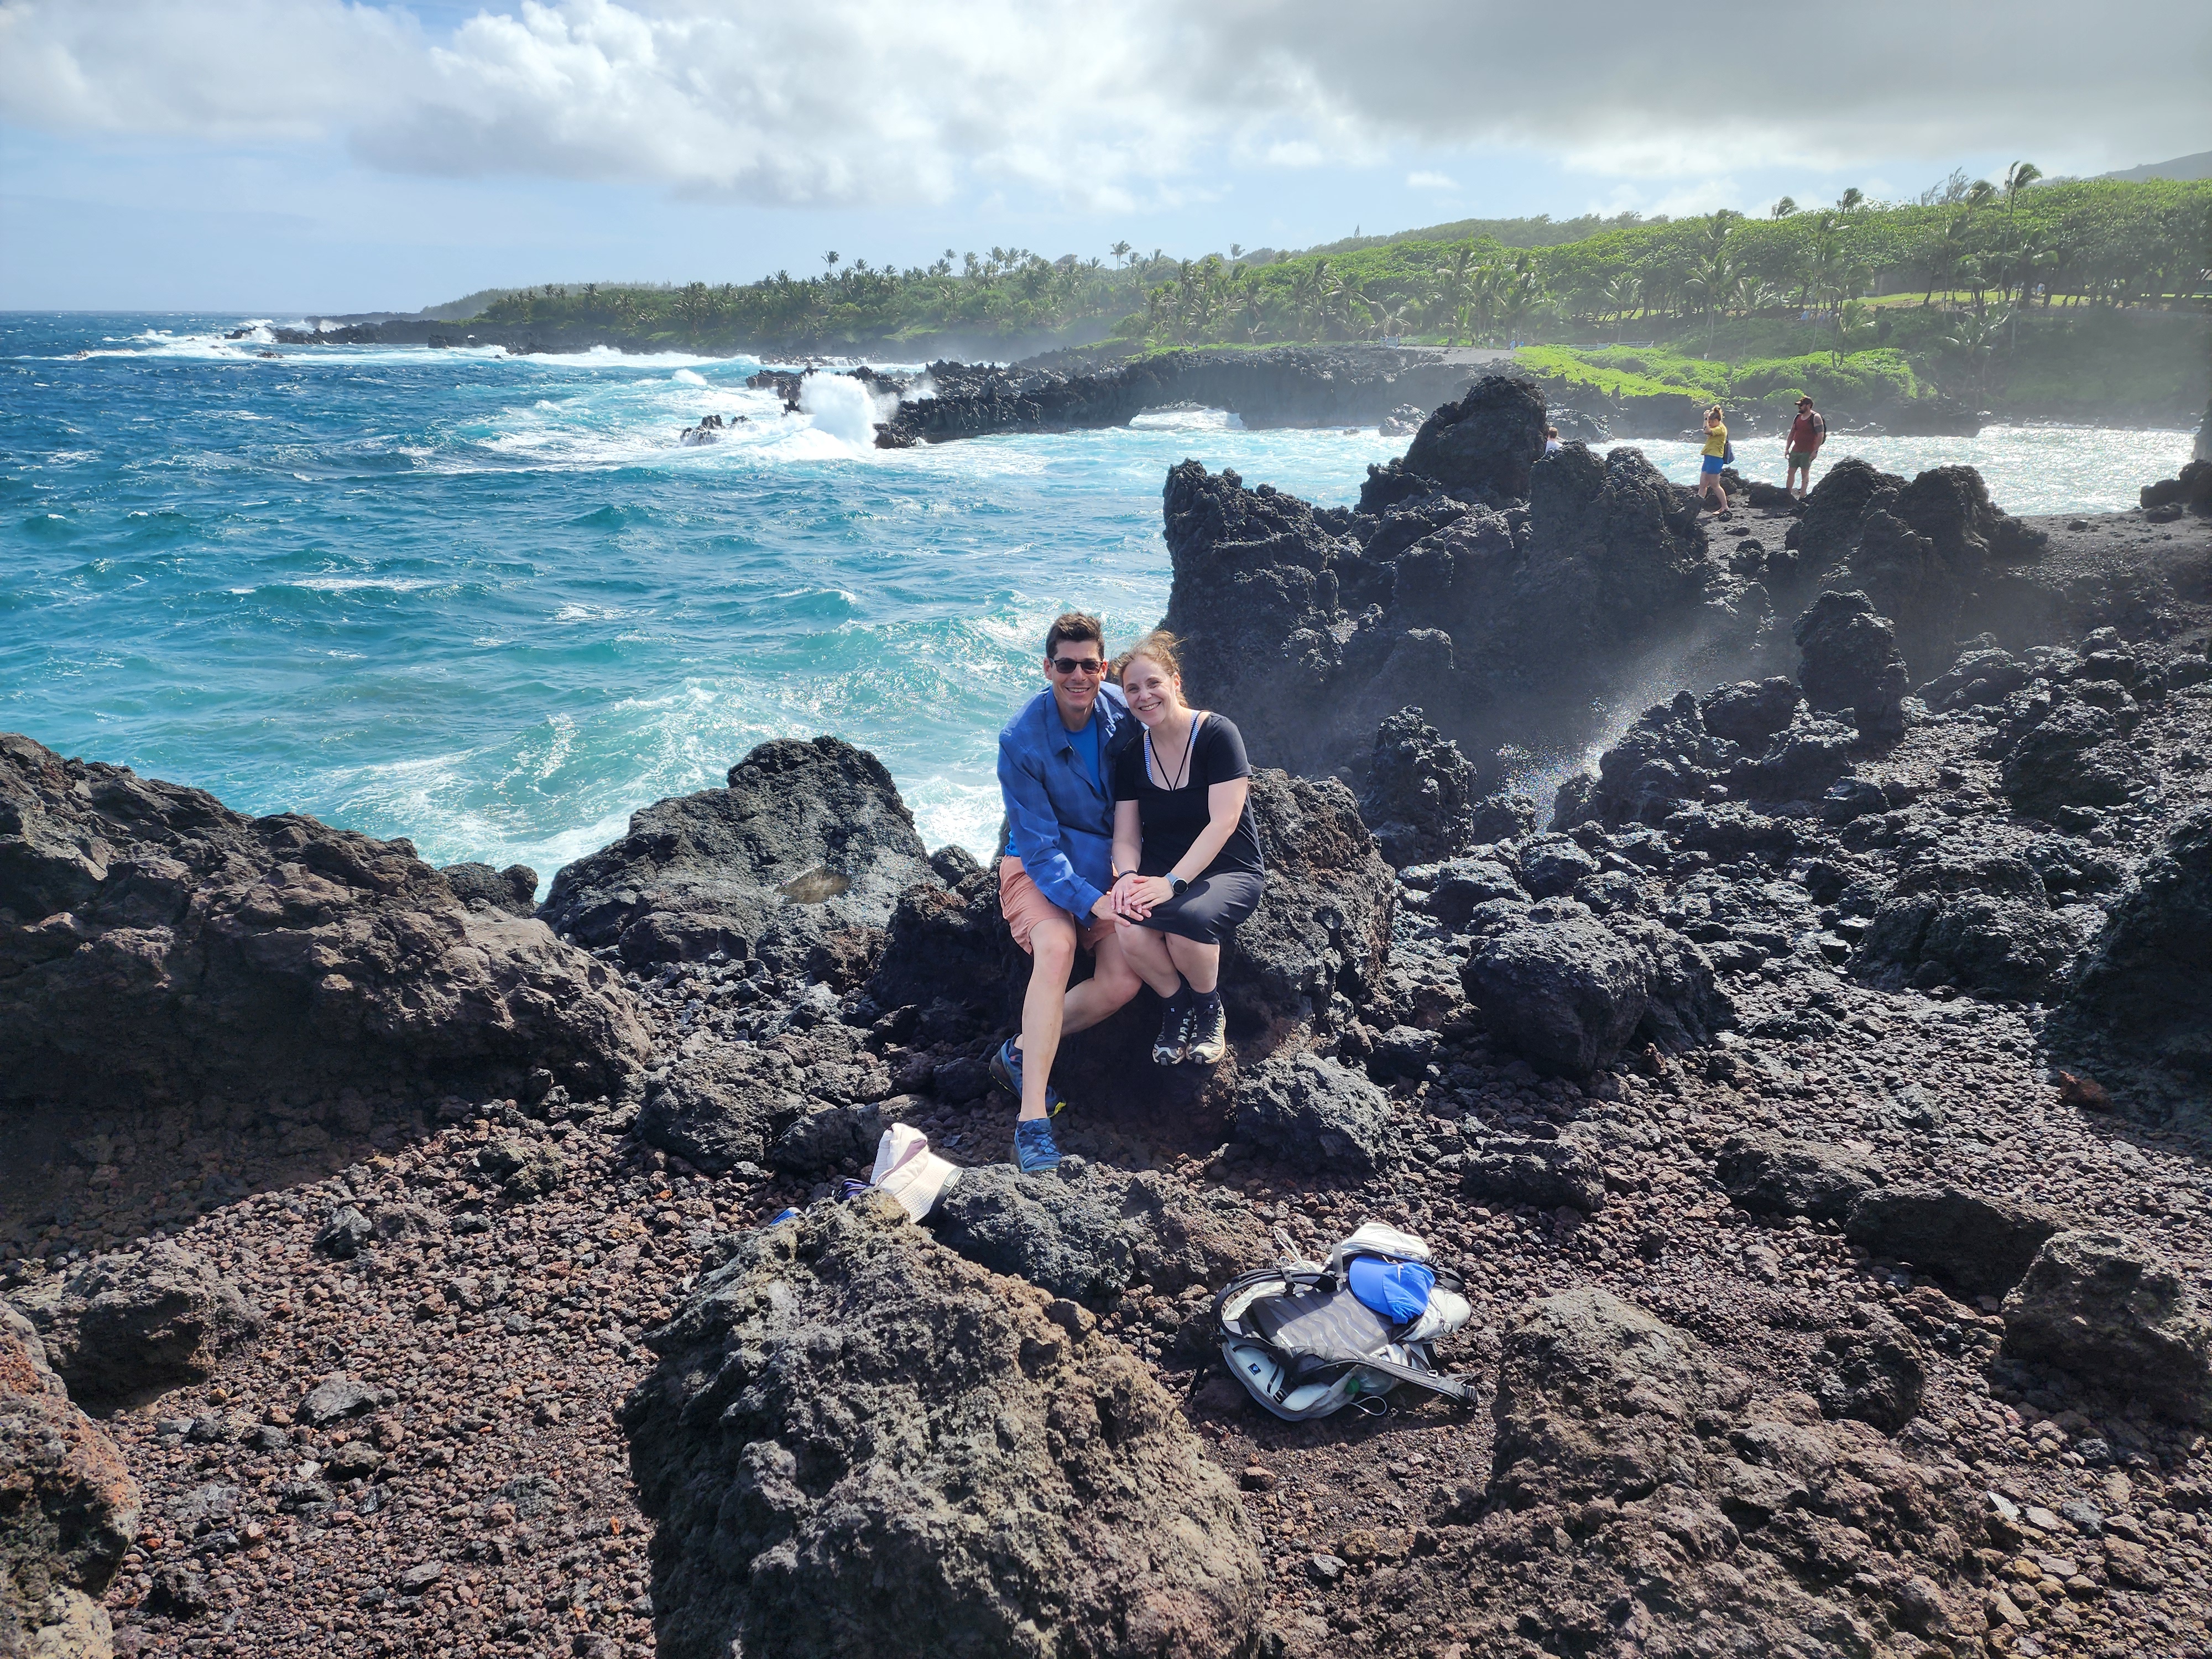
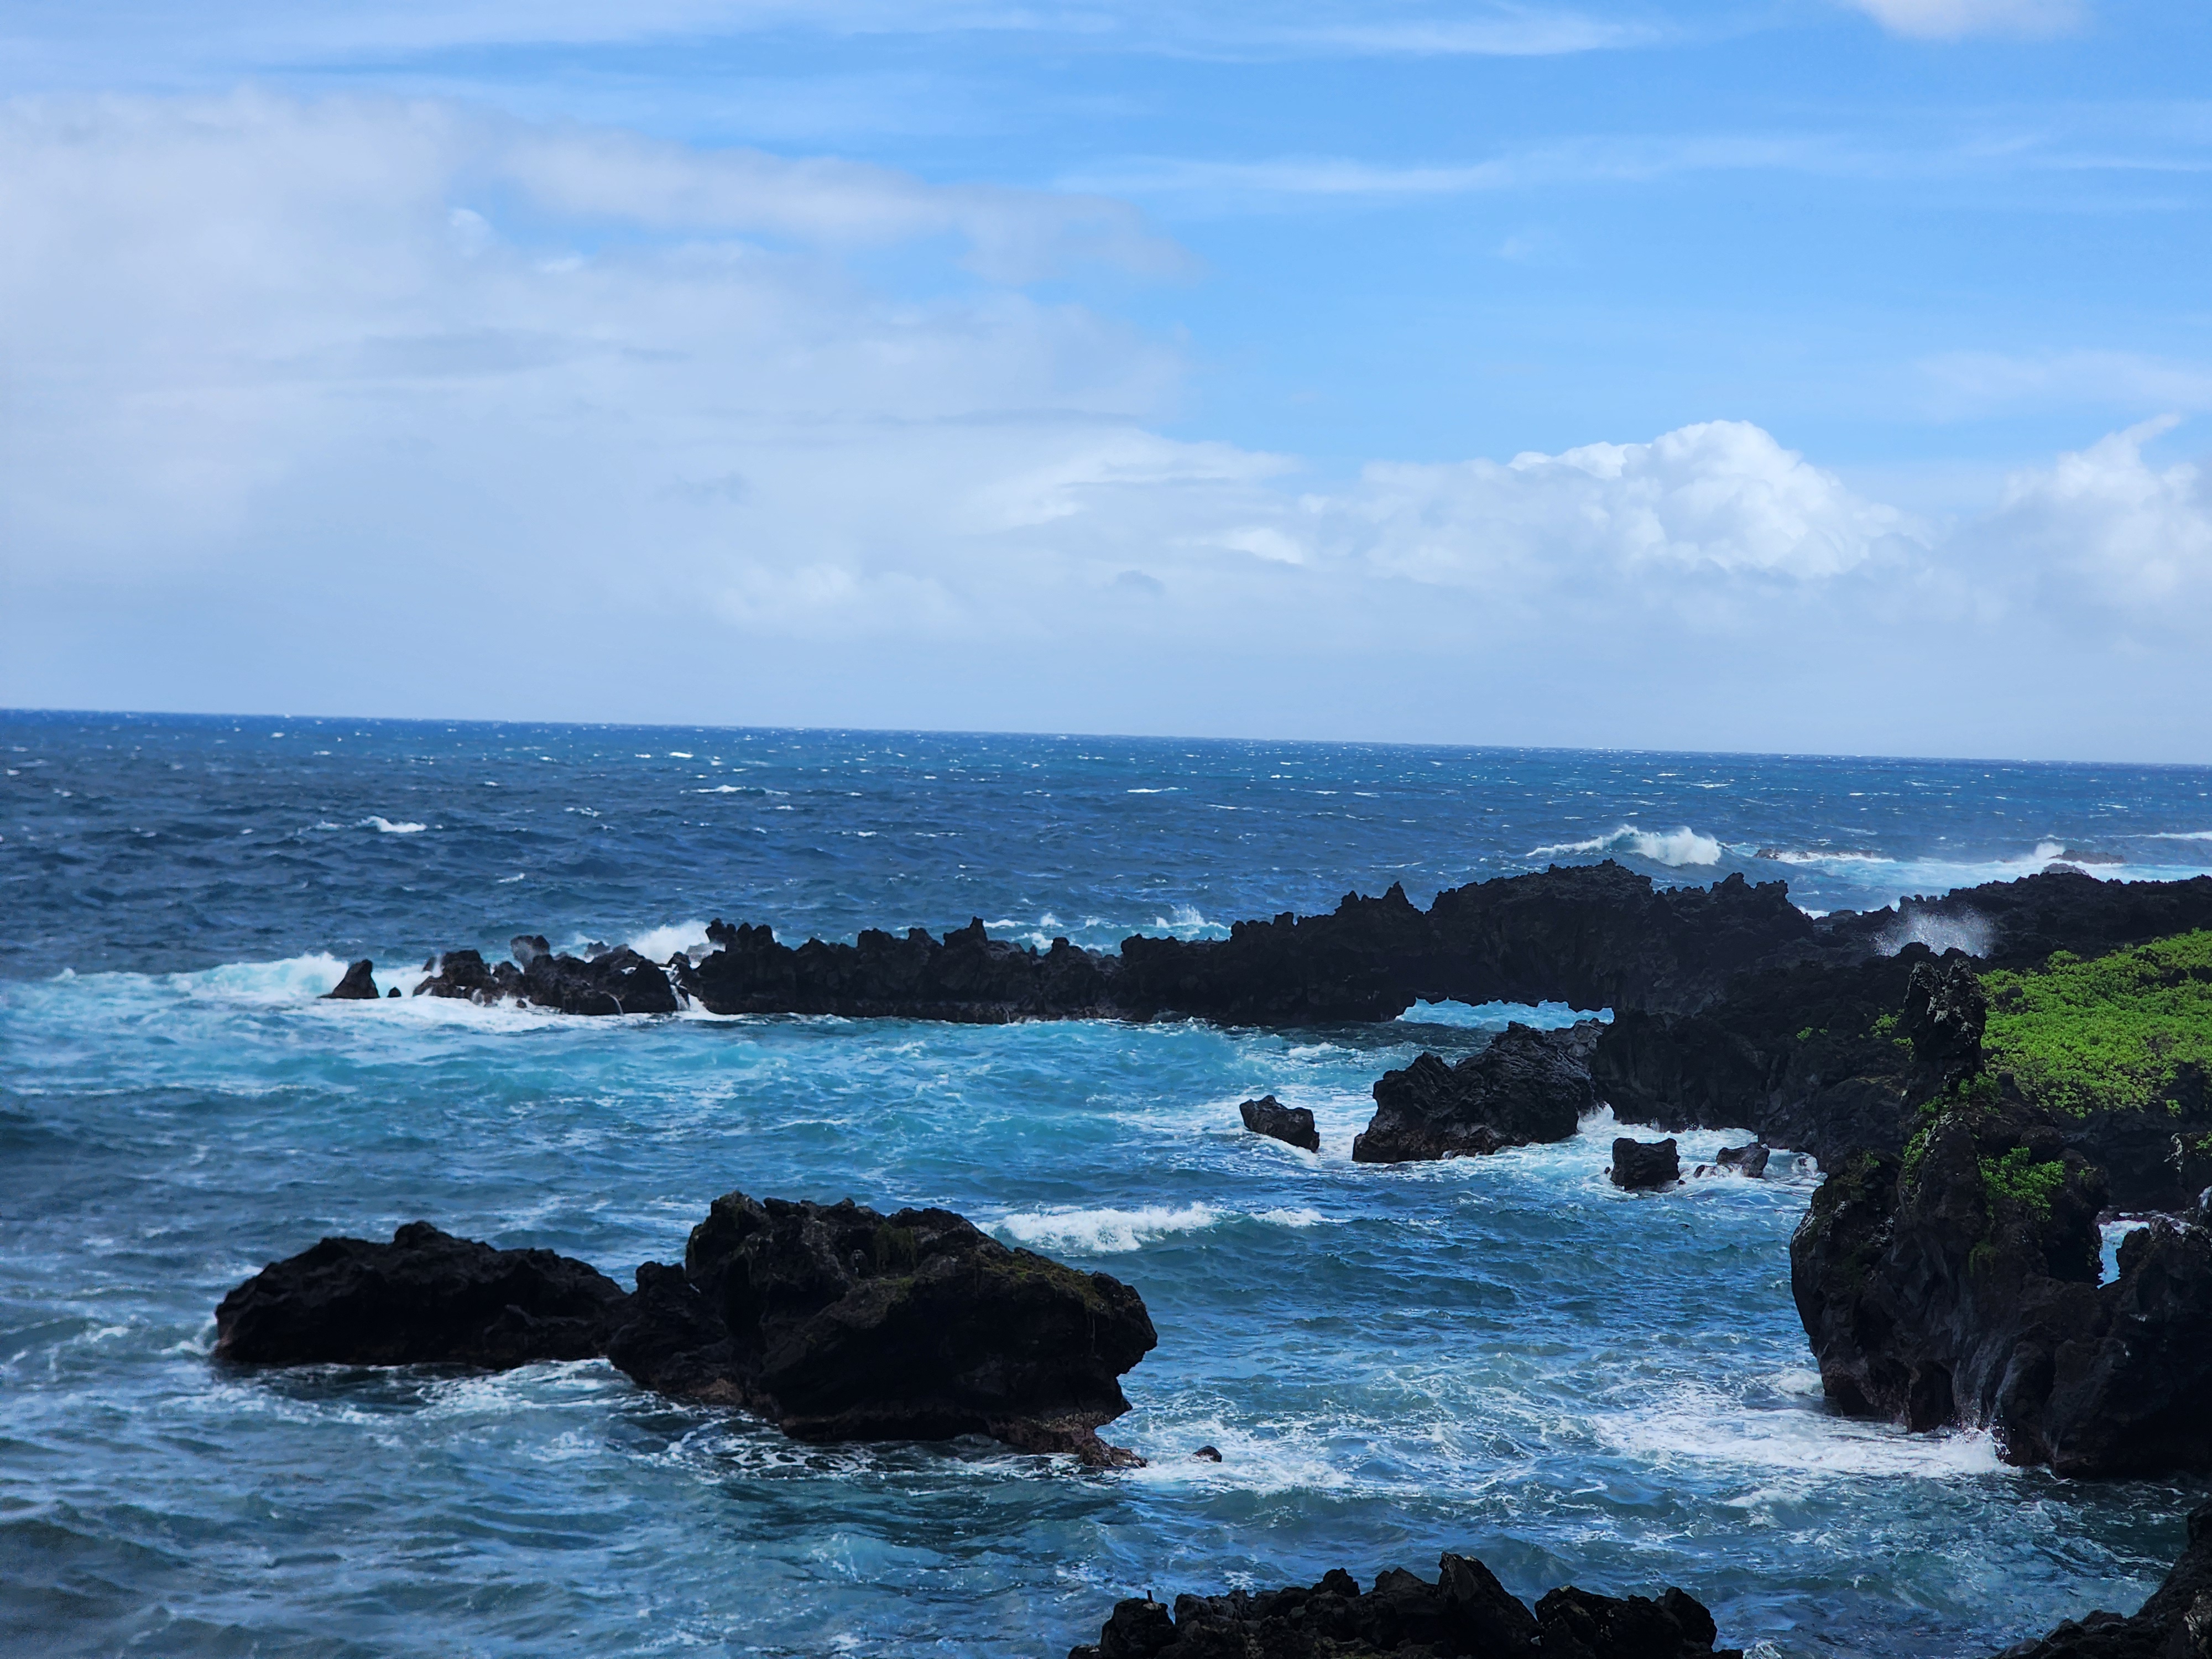
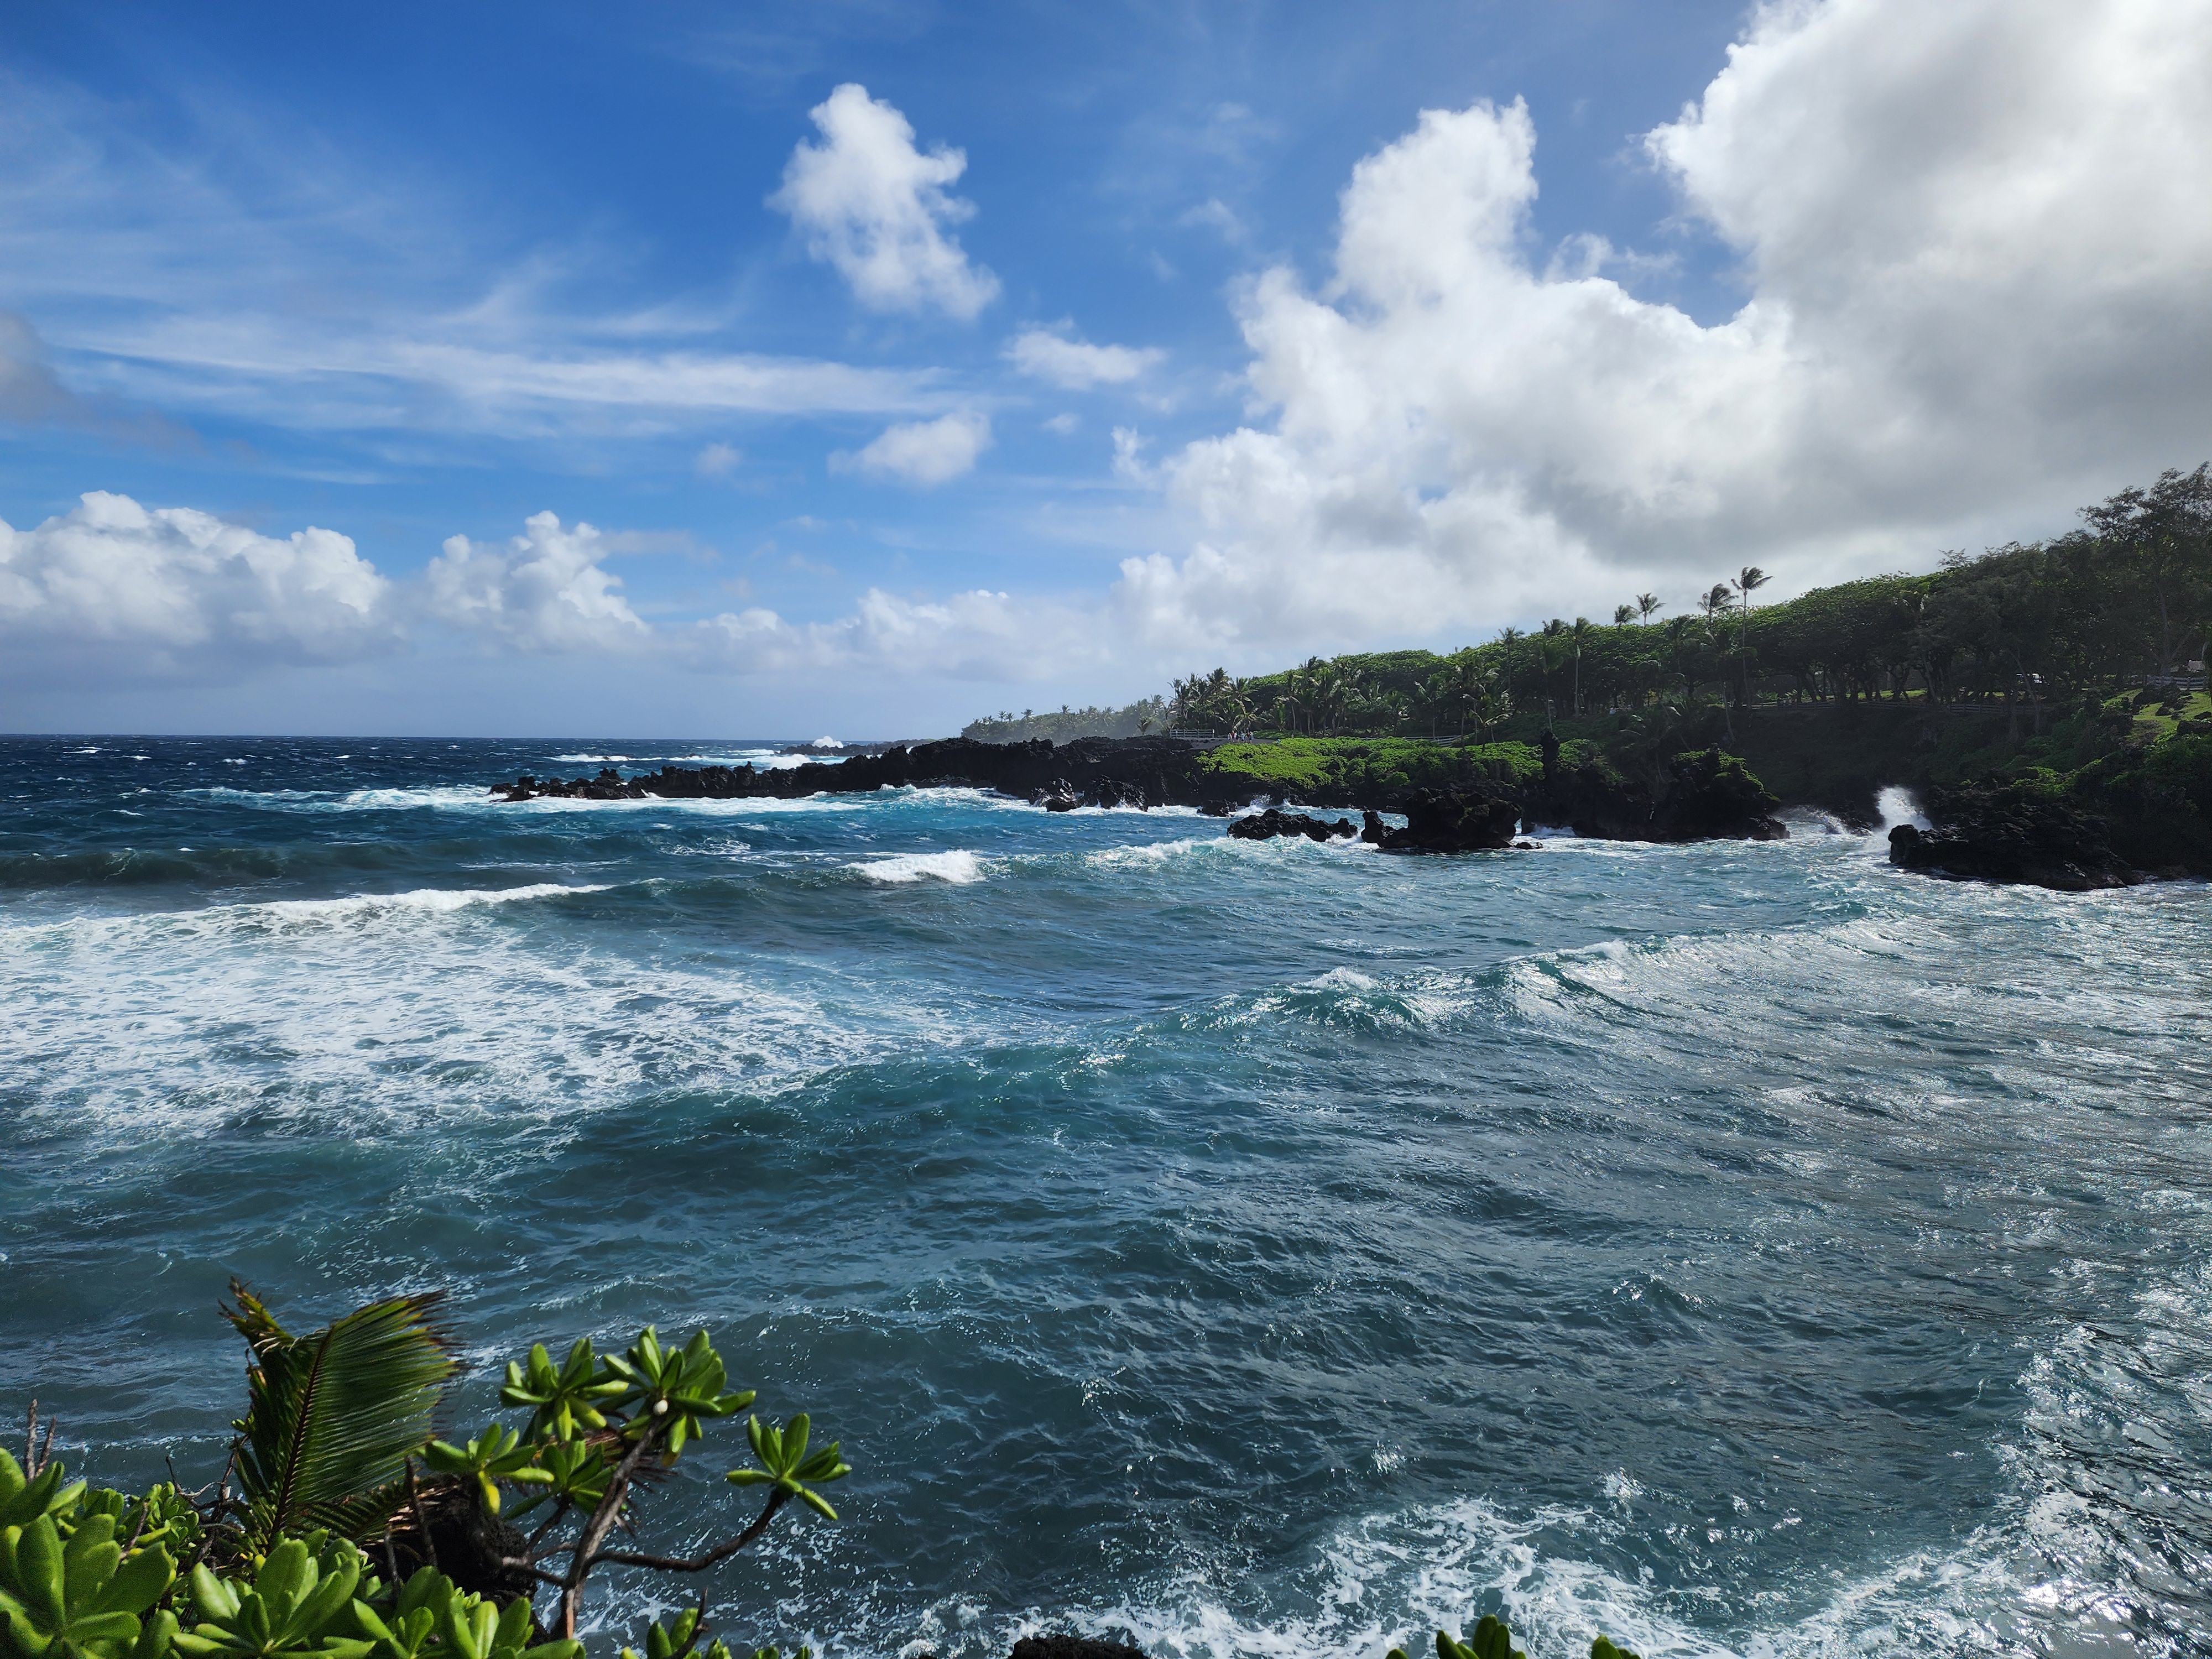
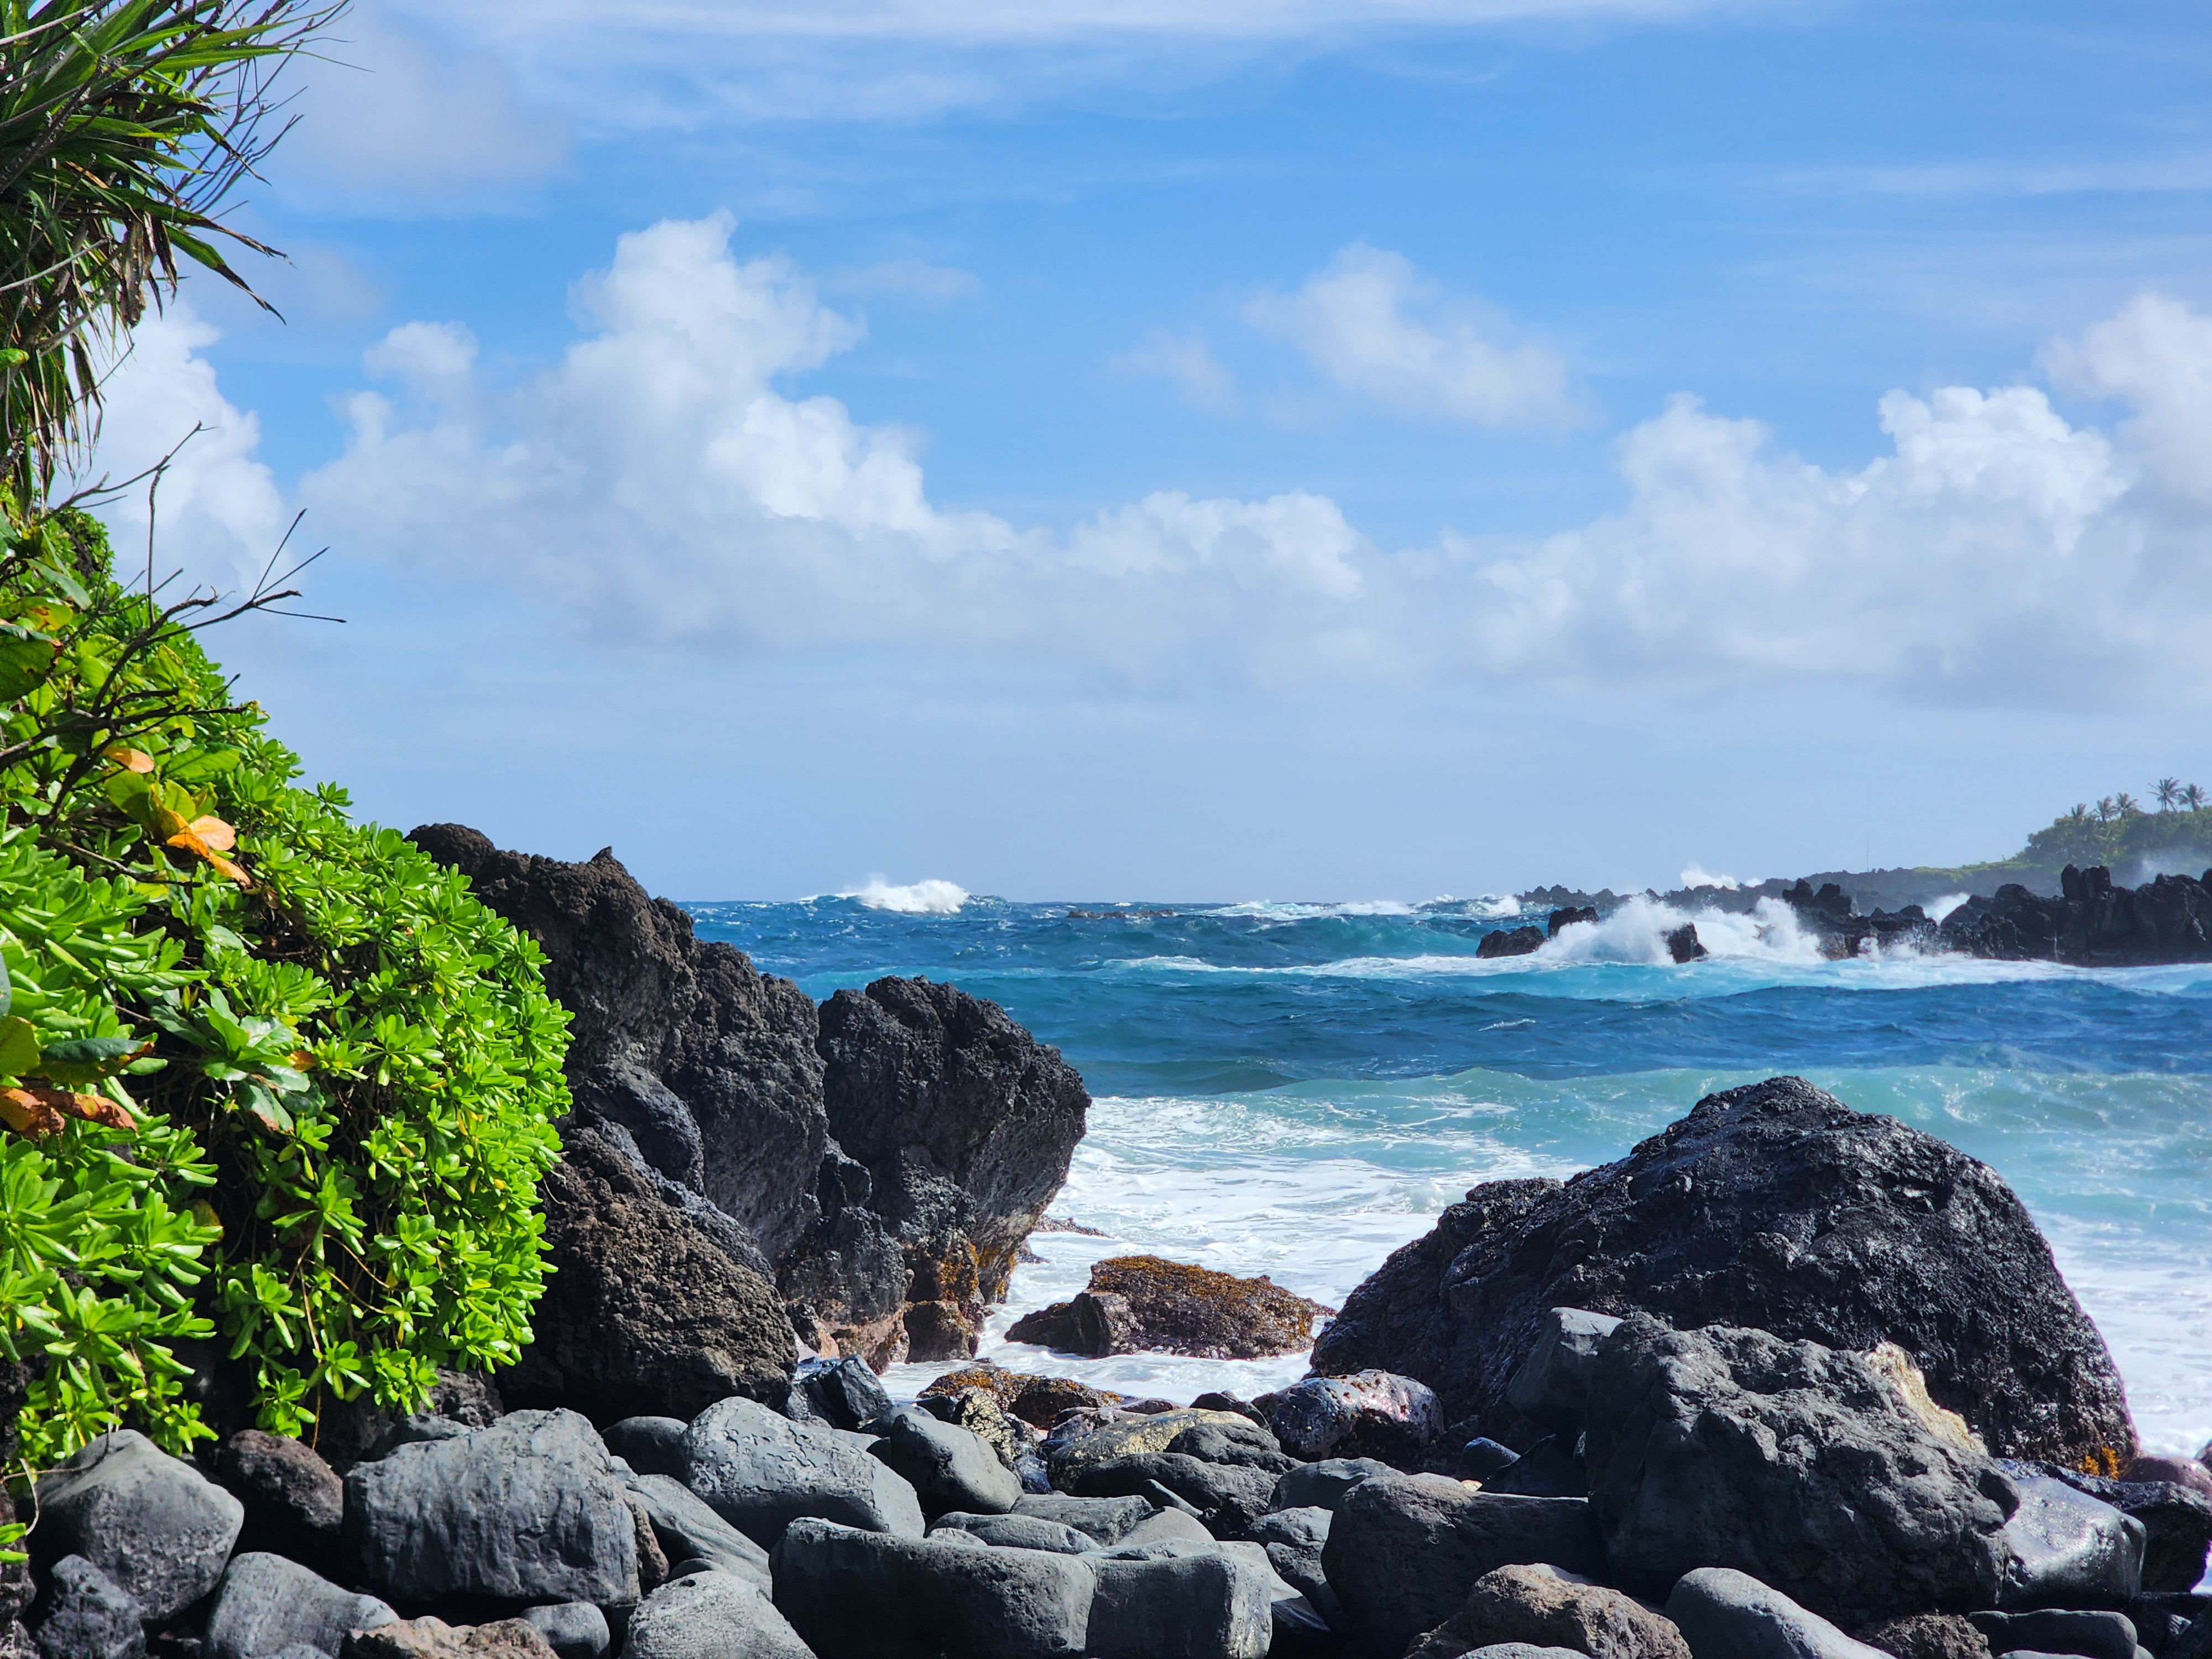
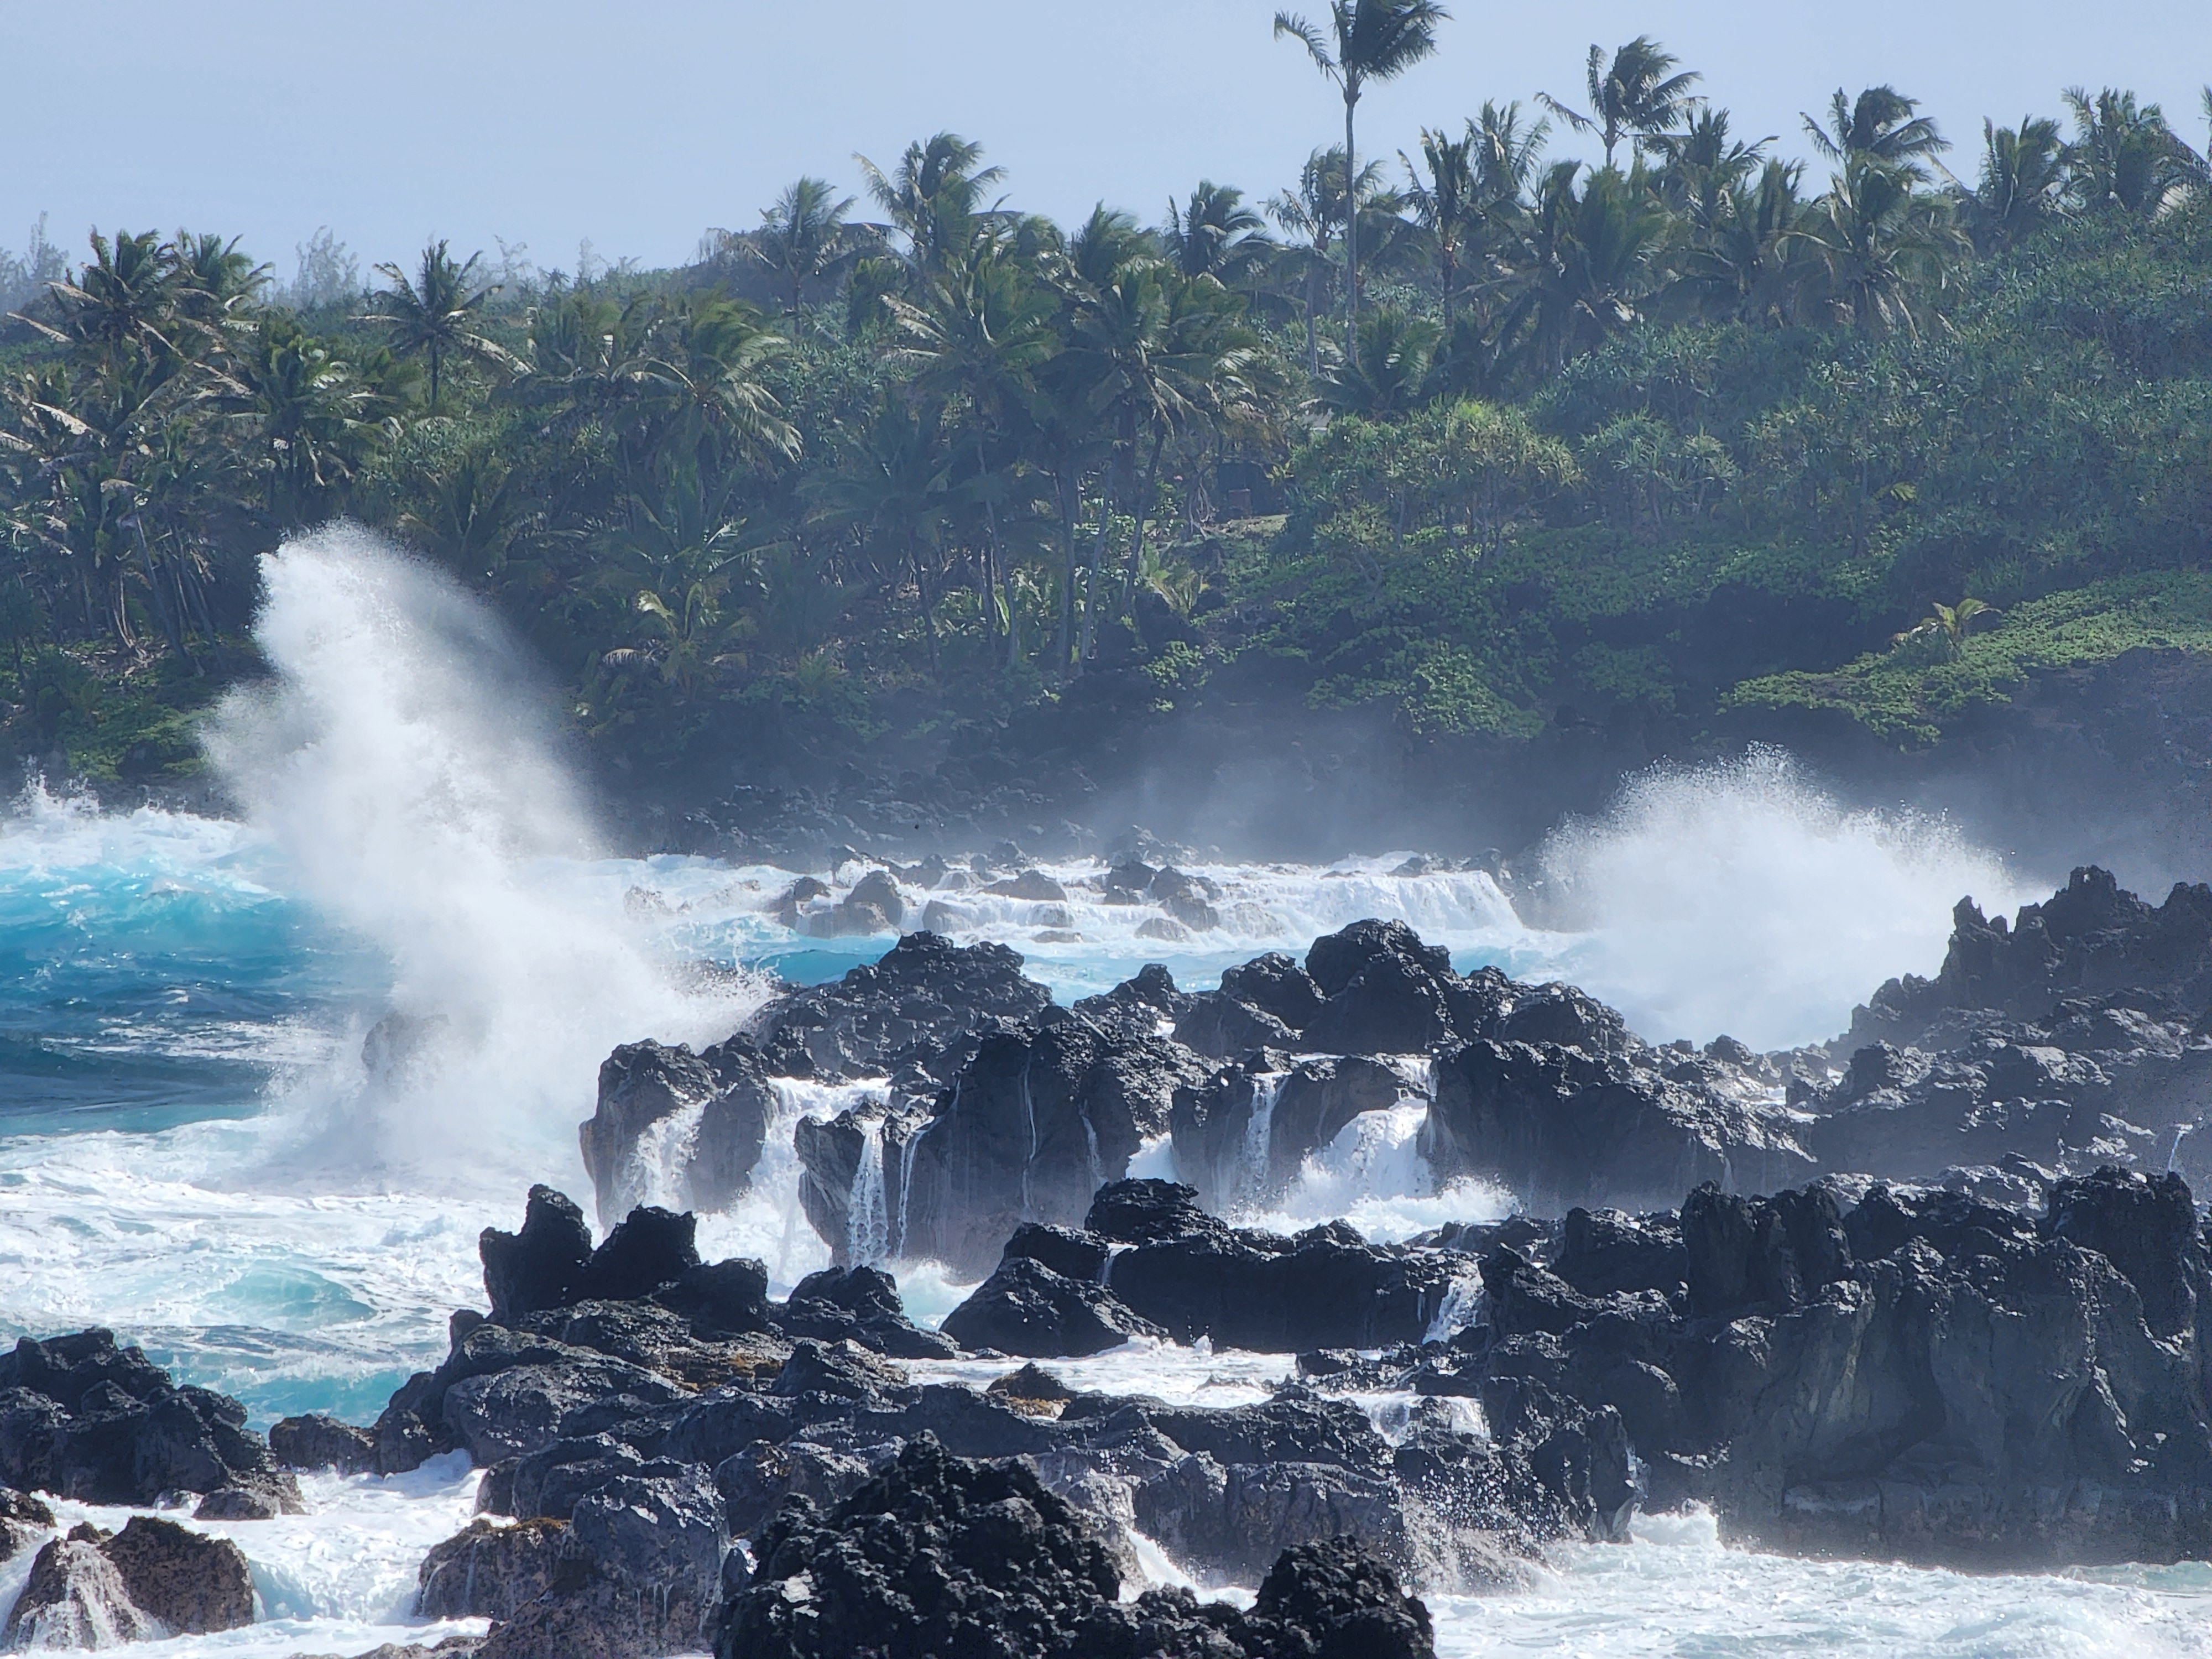
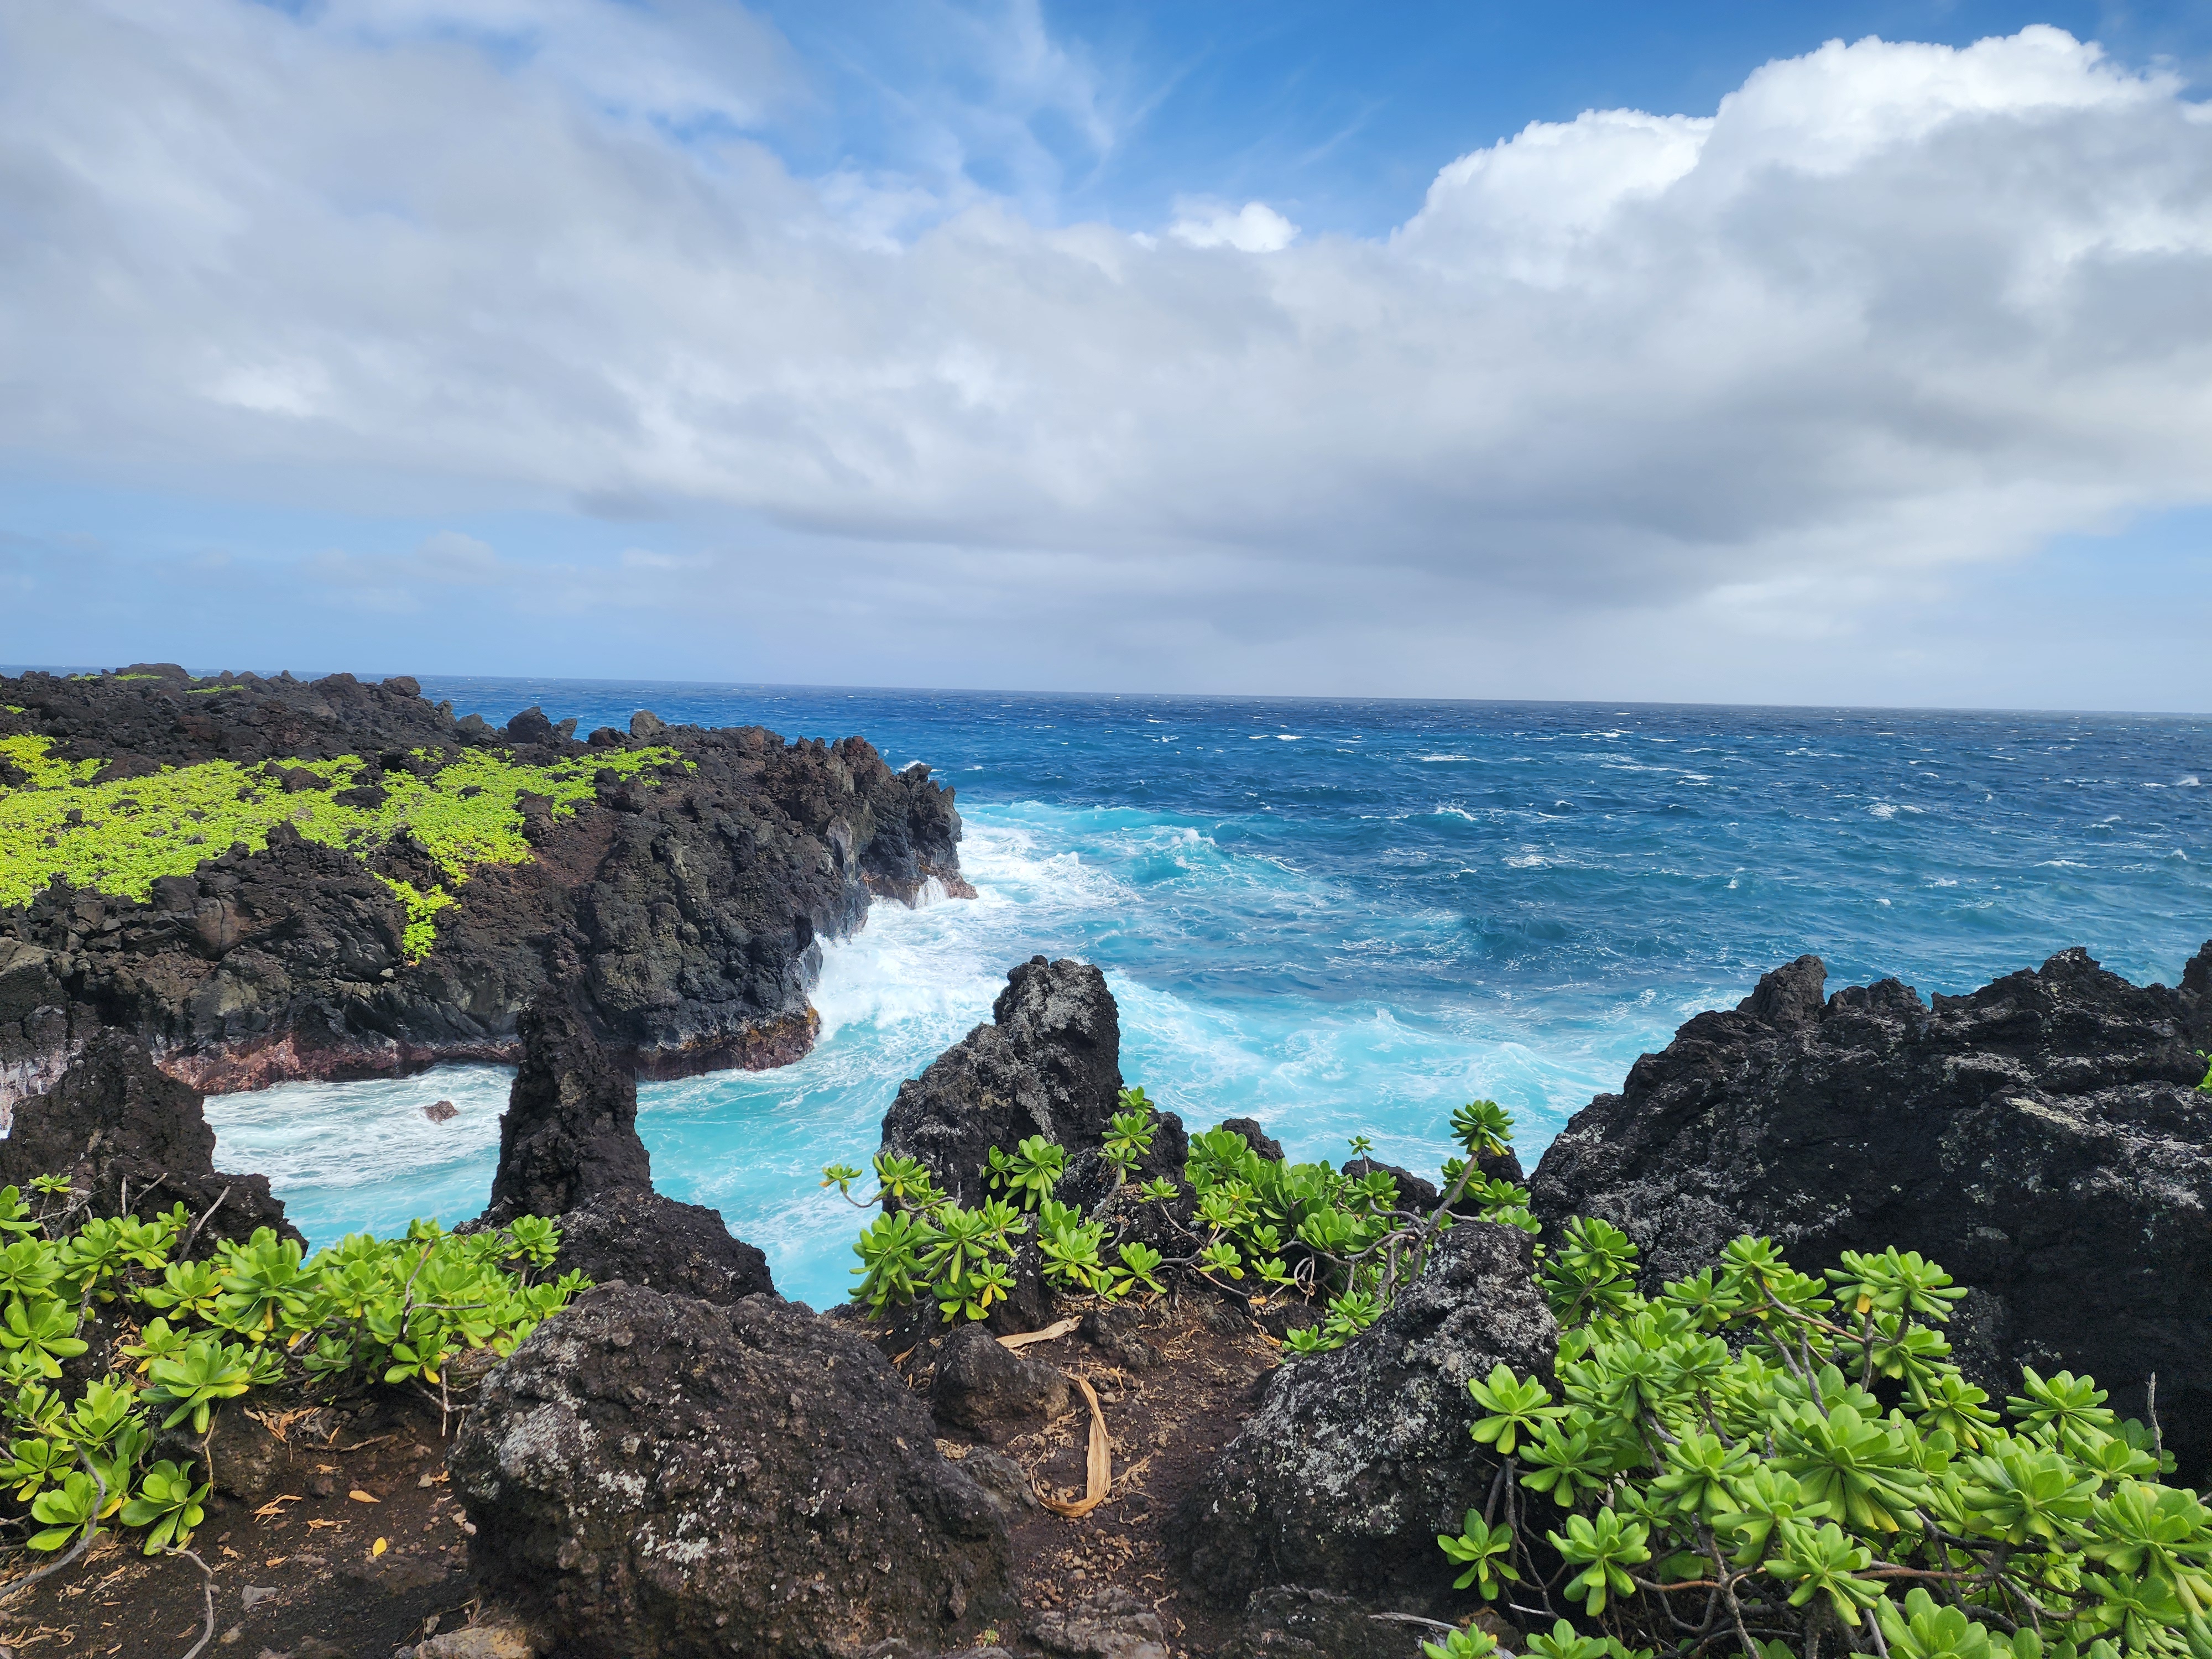
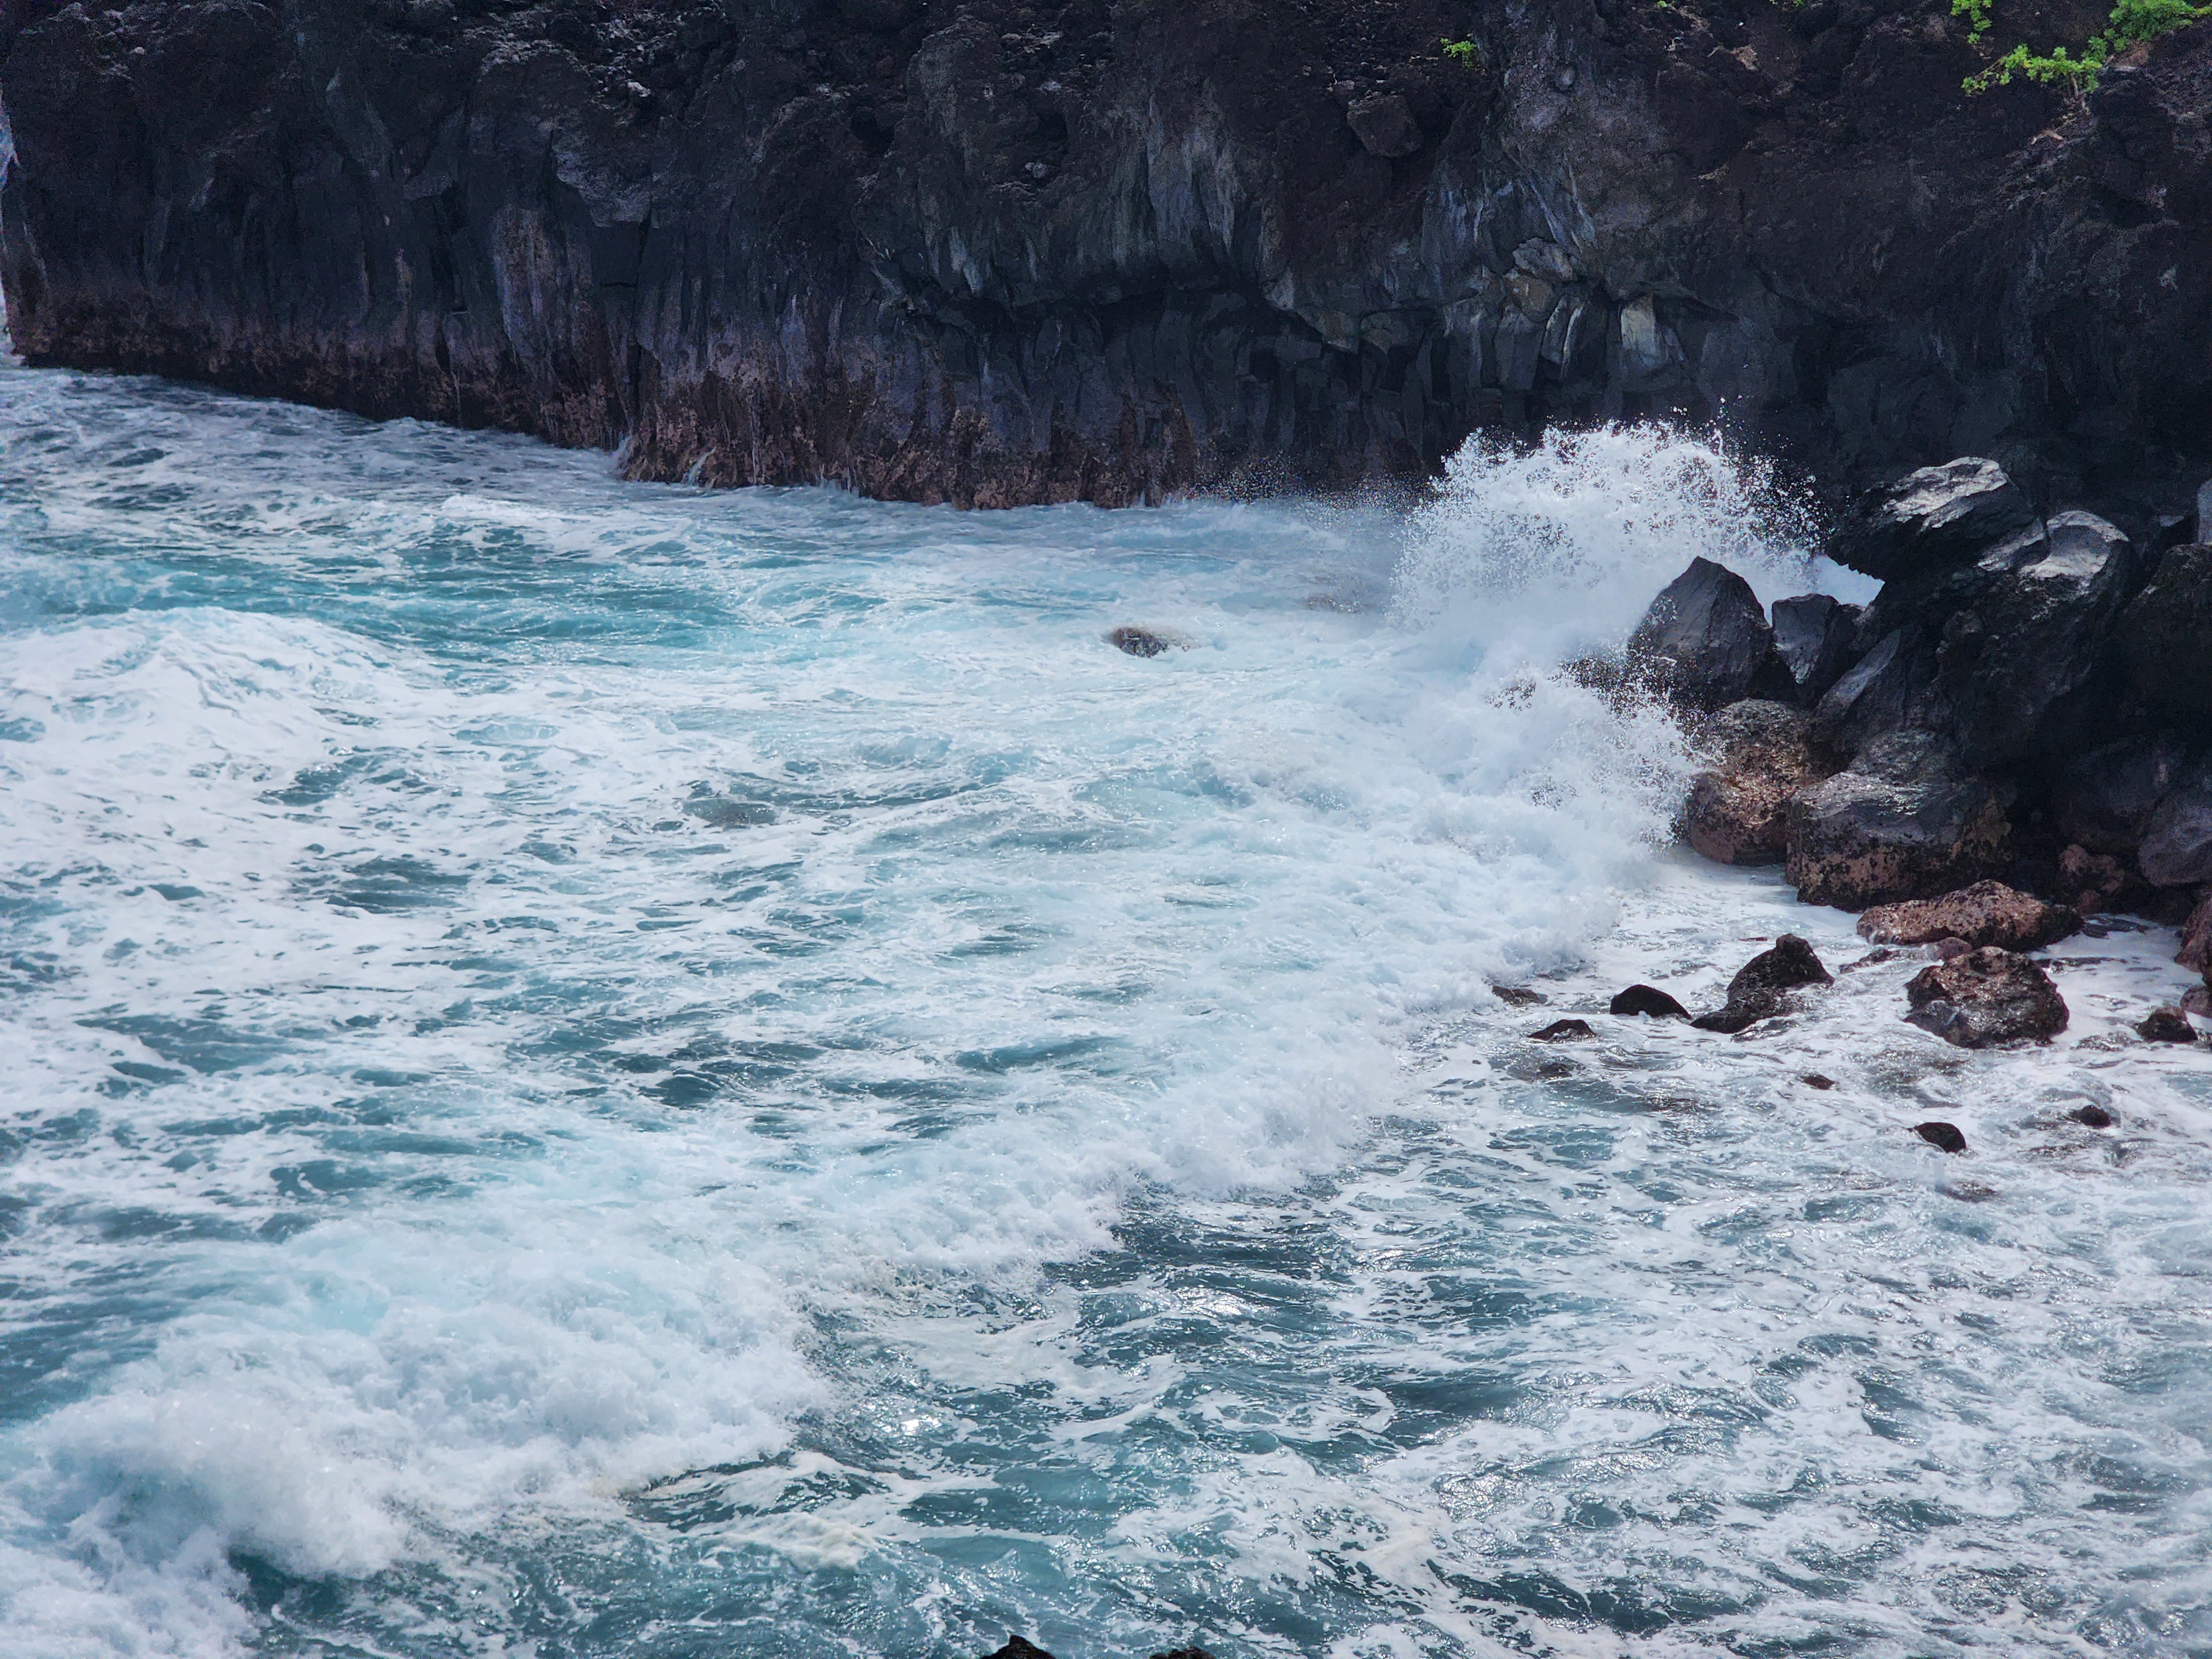
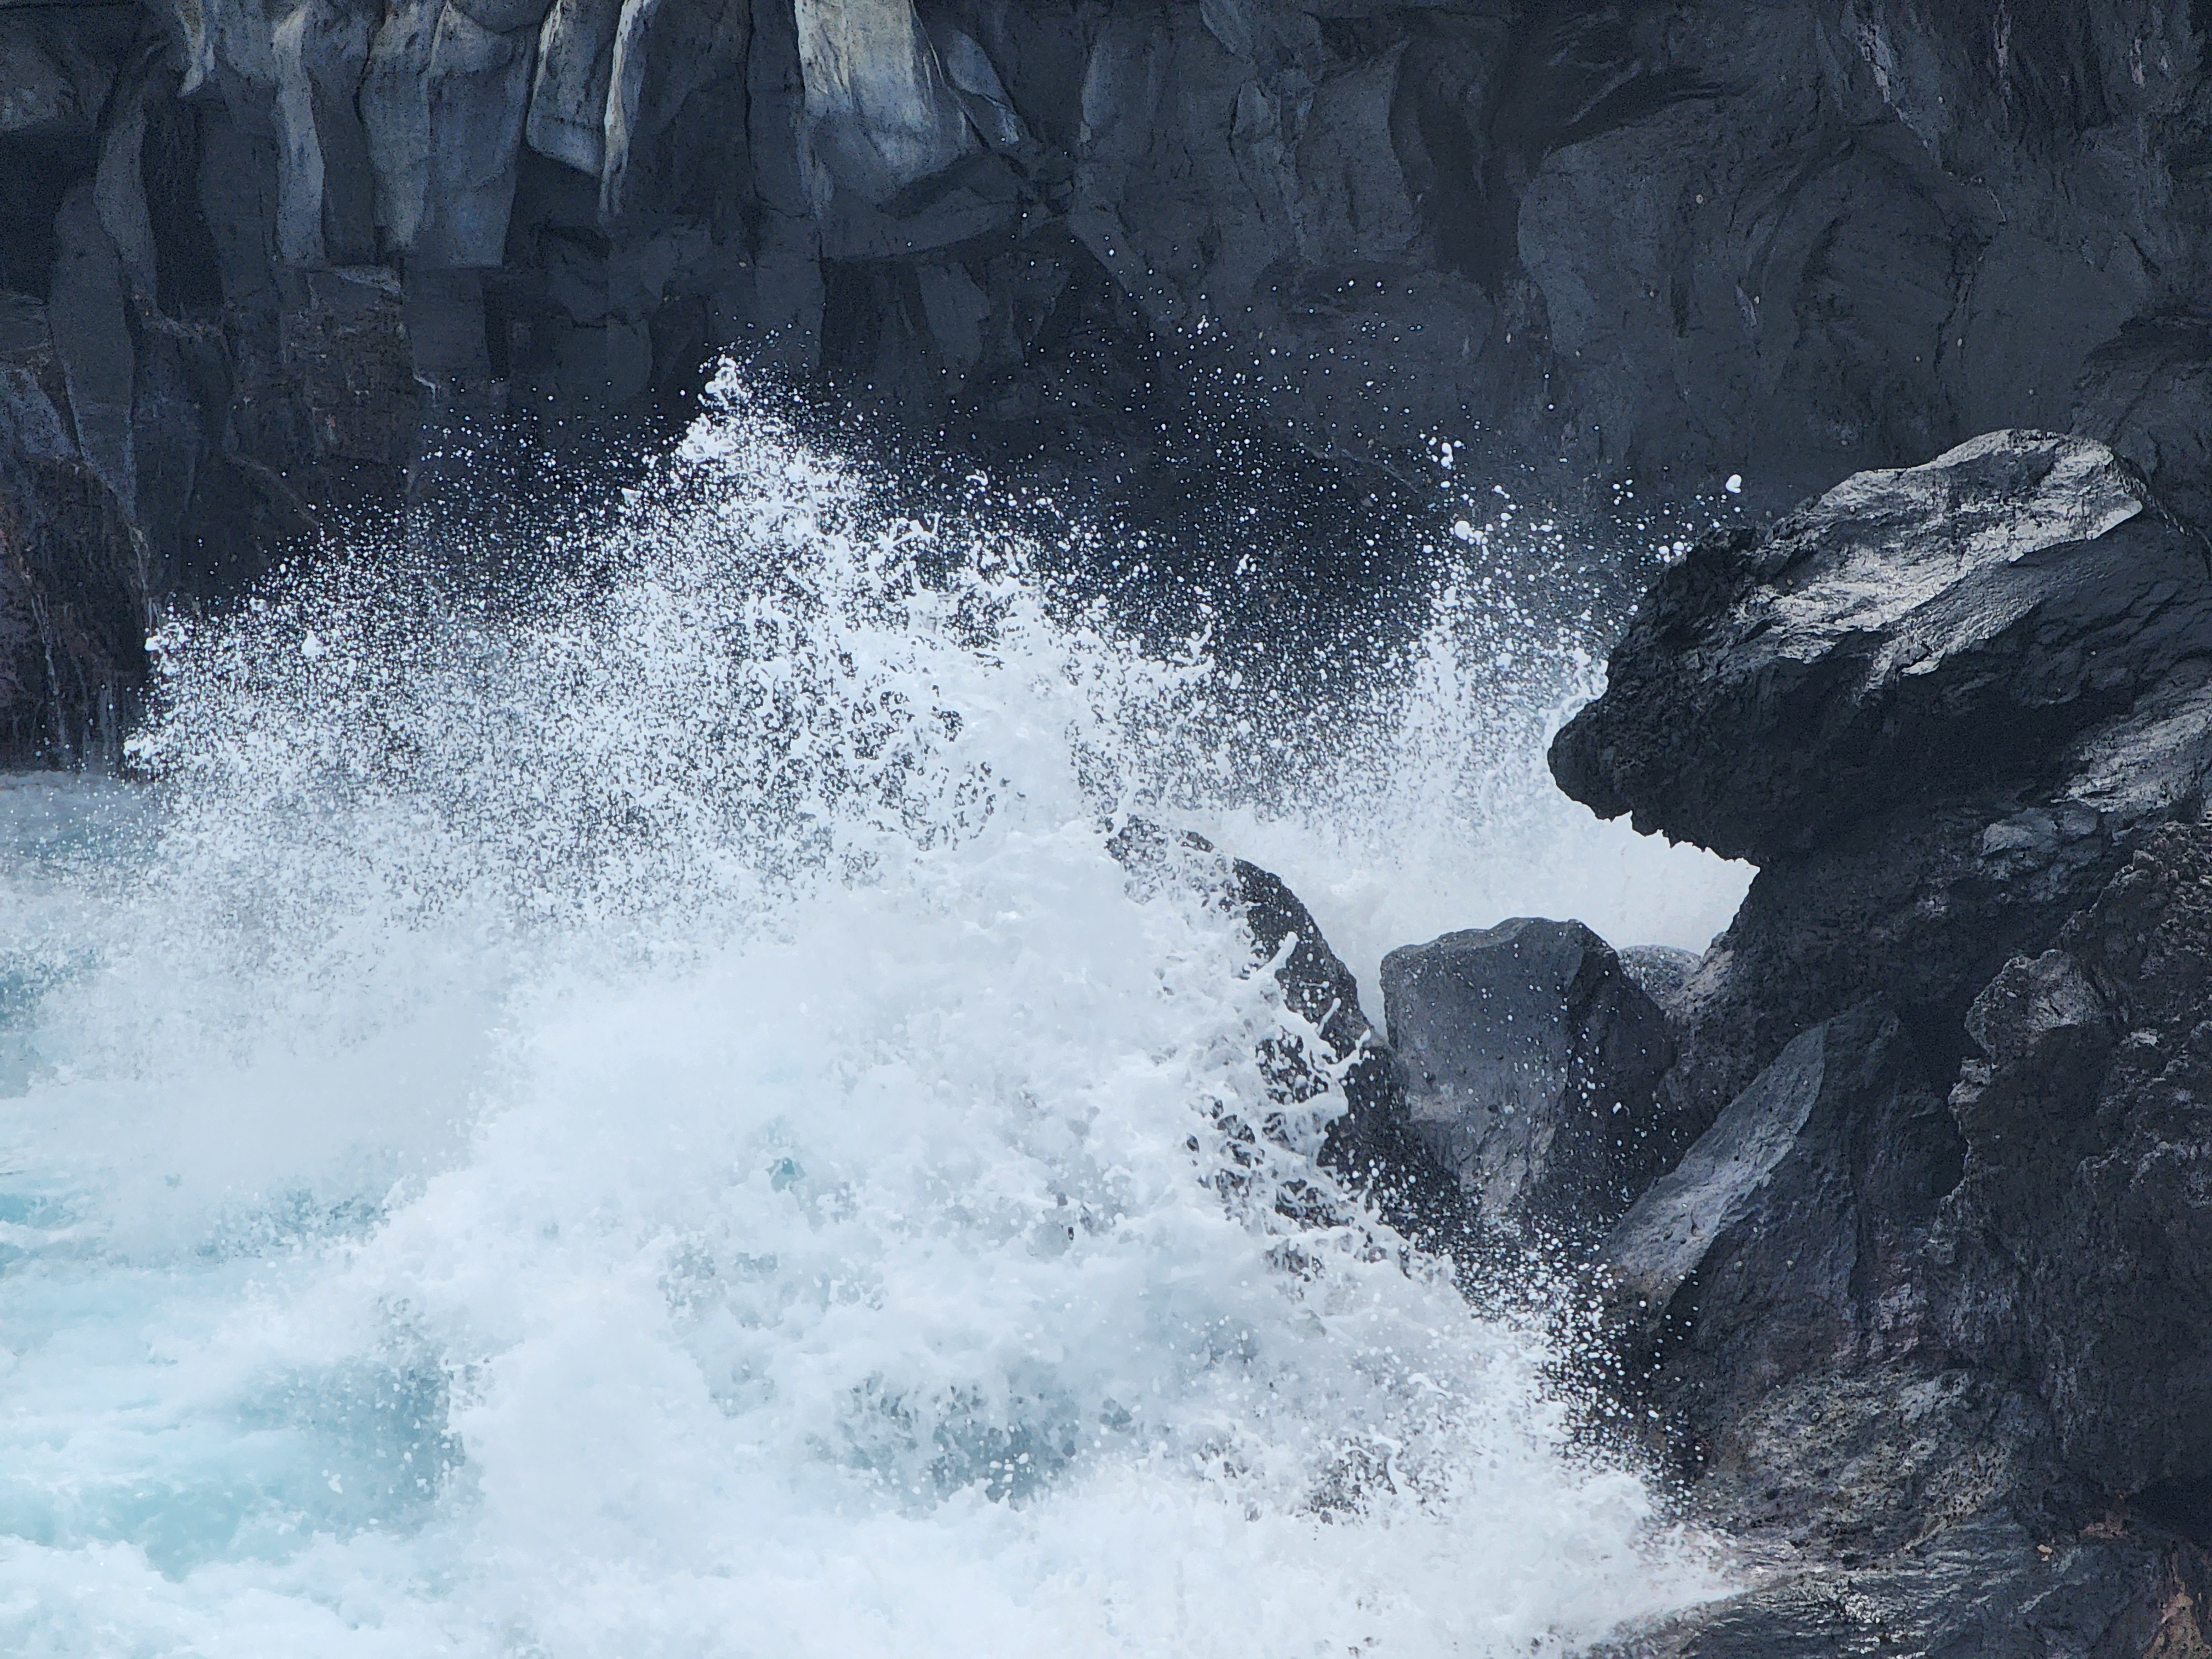
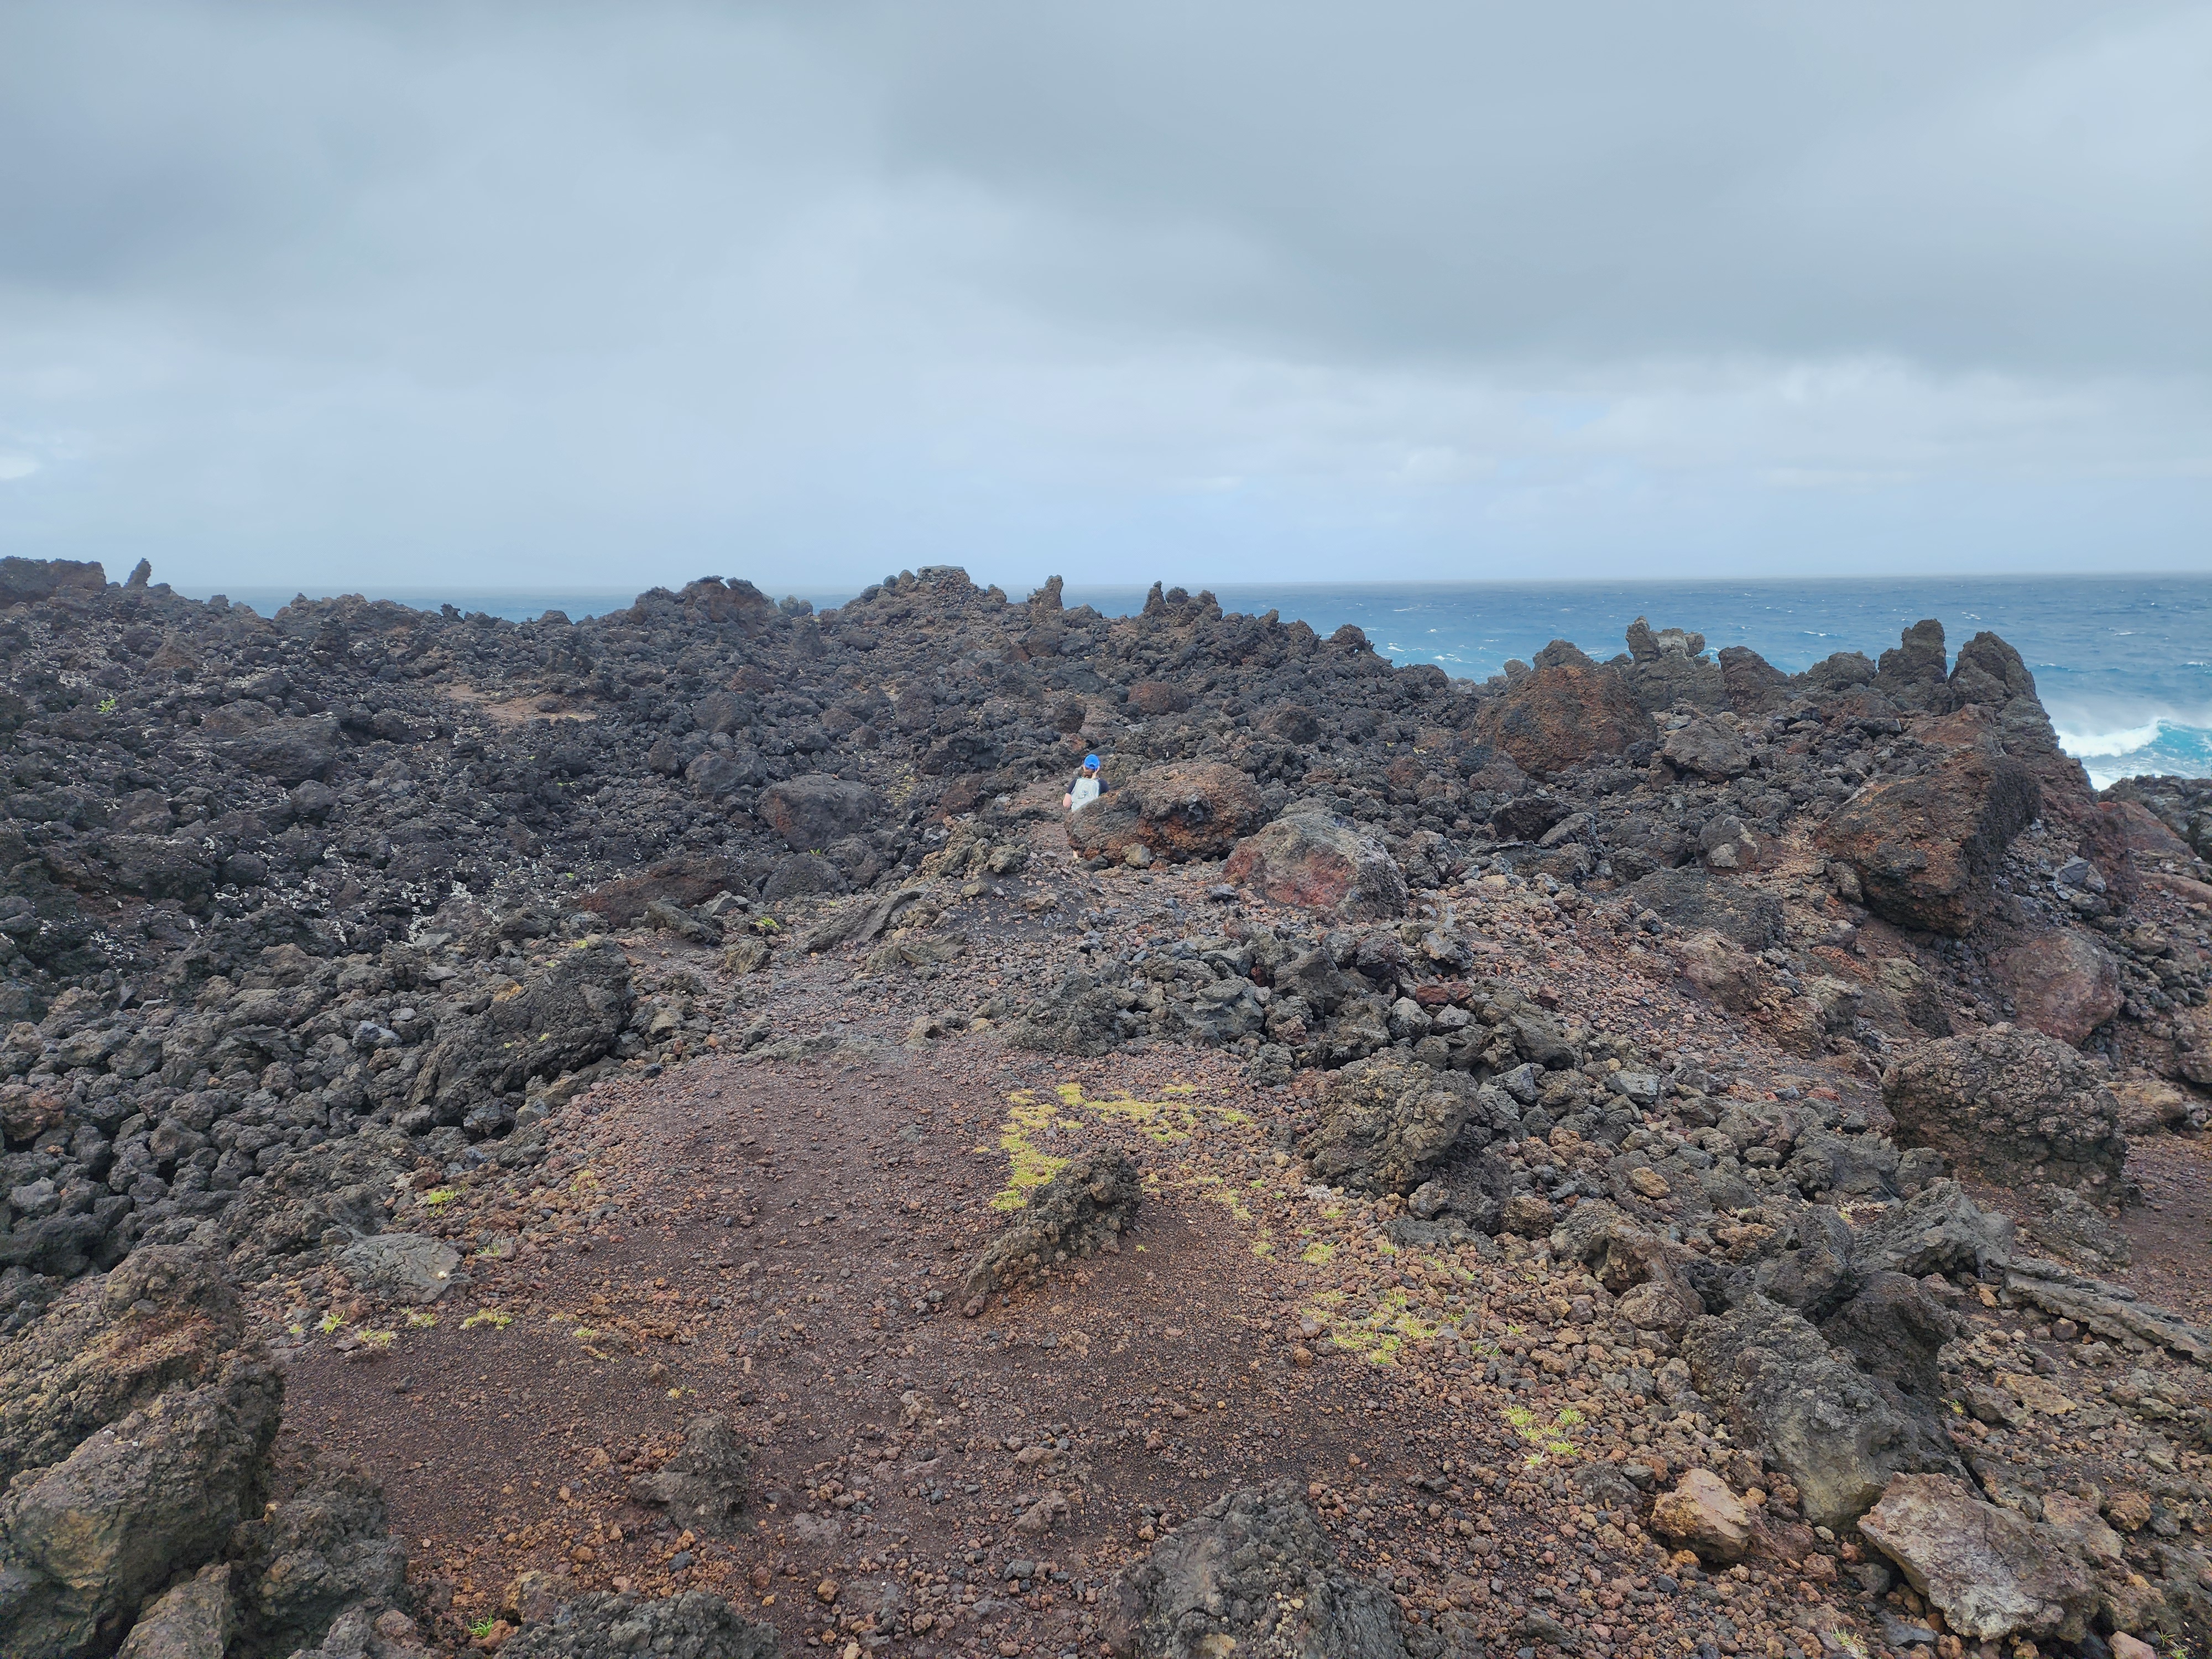
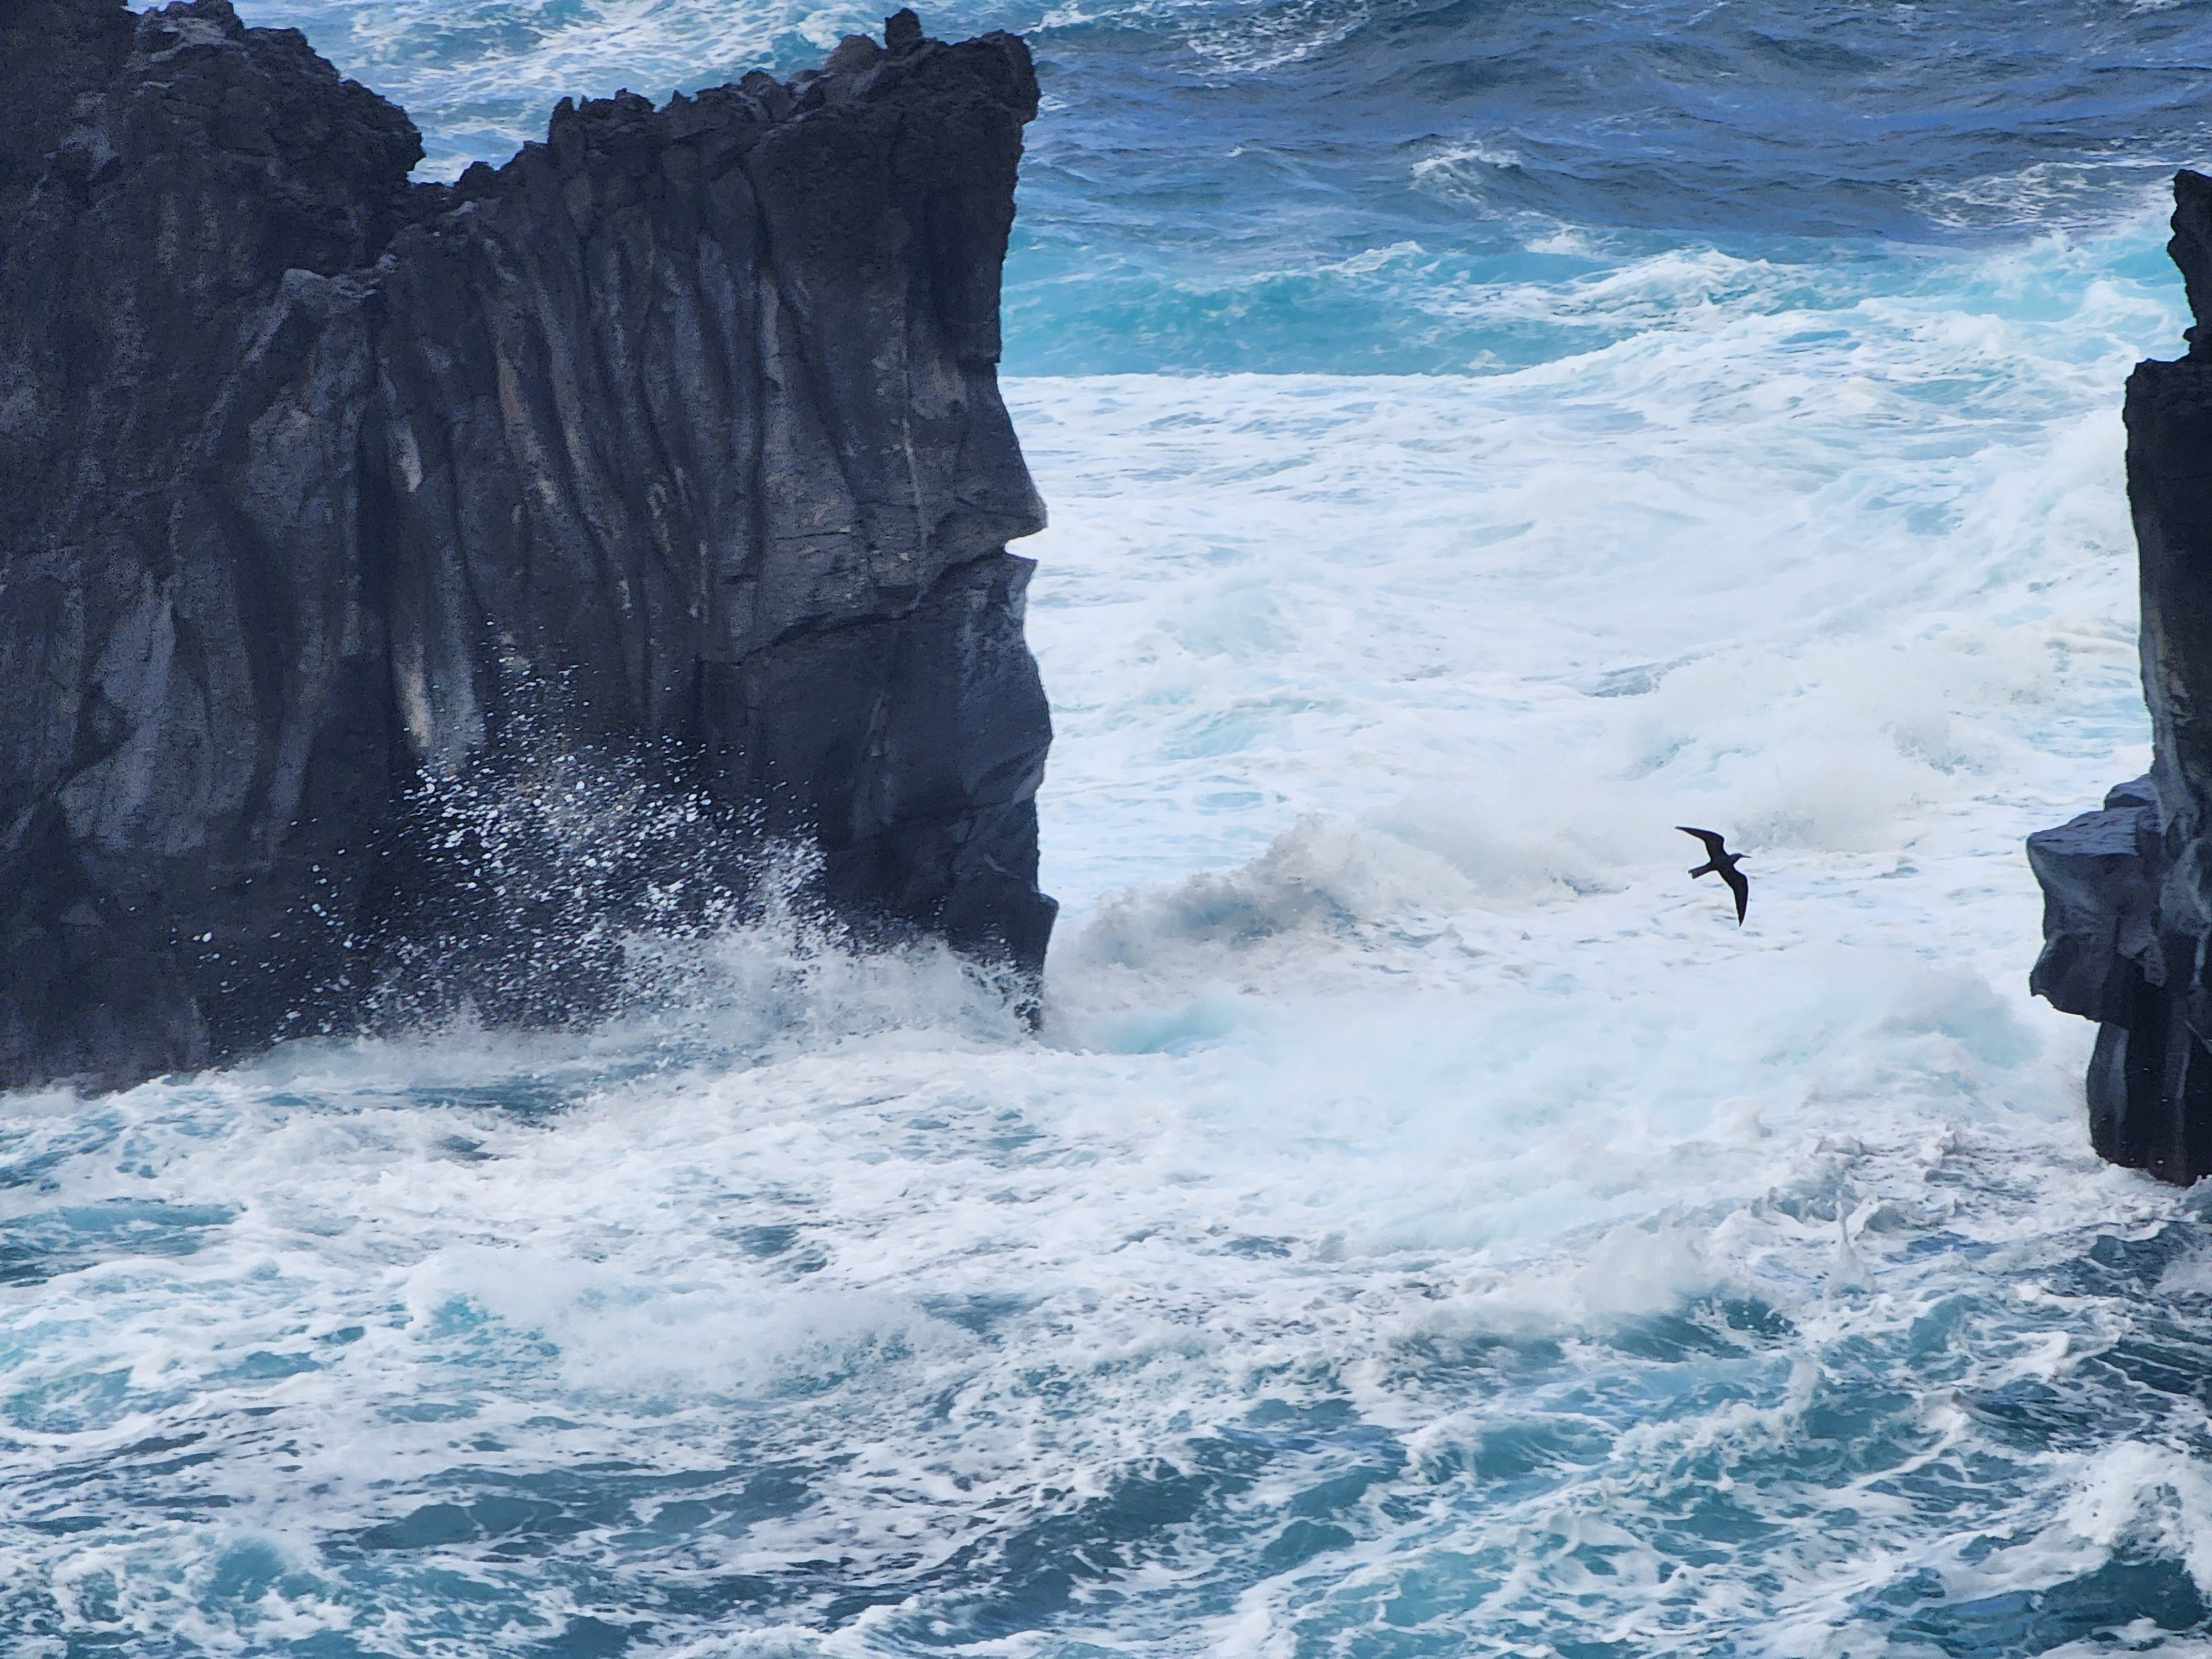
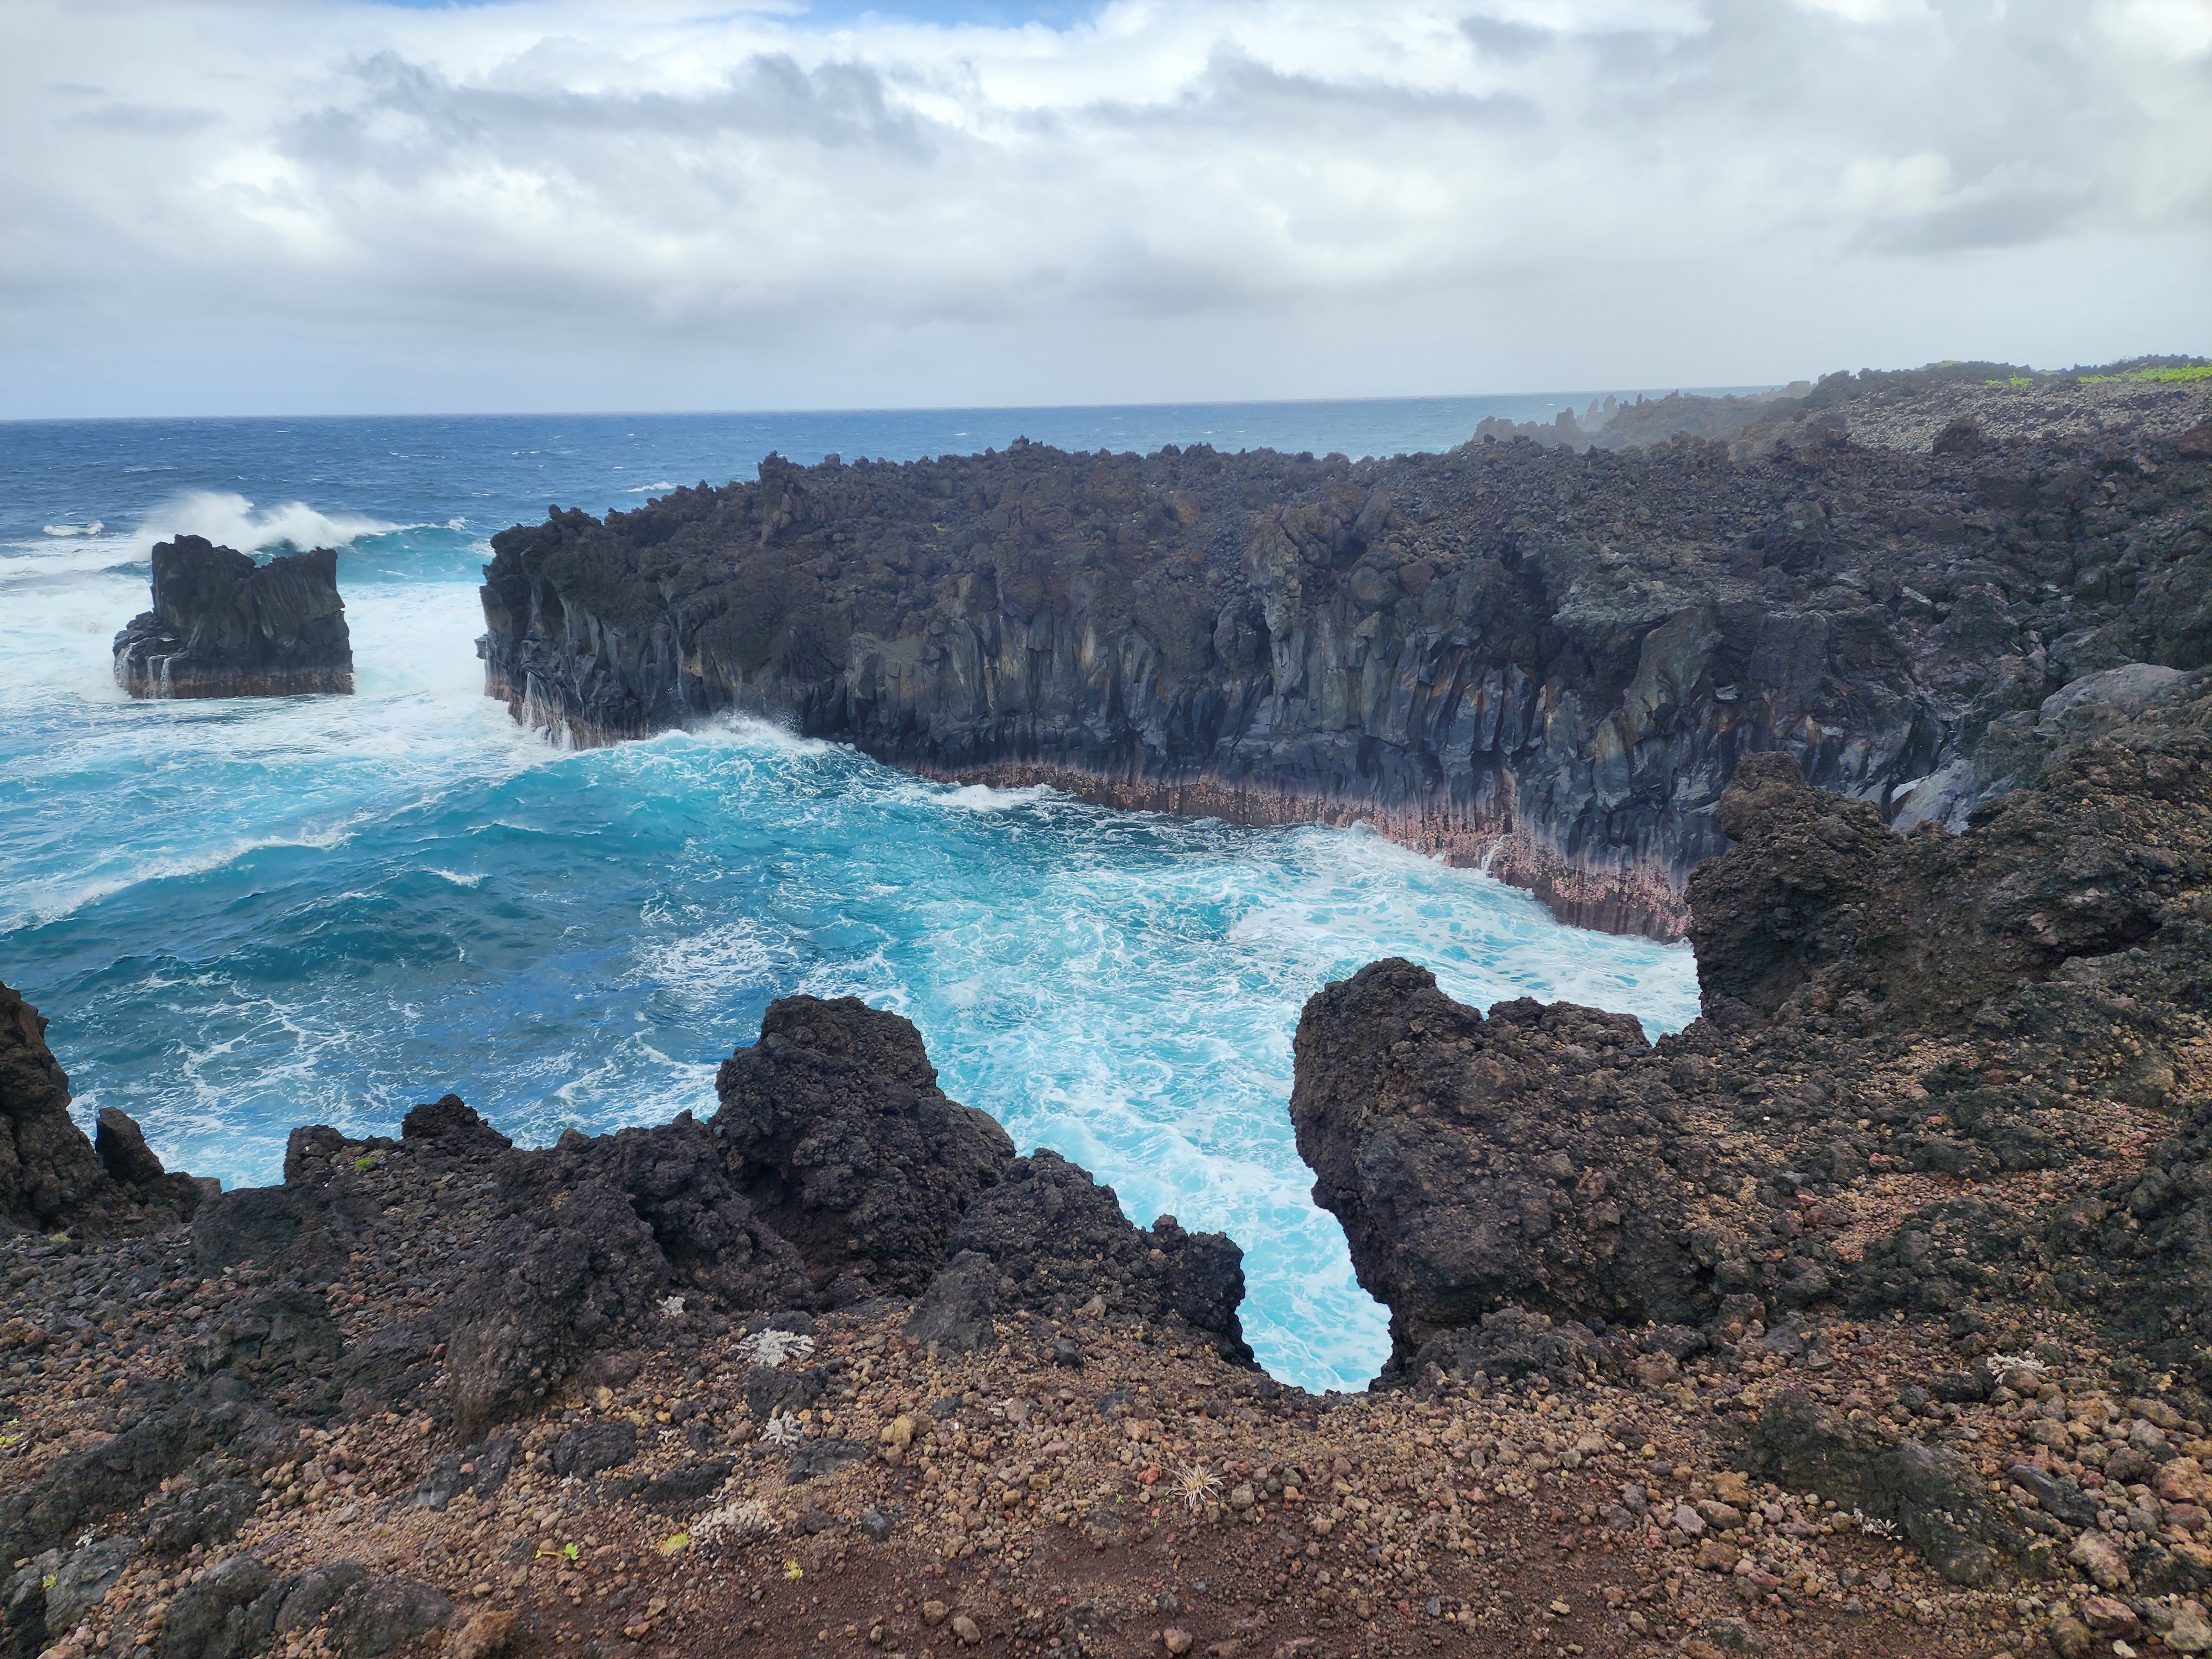
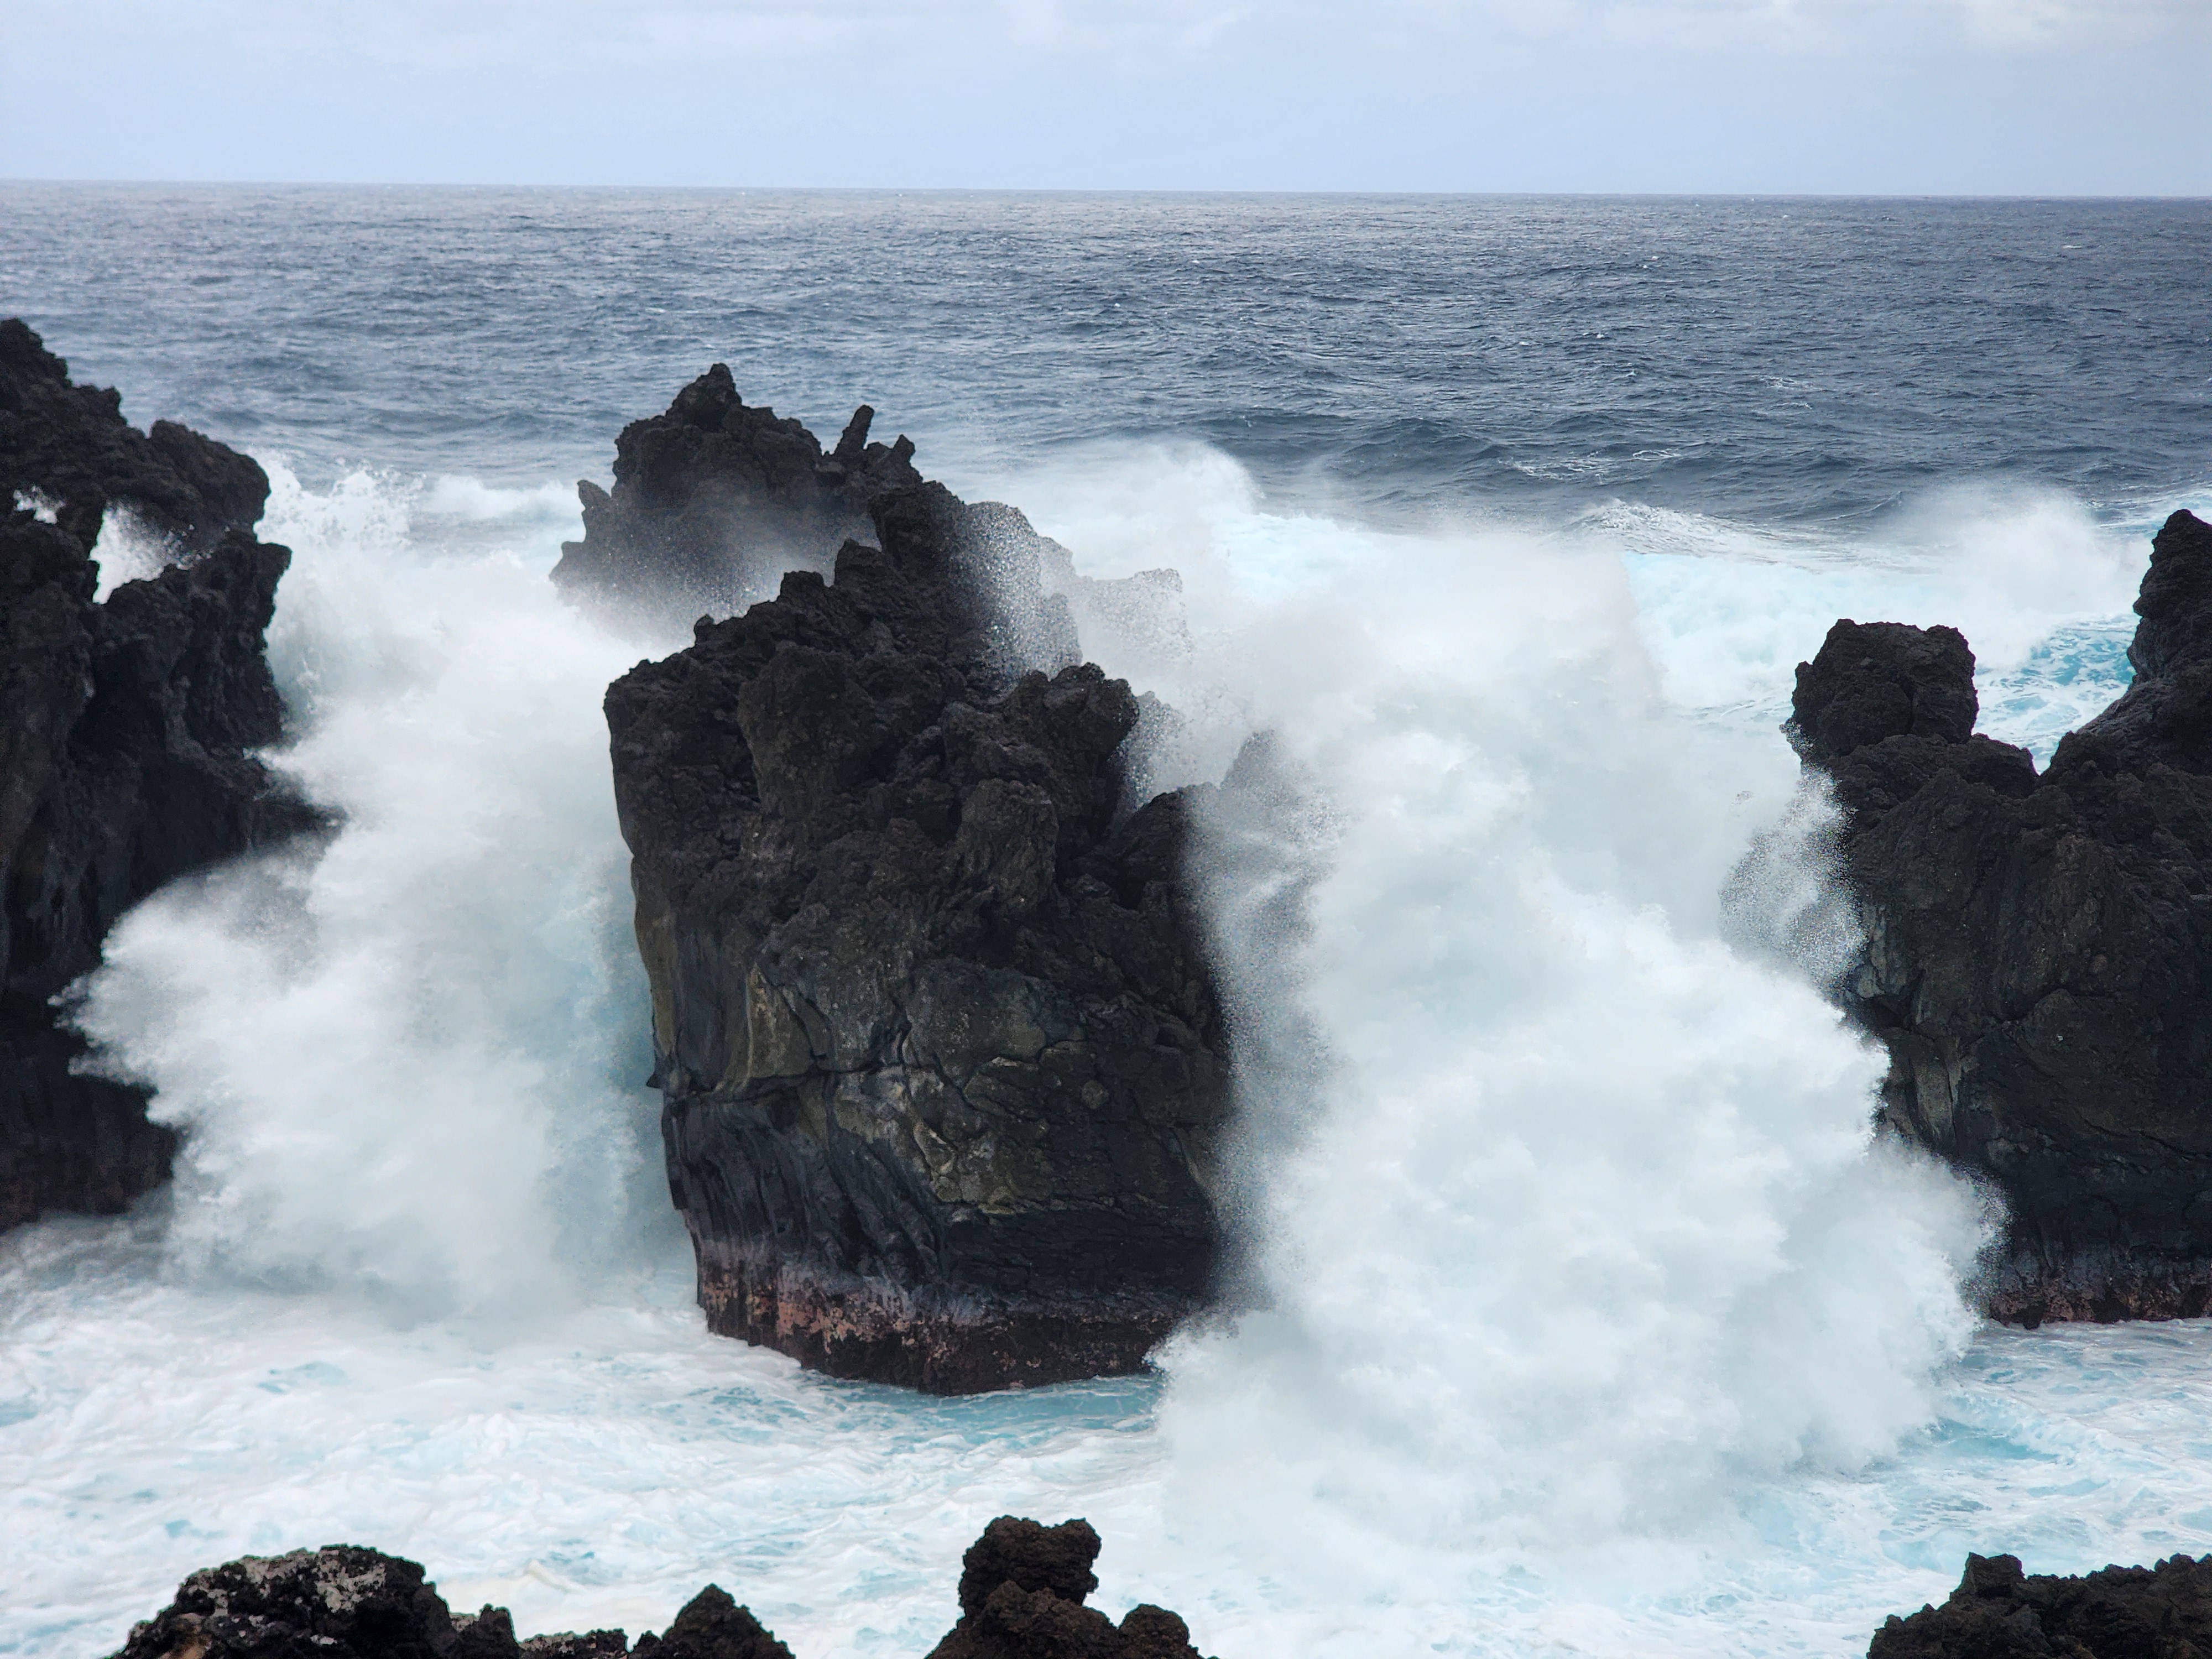
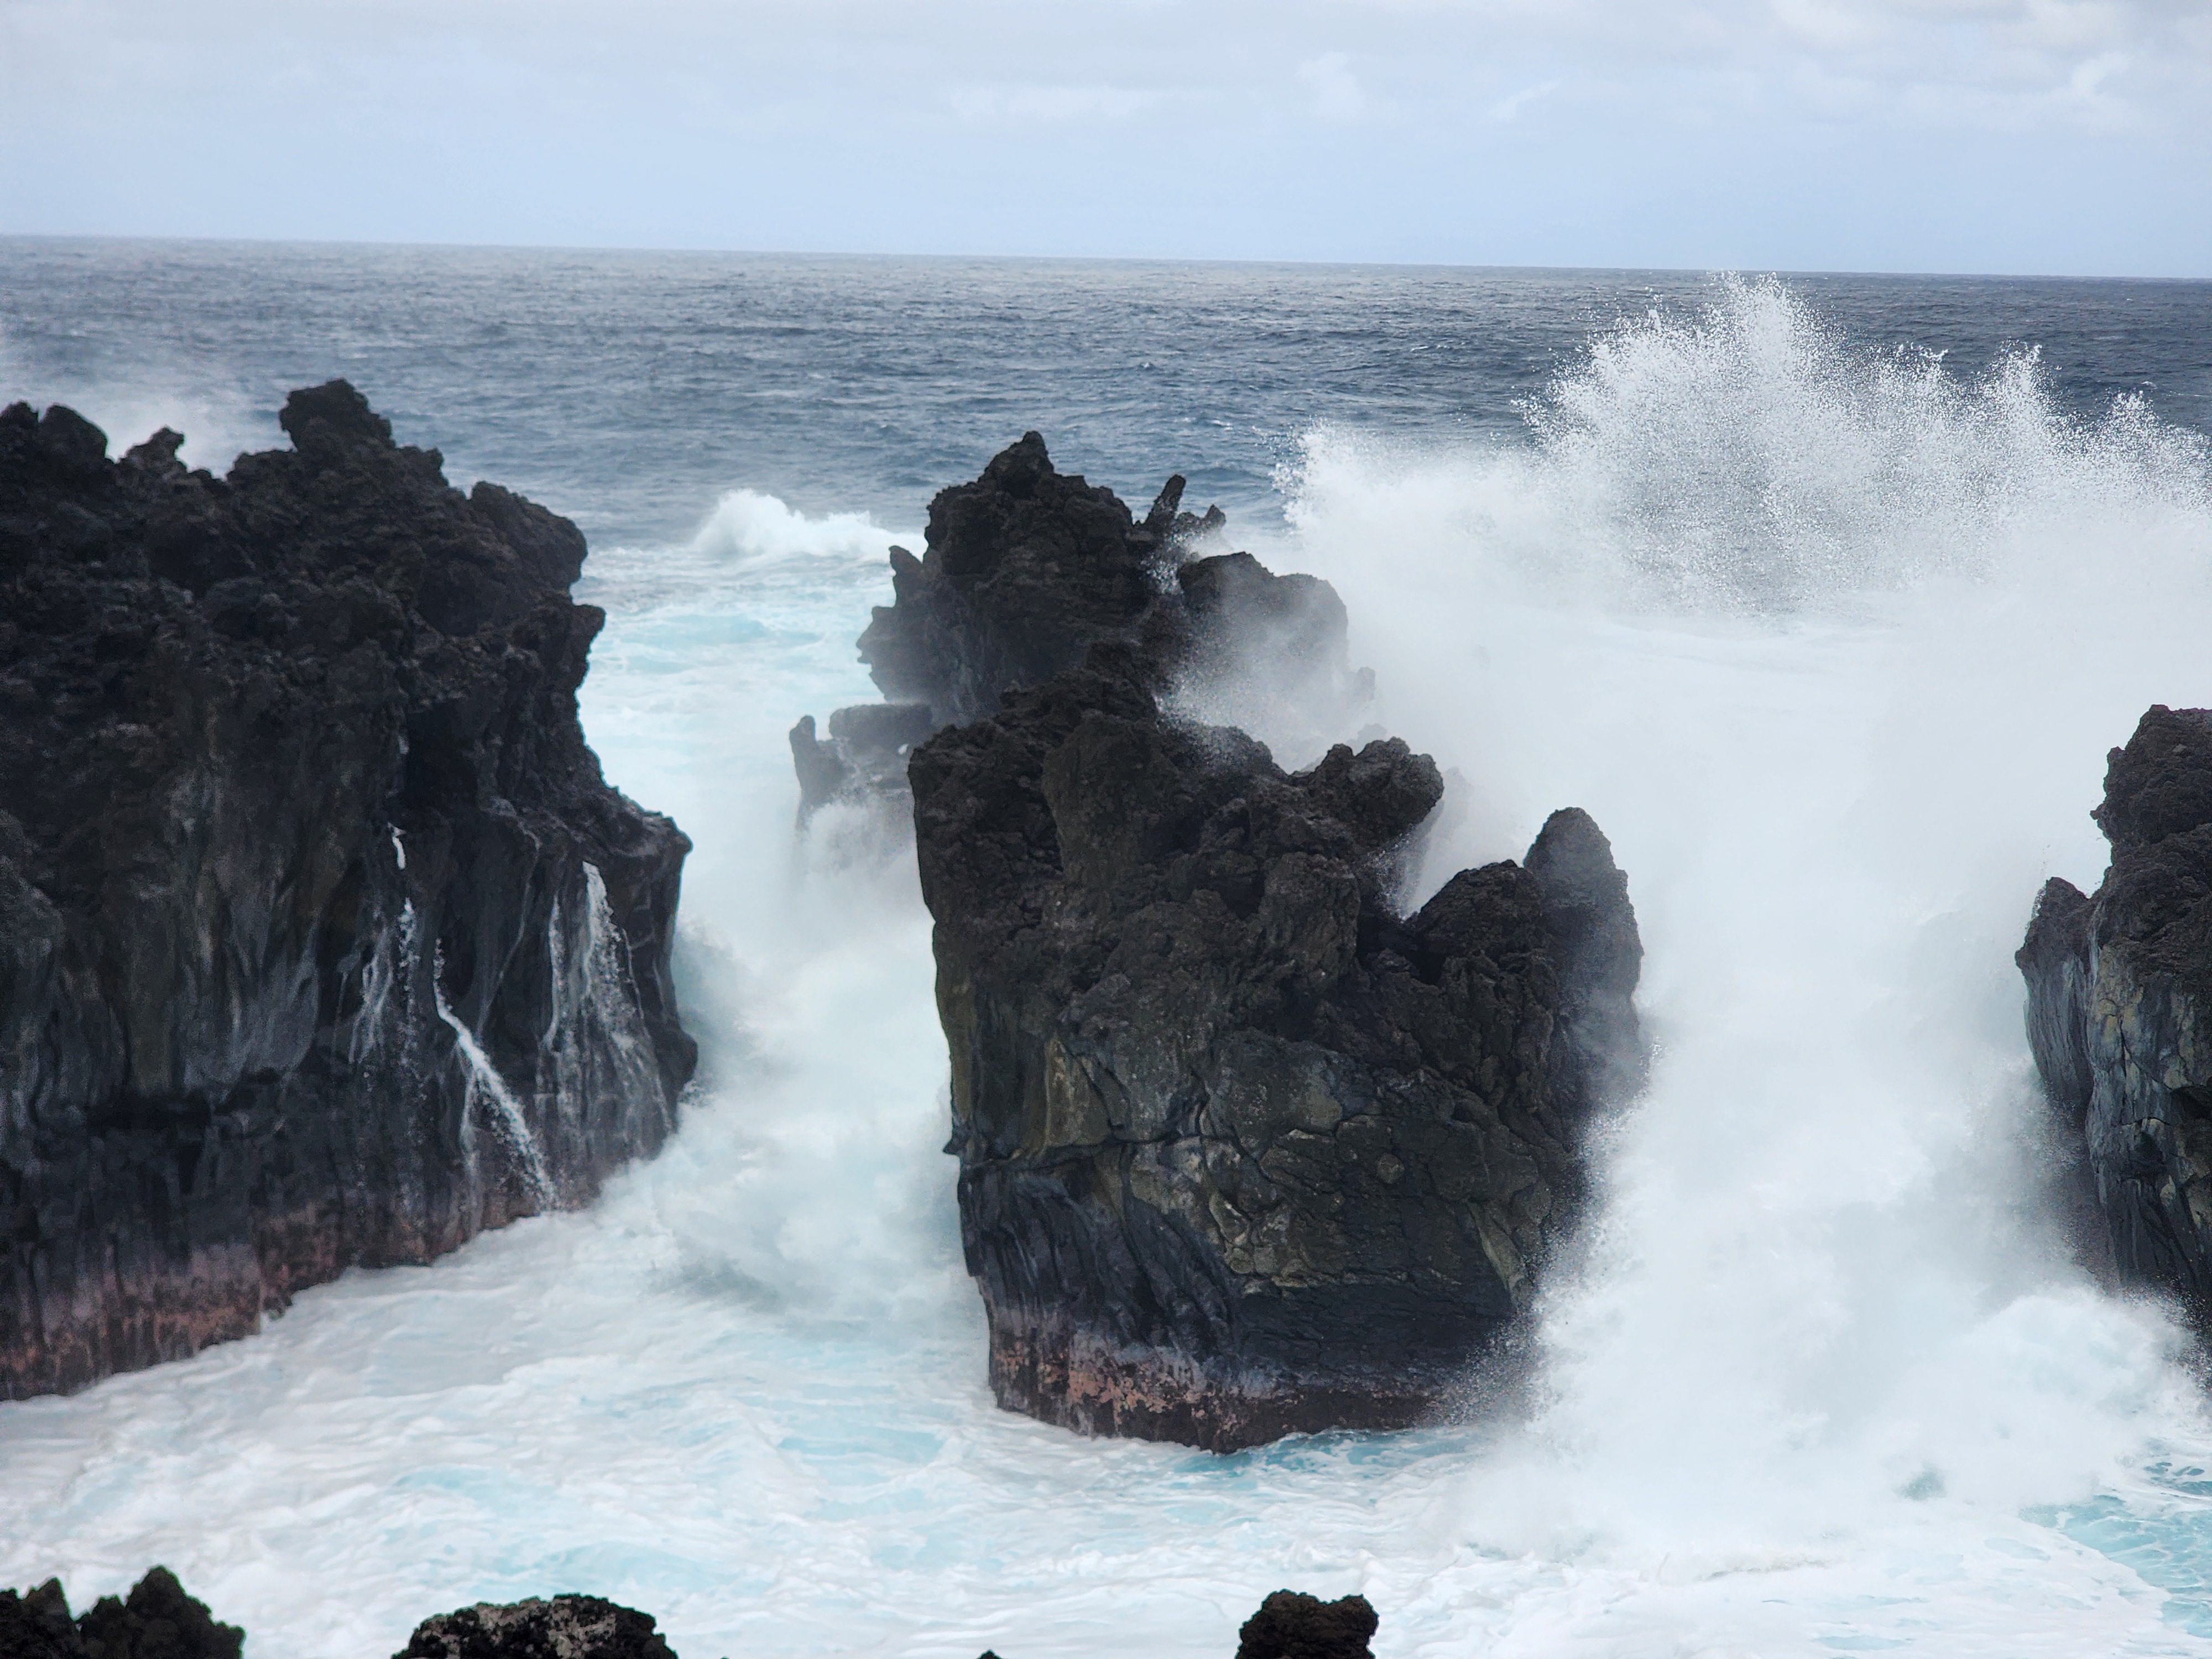
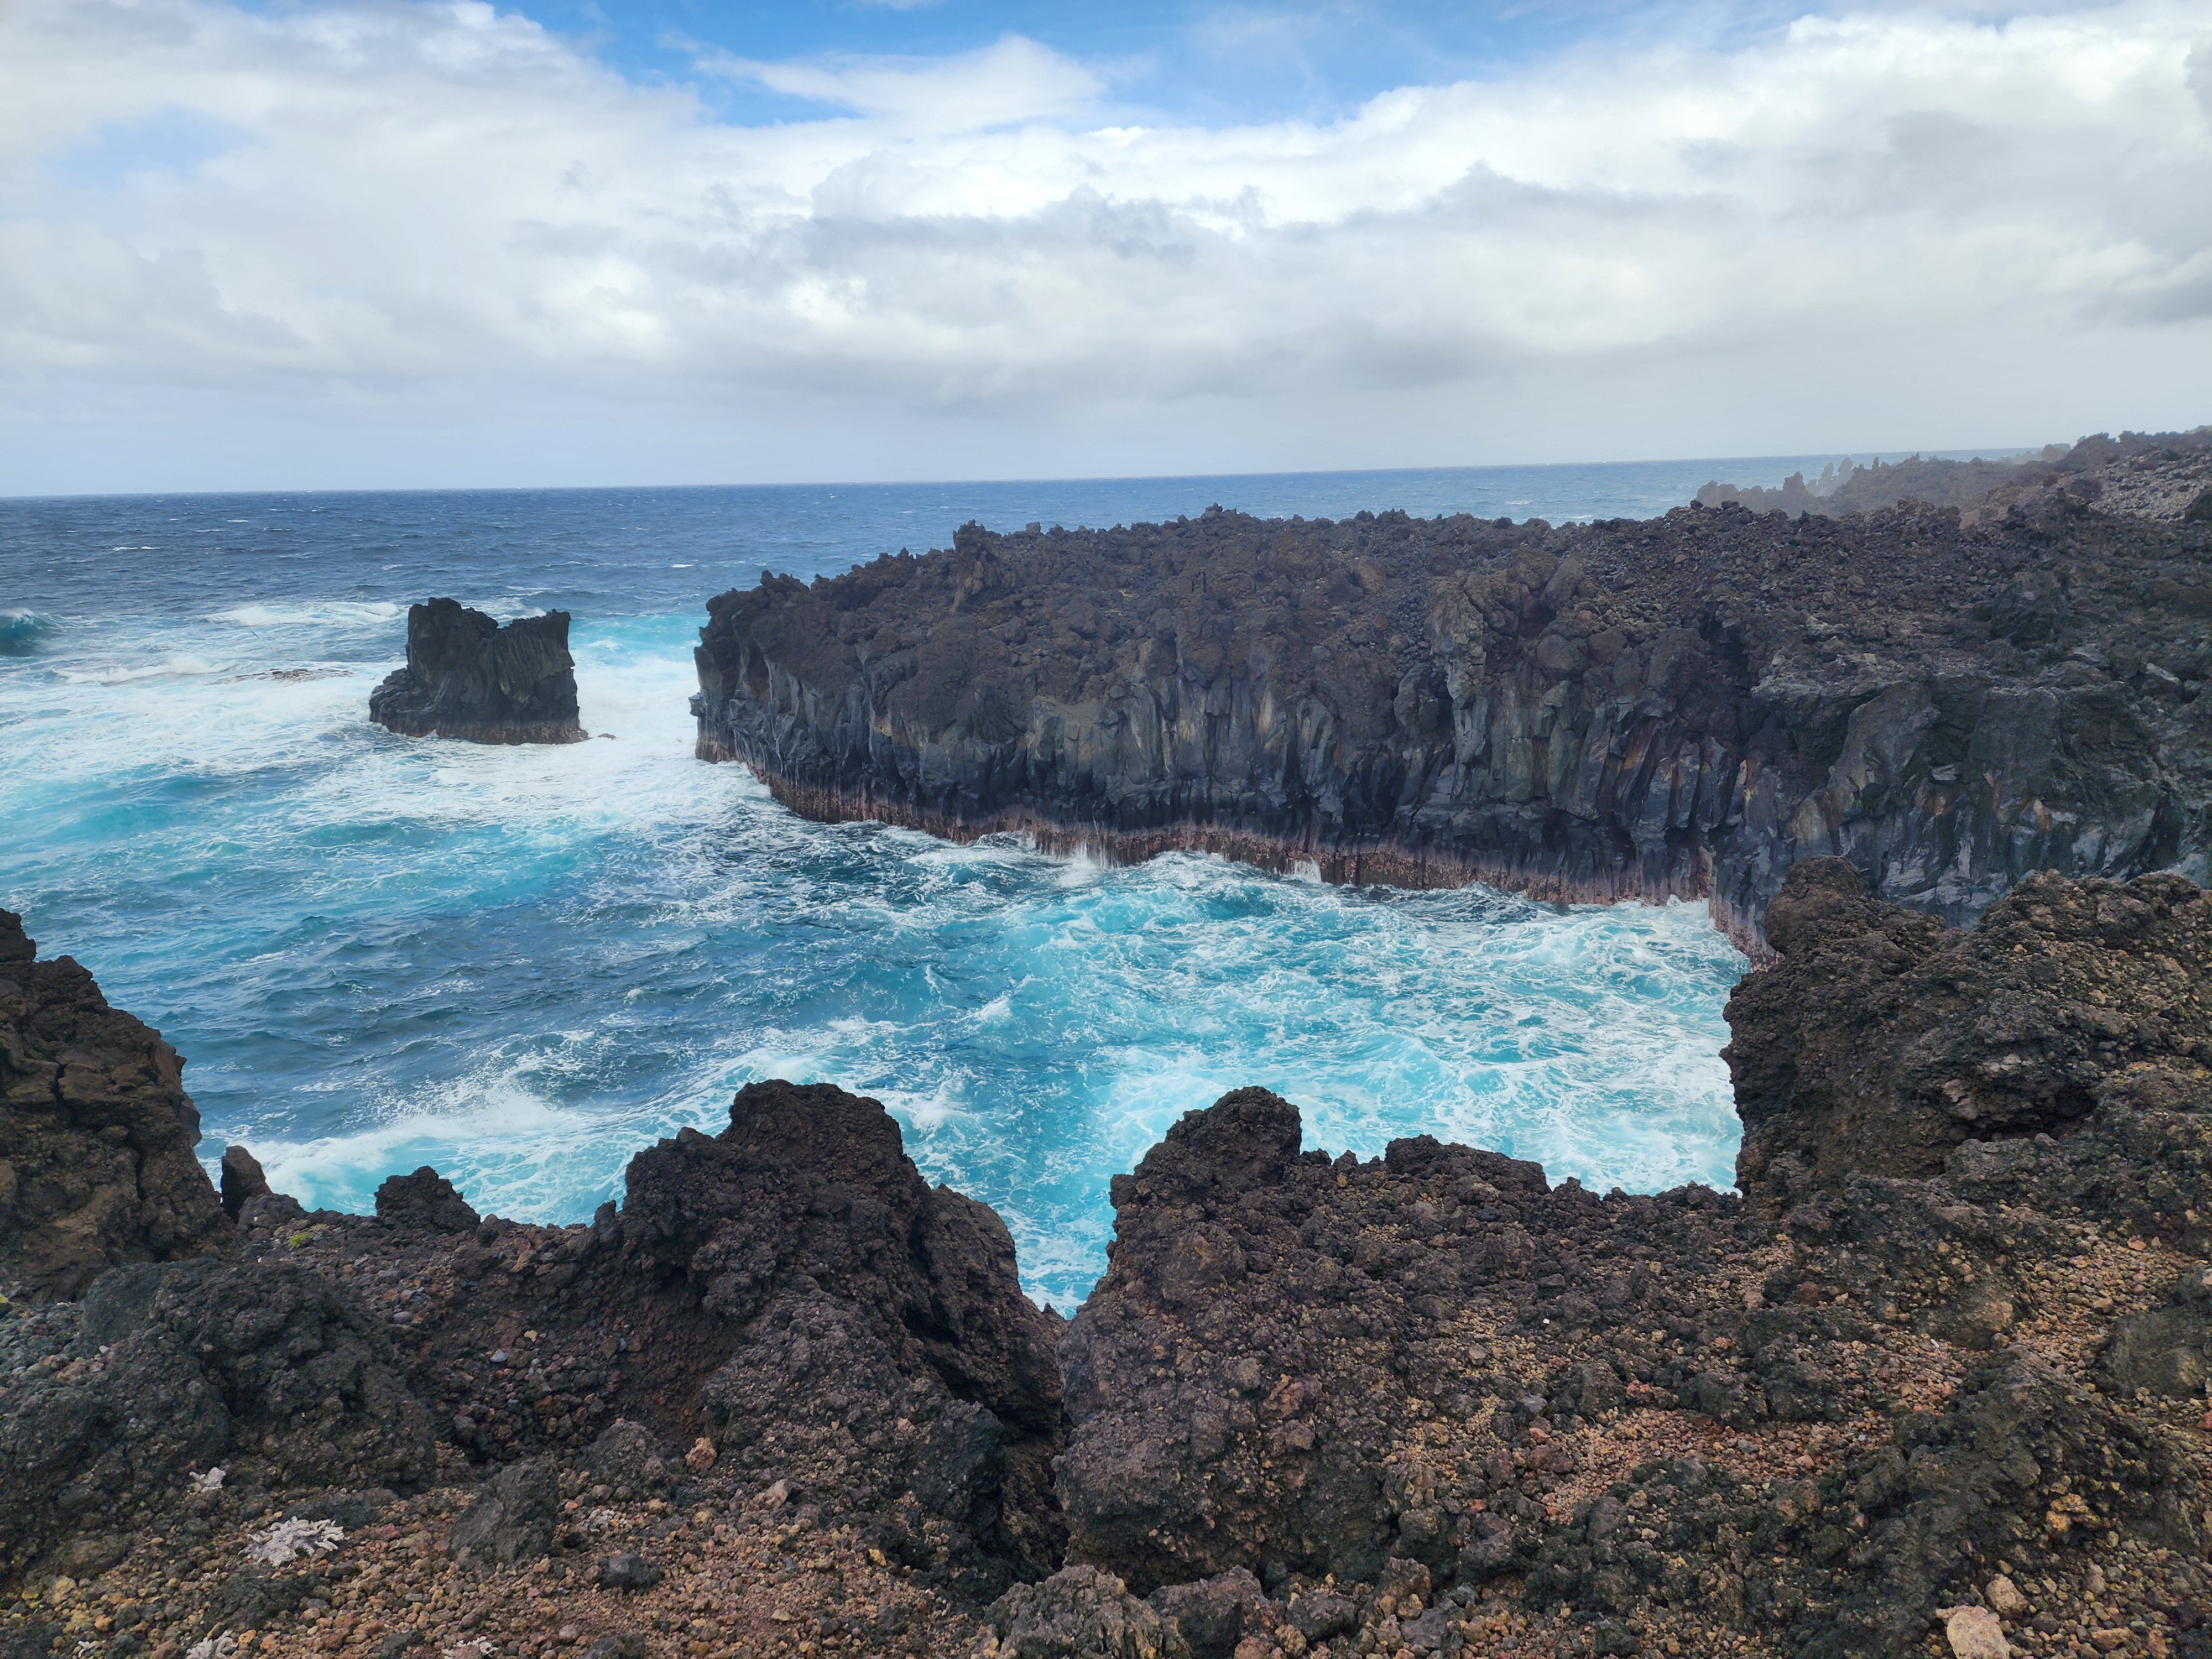
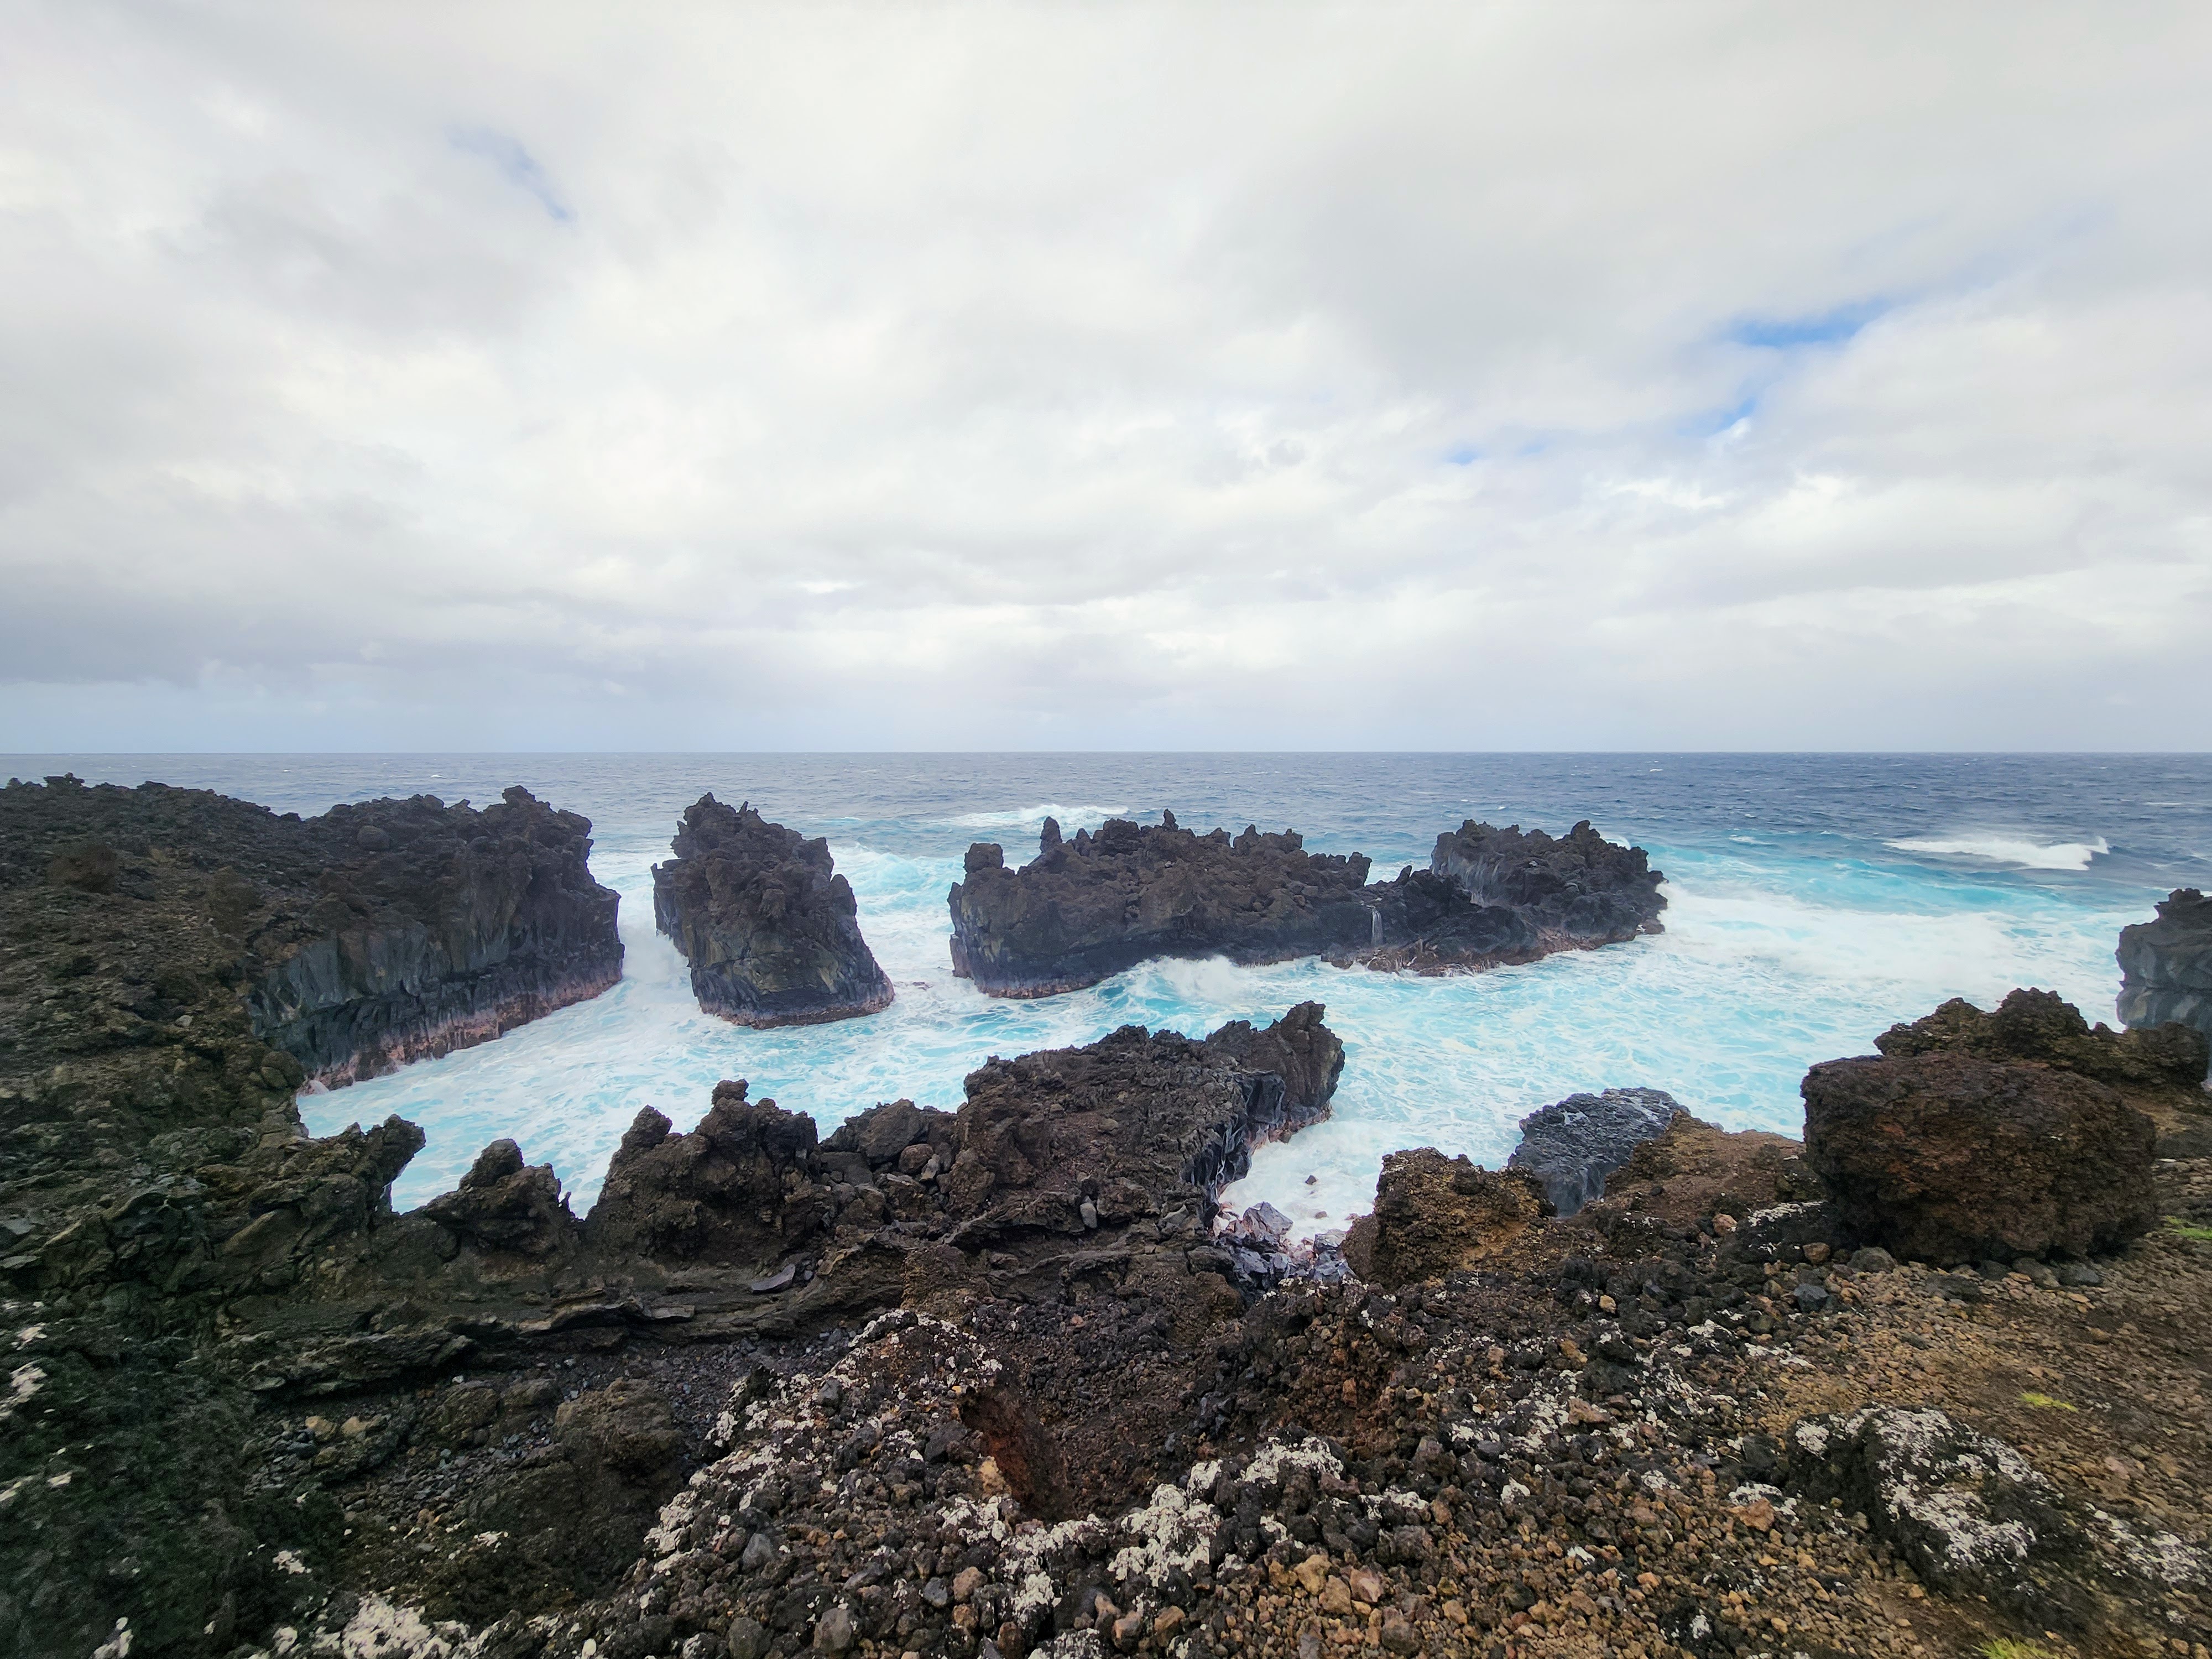
Keep going, though — north through a band of vegetation and back out onto open lava — and after maybe half a mile the people thin away and the coast is more or less yours. That's when the hike became a winner. The colors alone were worth it: perfect blue water, the blackest black lava, a band of green behind. And the sea was the whole event now, slamming into the cliffs and carved-out lava below us. I took countless photos trying to catch the one instant a wave hit its peak. The closest thing I can compare it to is a fireworks show — each blast spectacular, then the breath before the next — except this show never ends.

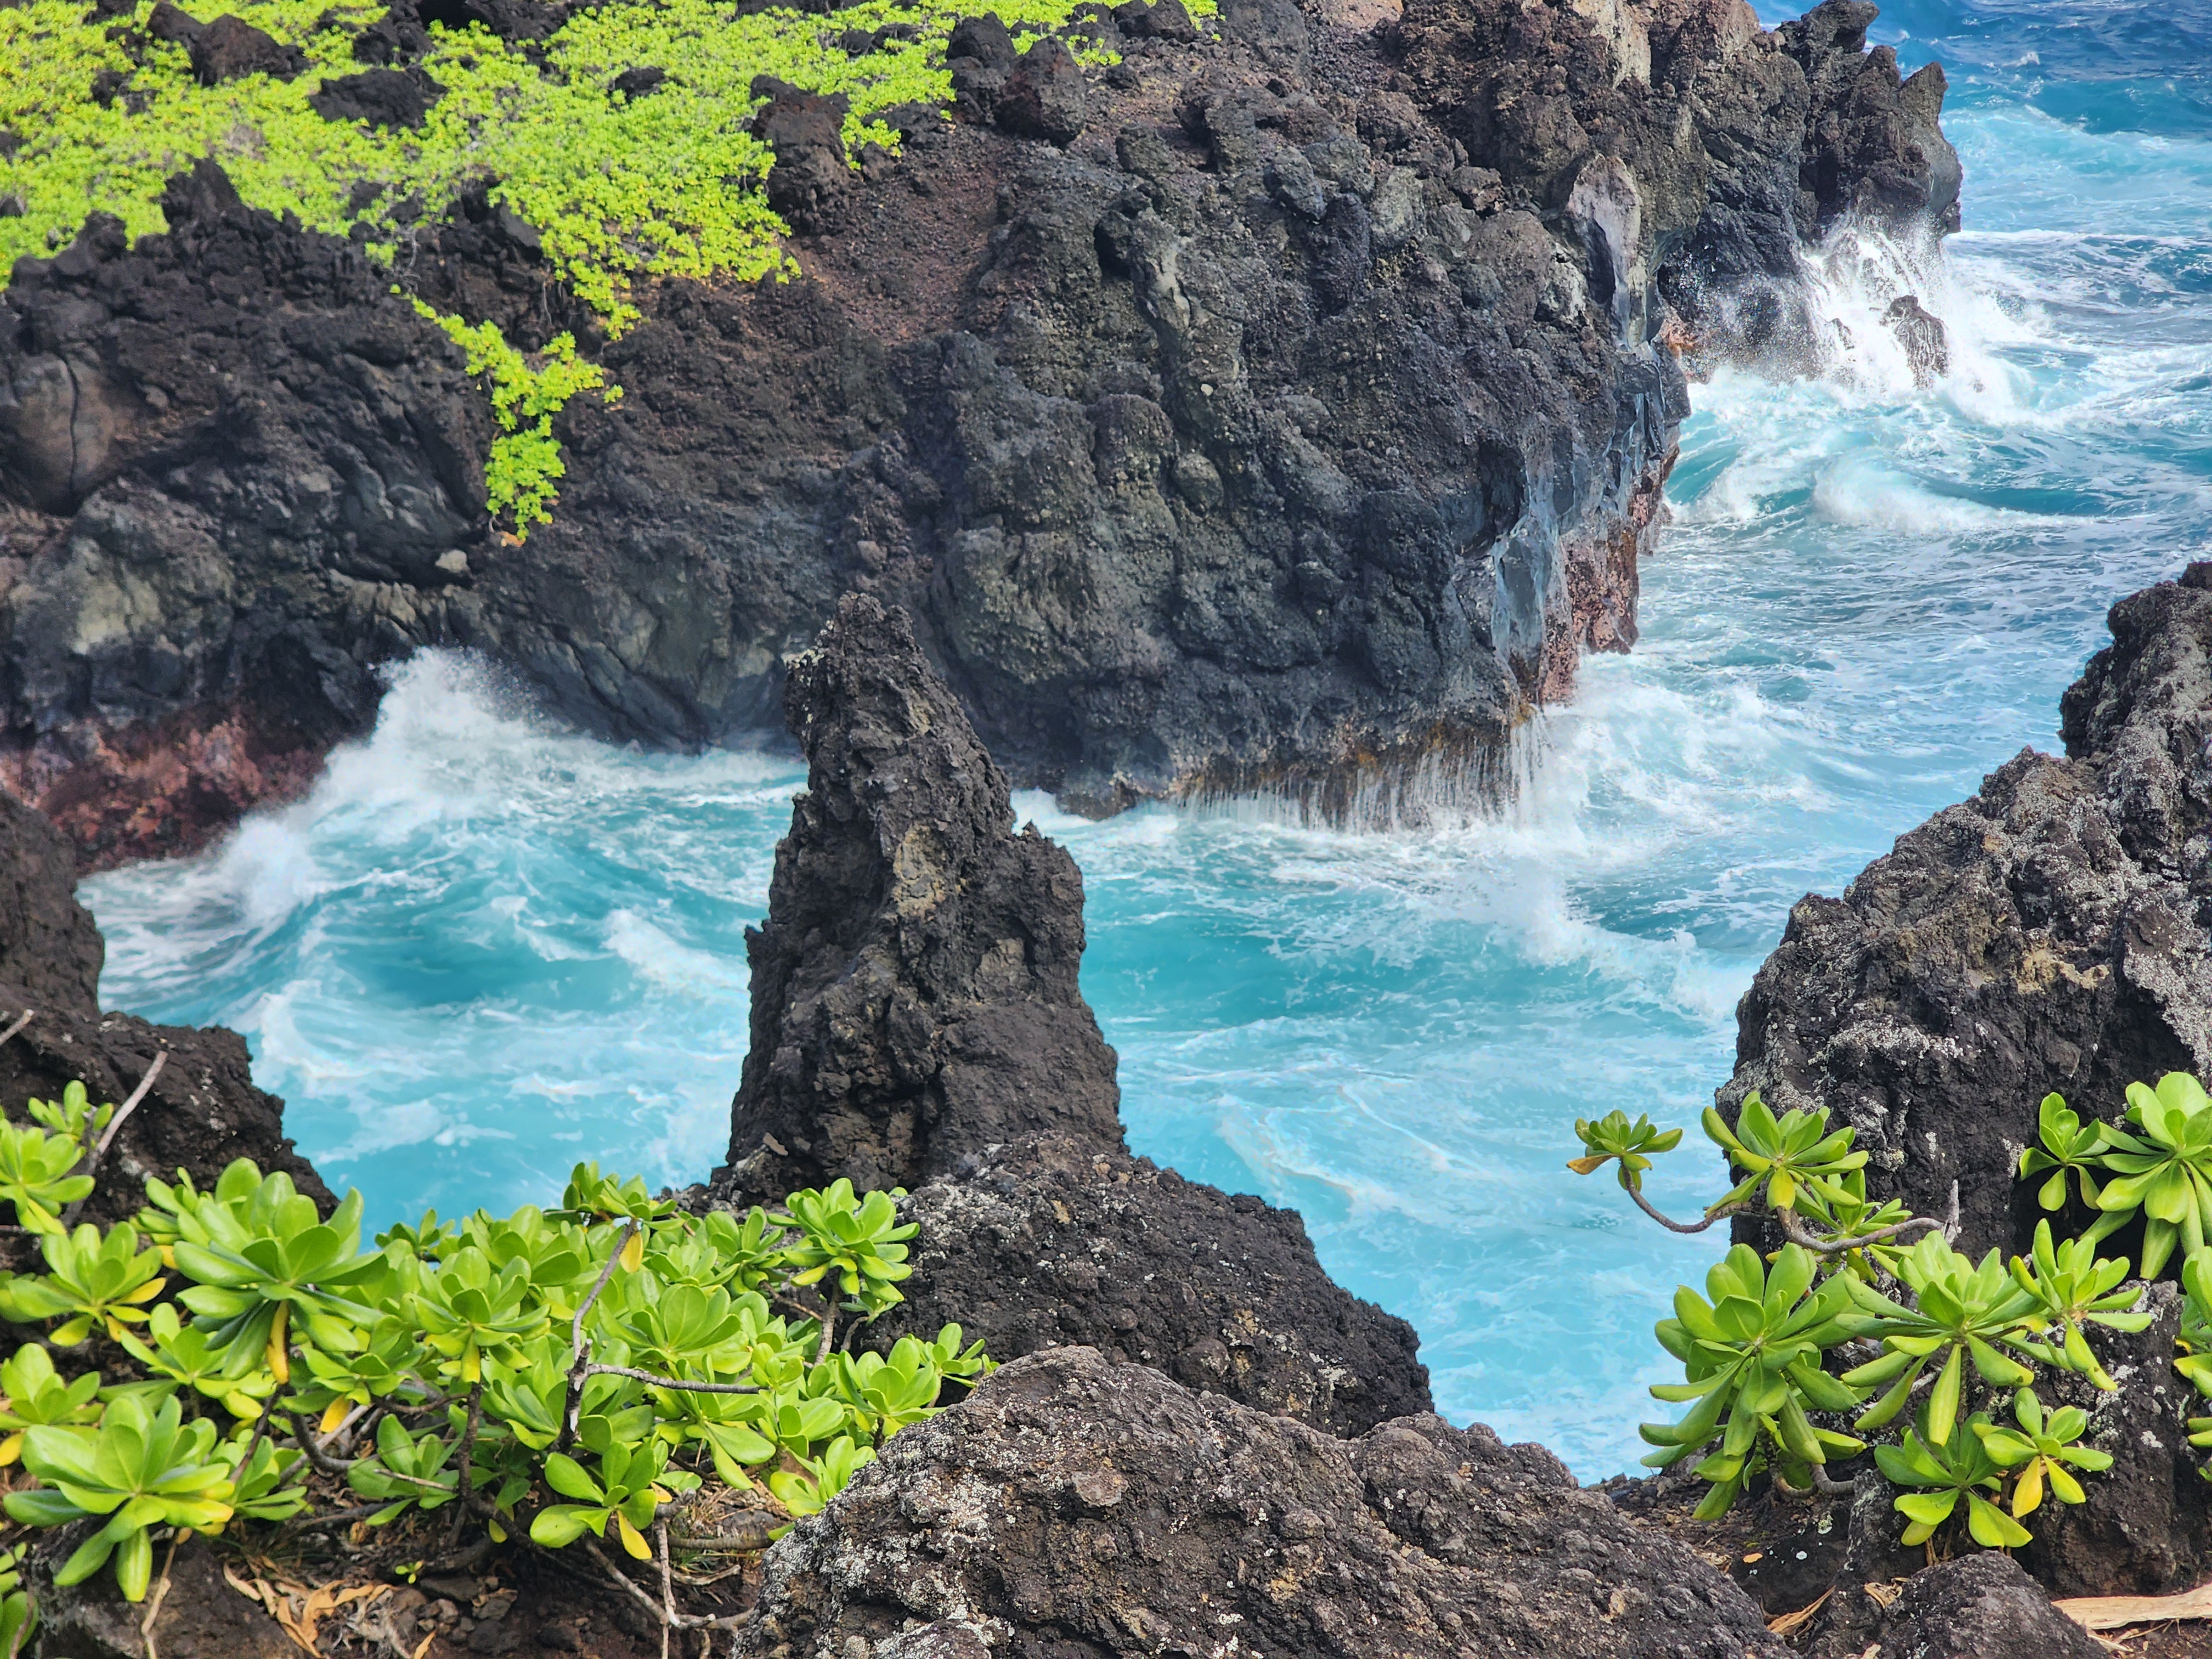
And it isn't just spectacle — it's a sculpture still being carved, by two hands working on wildly different clocks. In an instant, the lava made the raw shape: it laid down the black rock, hollowed the lava-tube cave back at the beach, and flash-shattered into the black sand underfoot the moment it hit the water — the same lava-meets-sea drama I got into at the Kapalua tide pools. Then, over centuries, the sea took over as the slow hand — cutting the arches and the sea stacks, gnawing the cliffs back foot by foot, work still going on right in front of you. You're not just watching scenery; you're watching the second sculptor, mid-stroke.
.jpg)
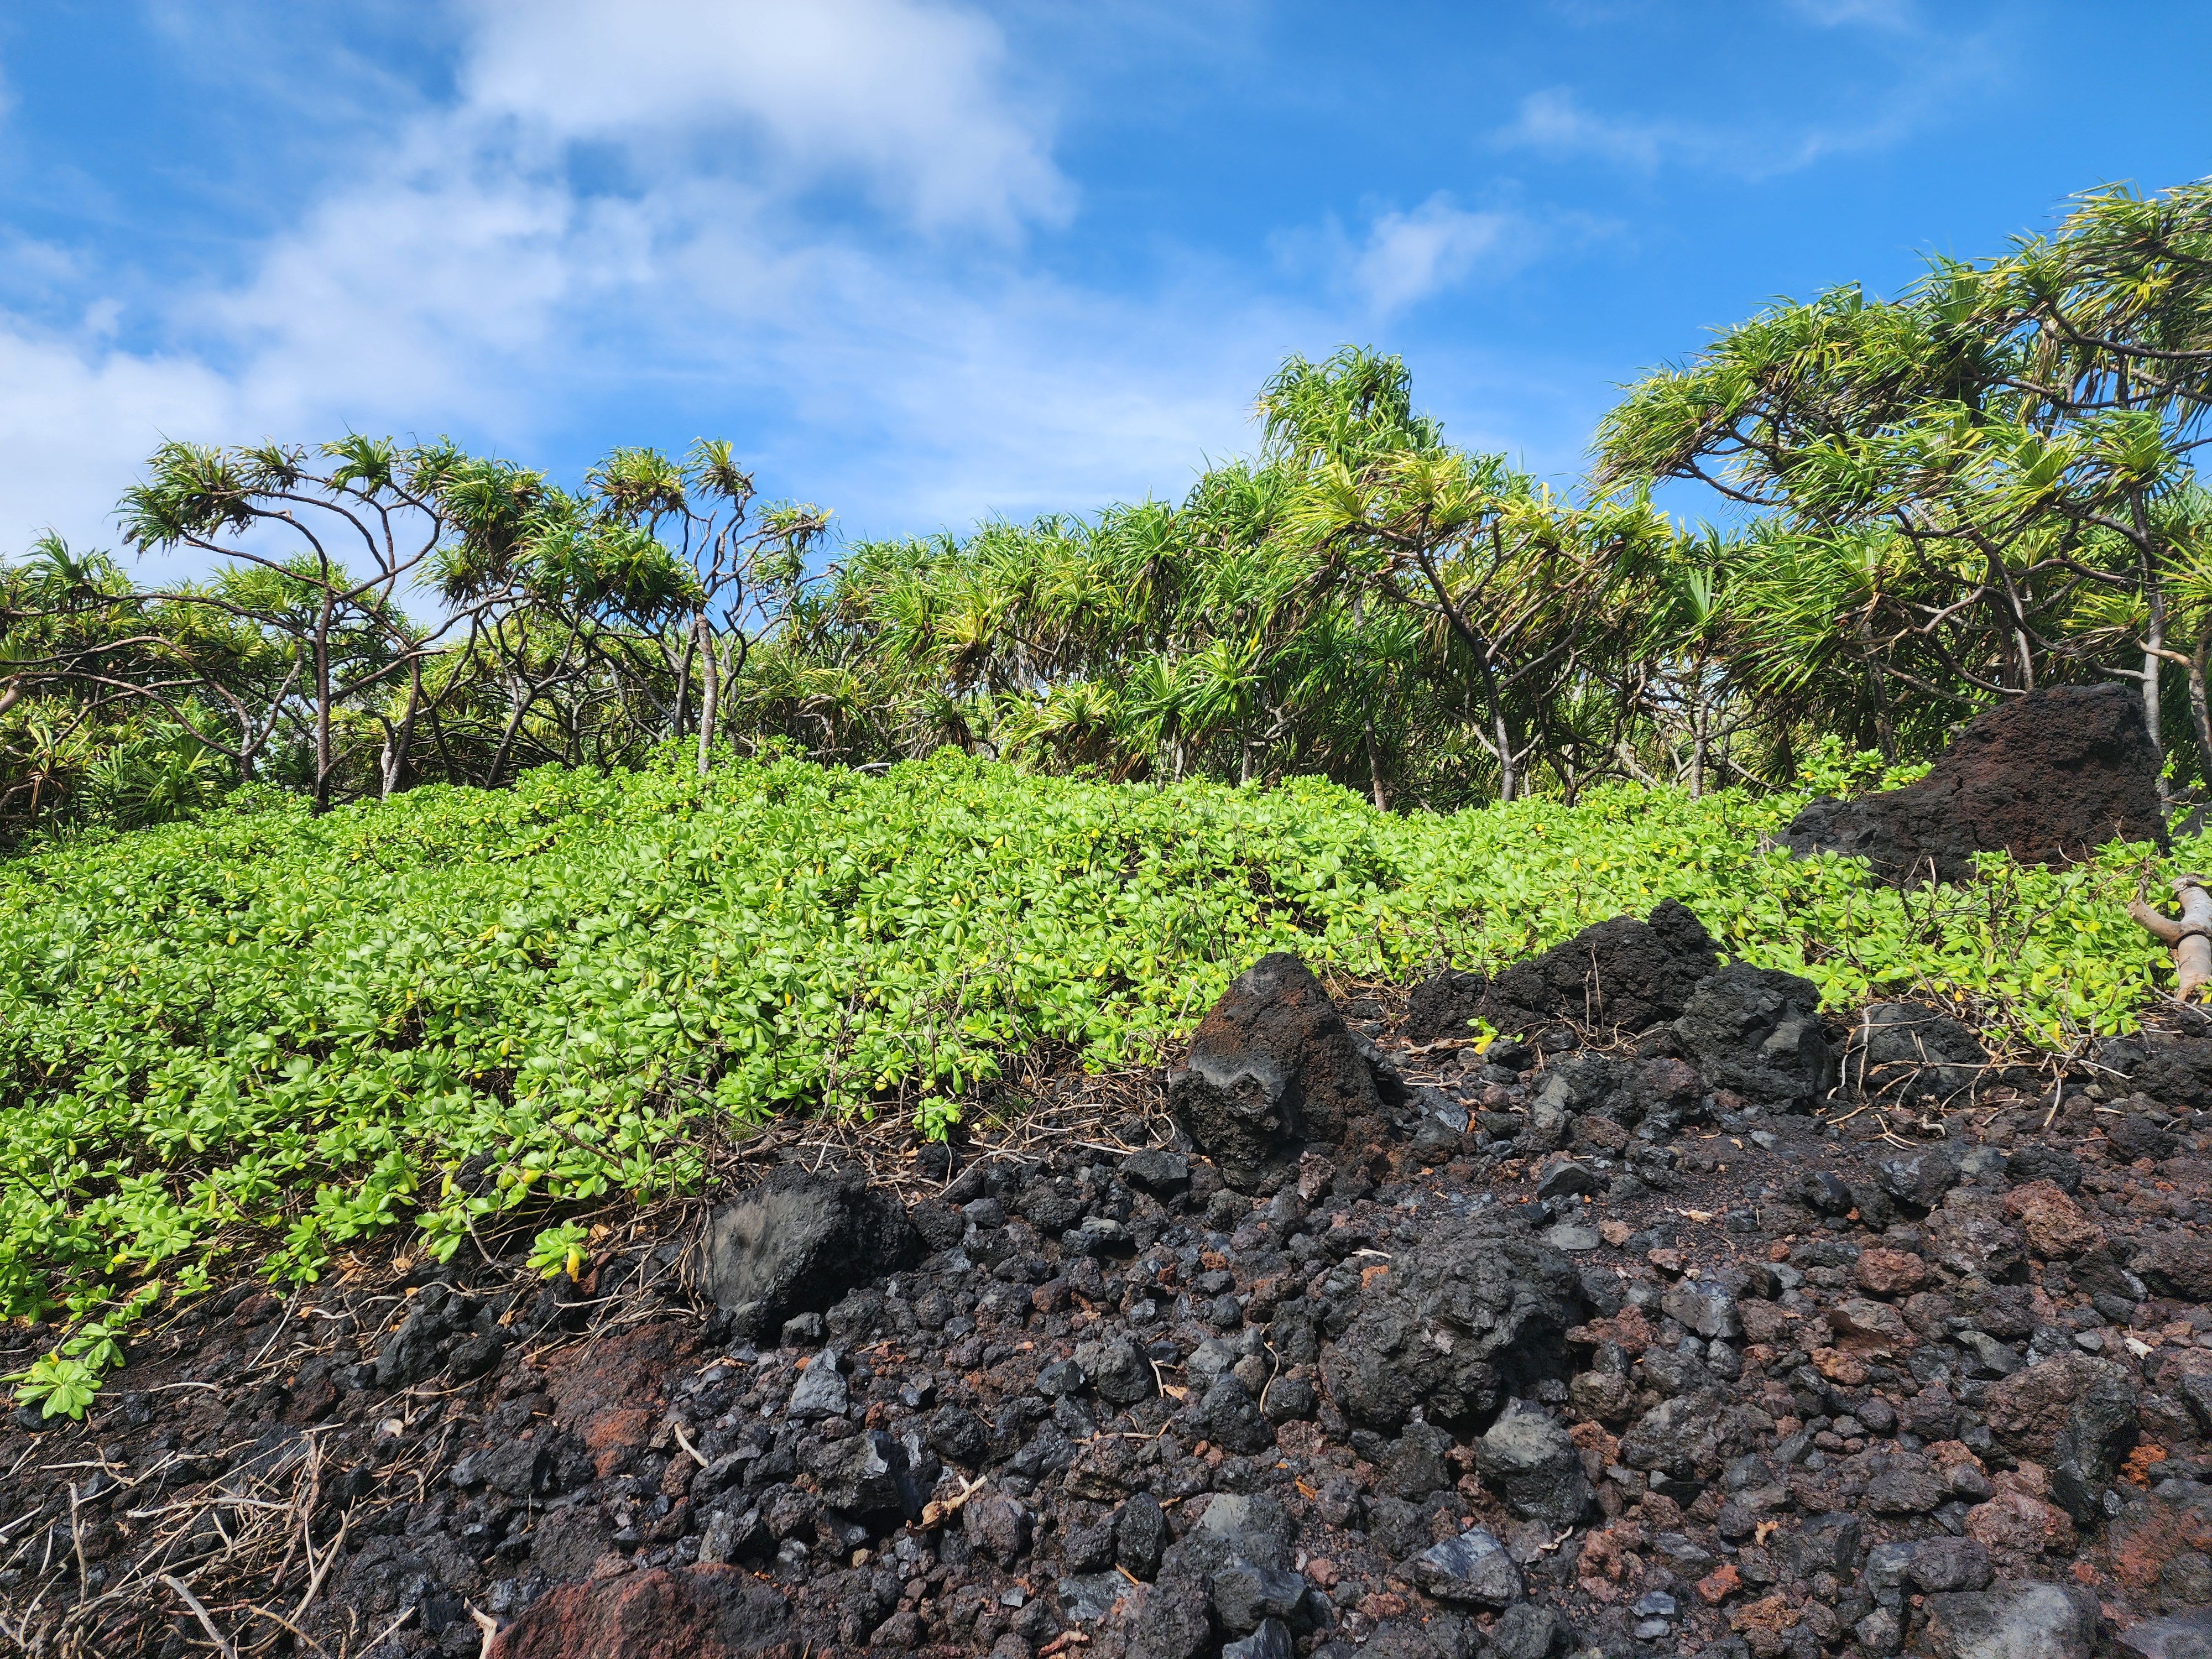
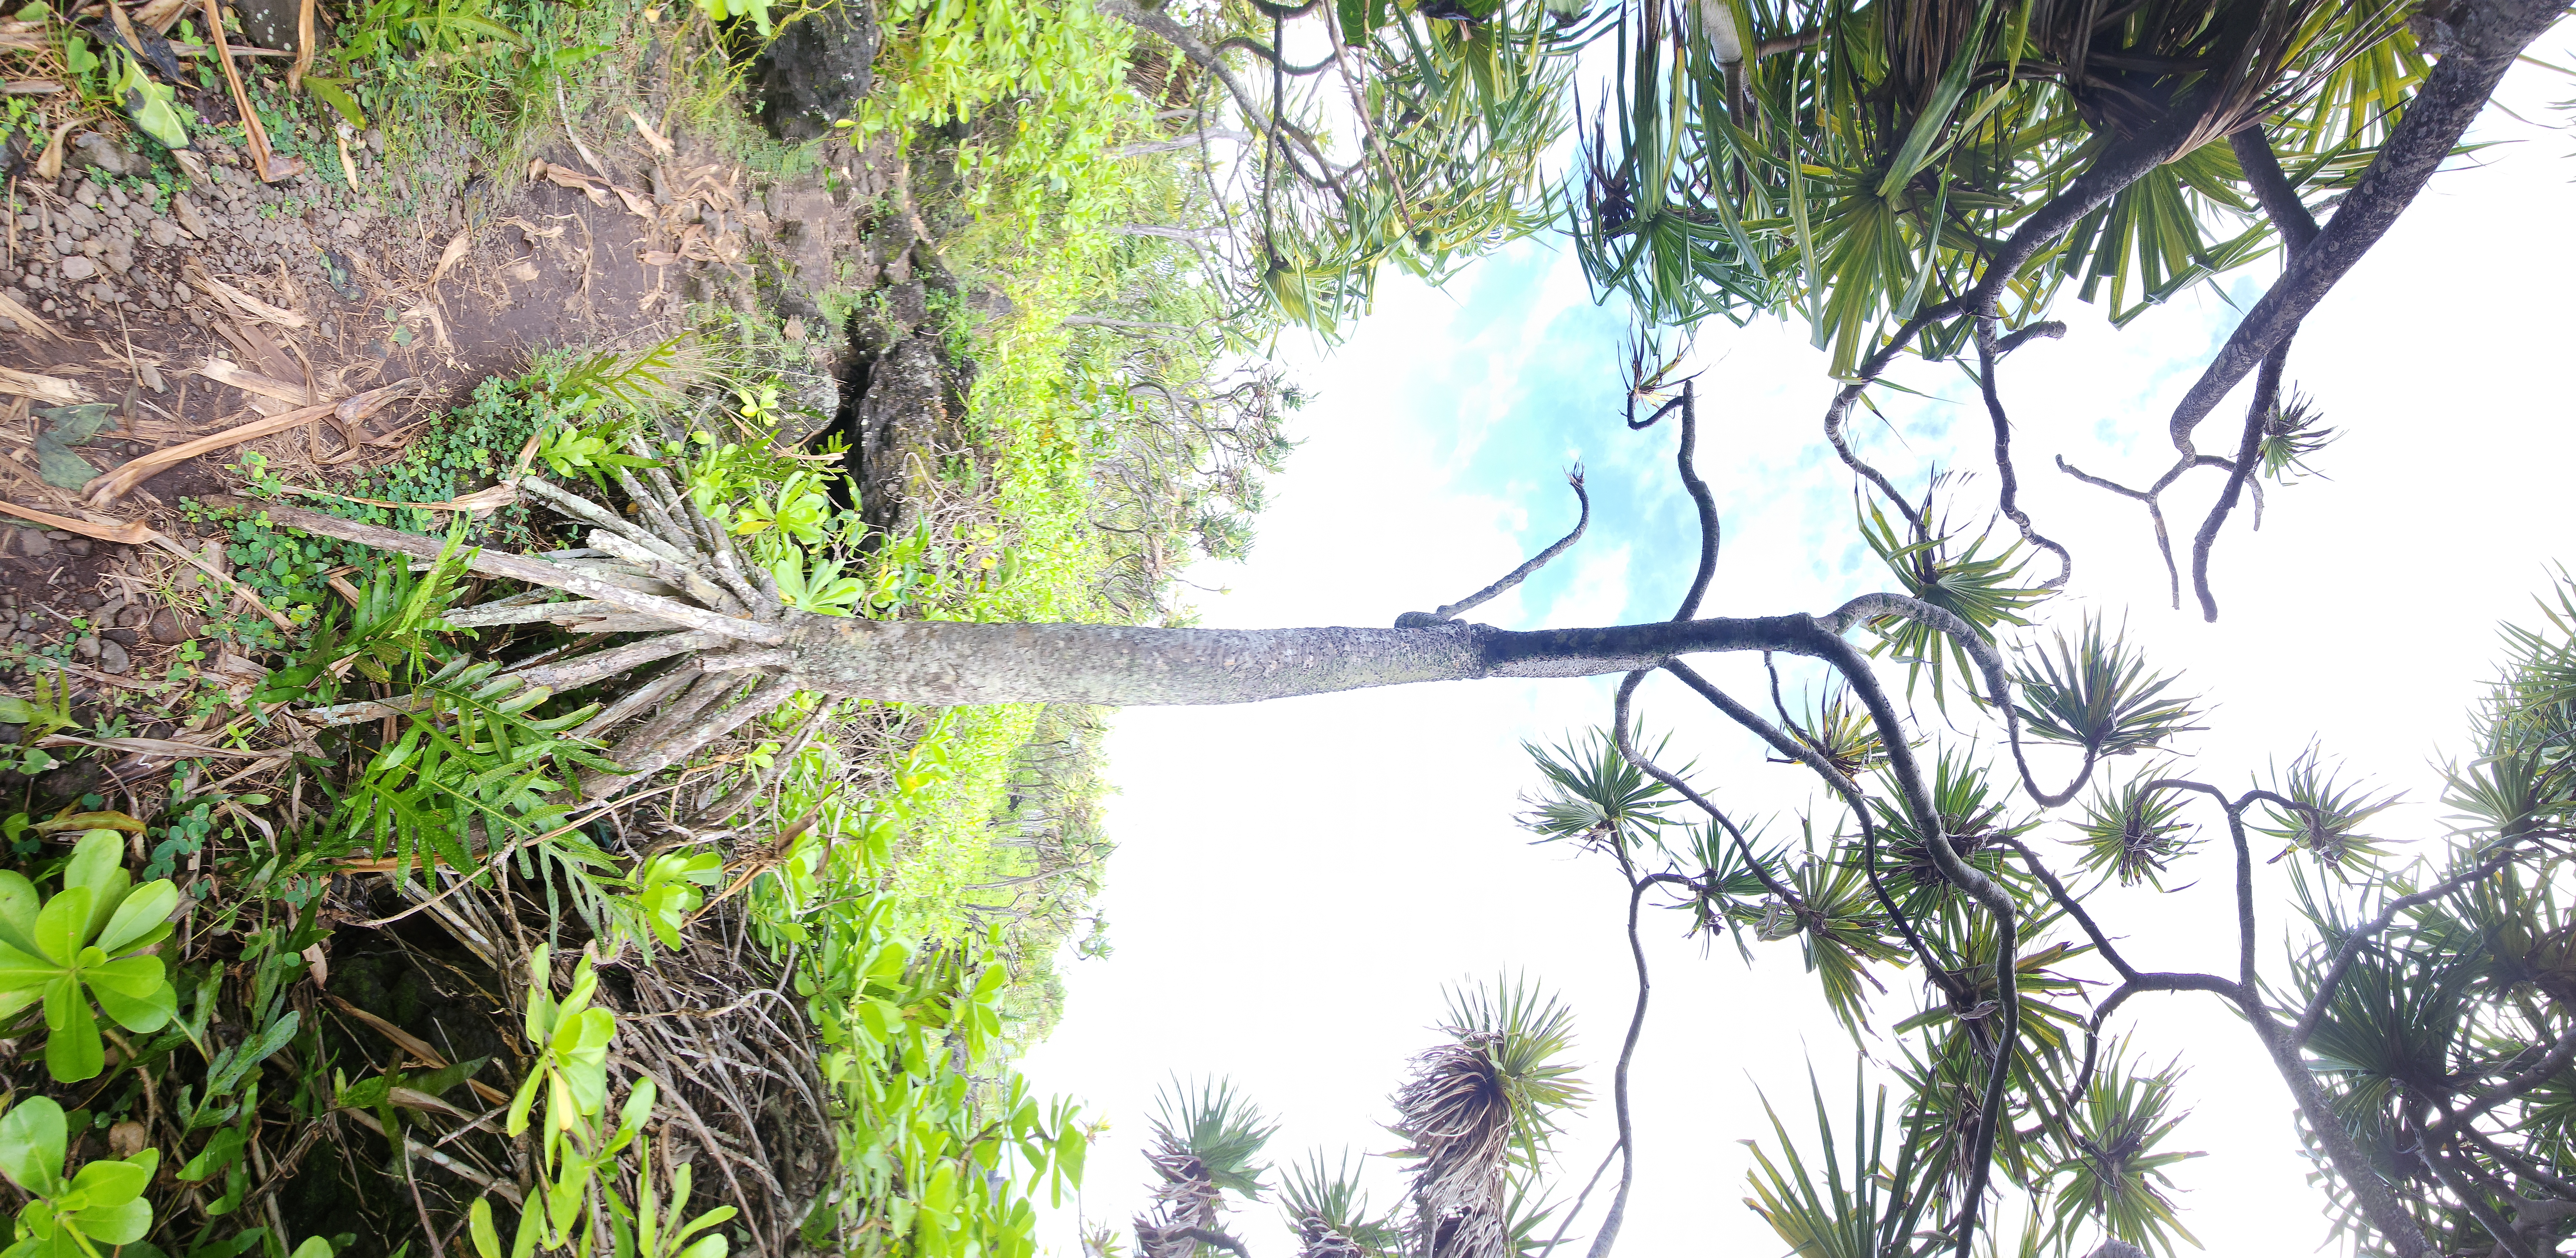
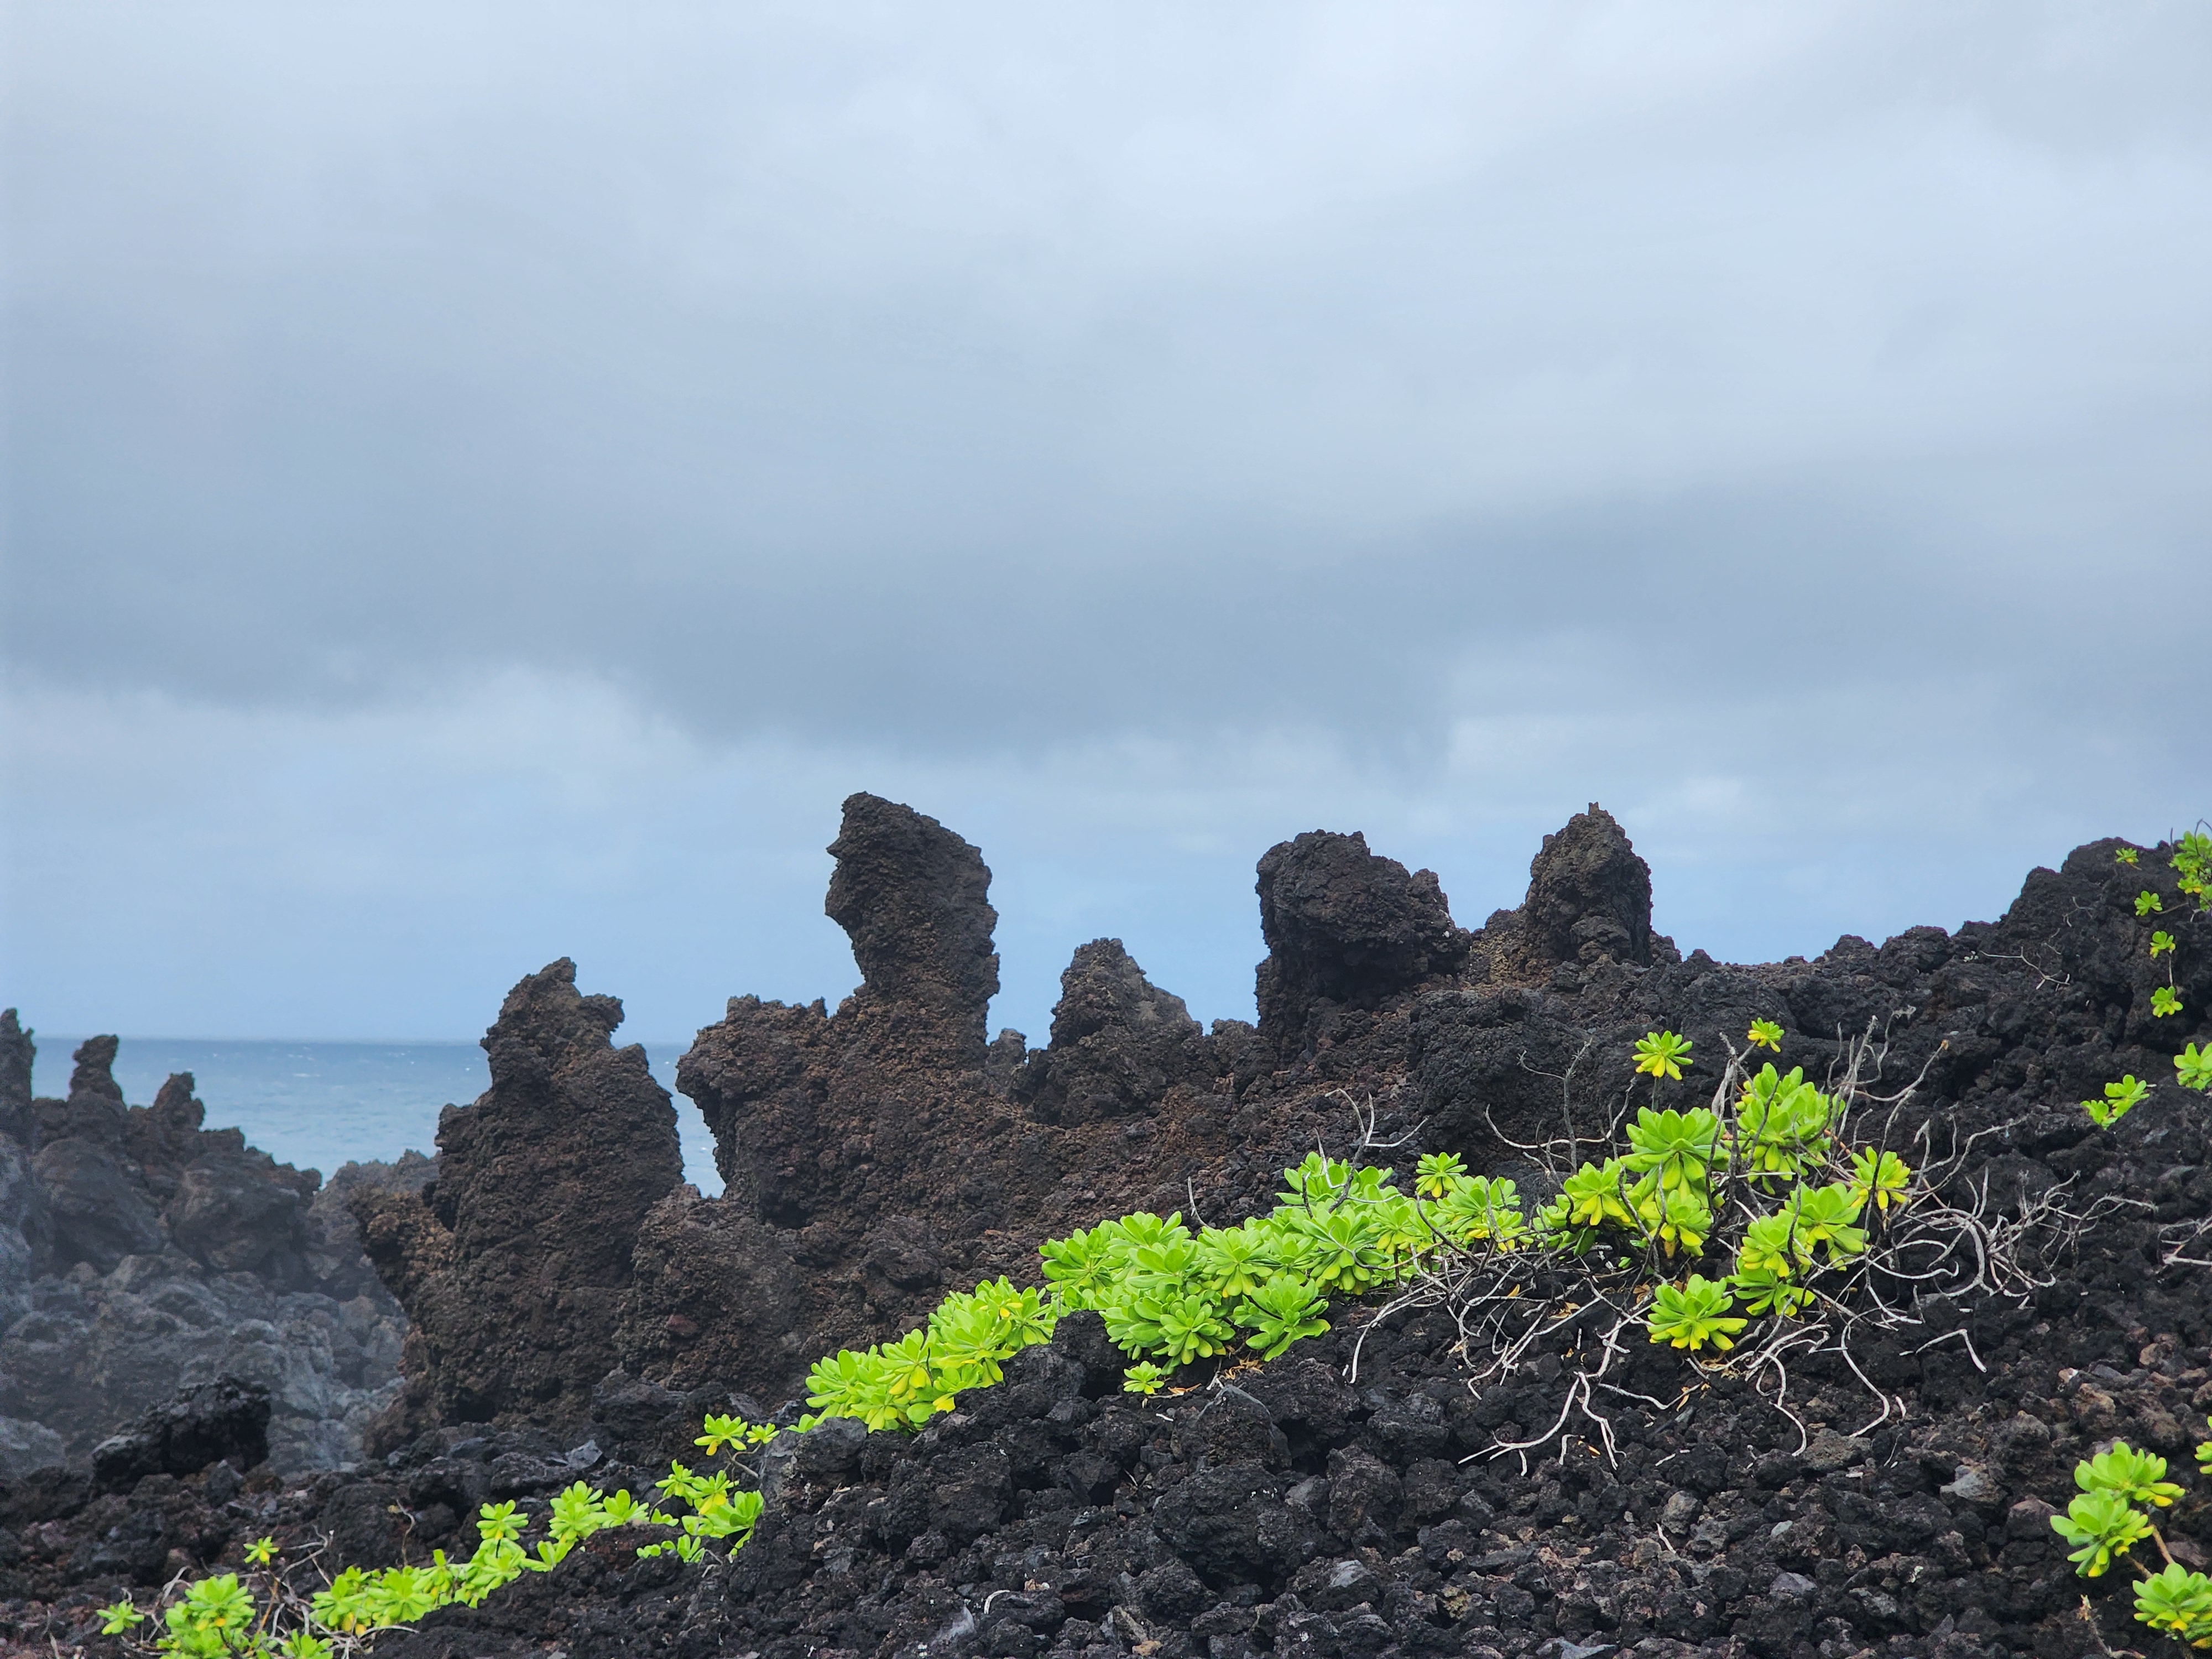
The garden that grows on nothing
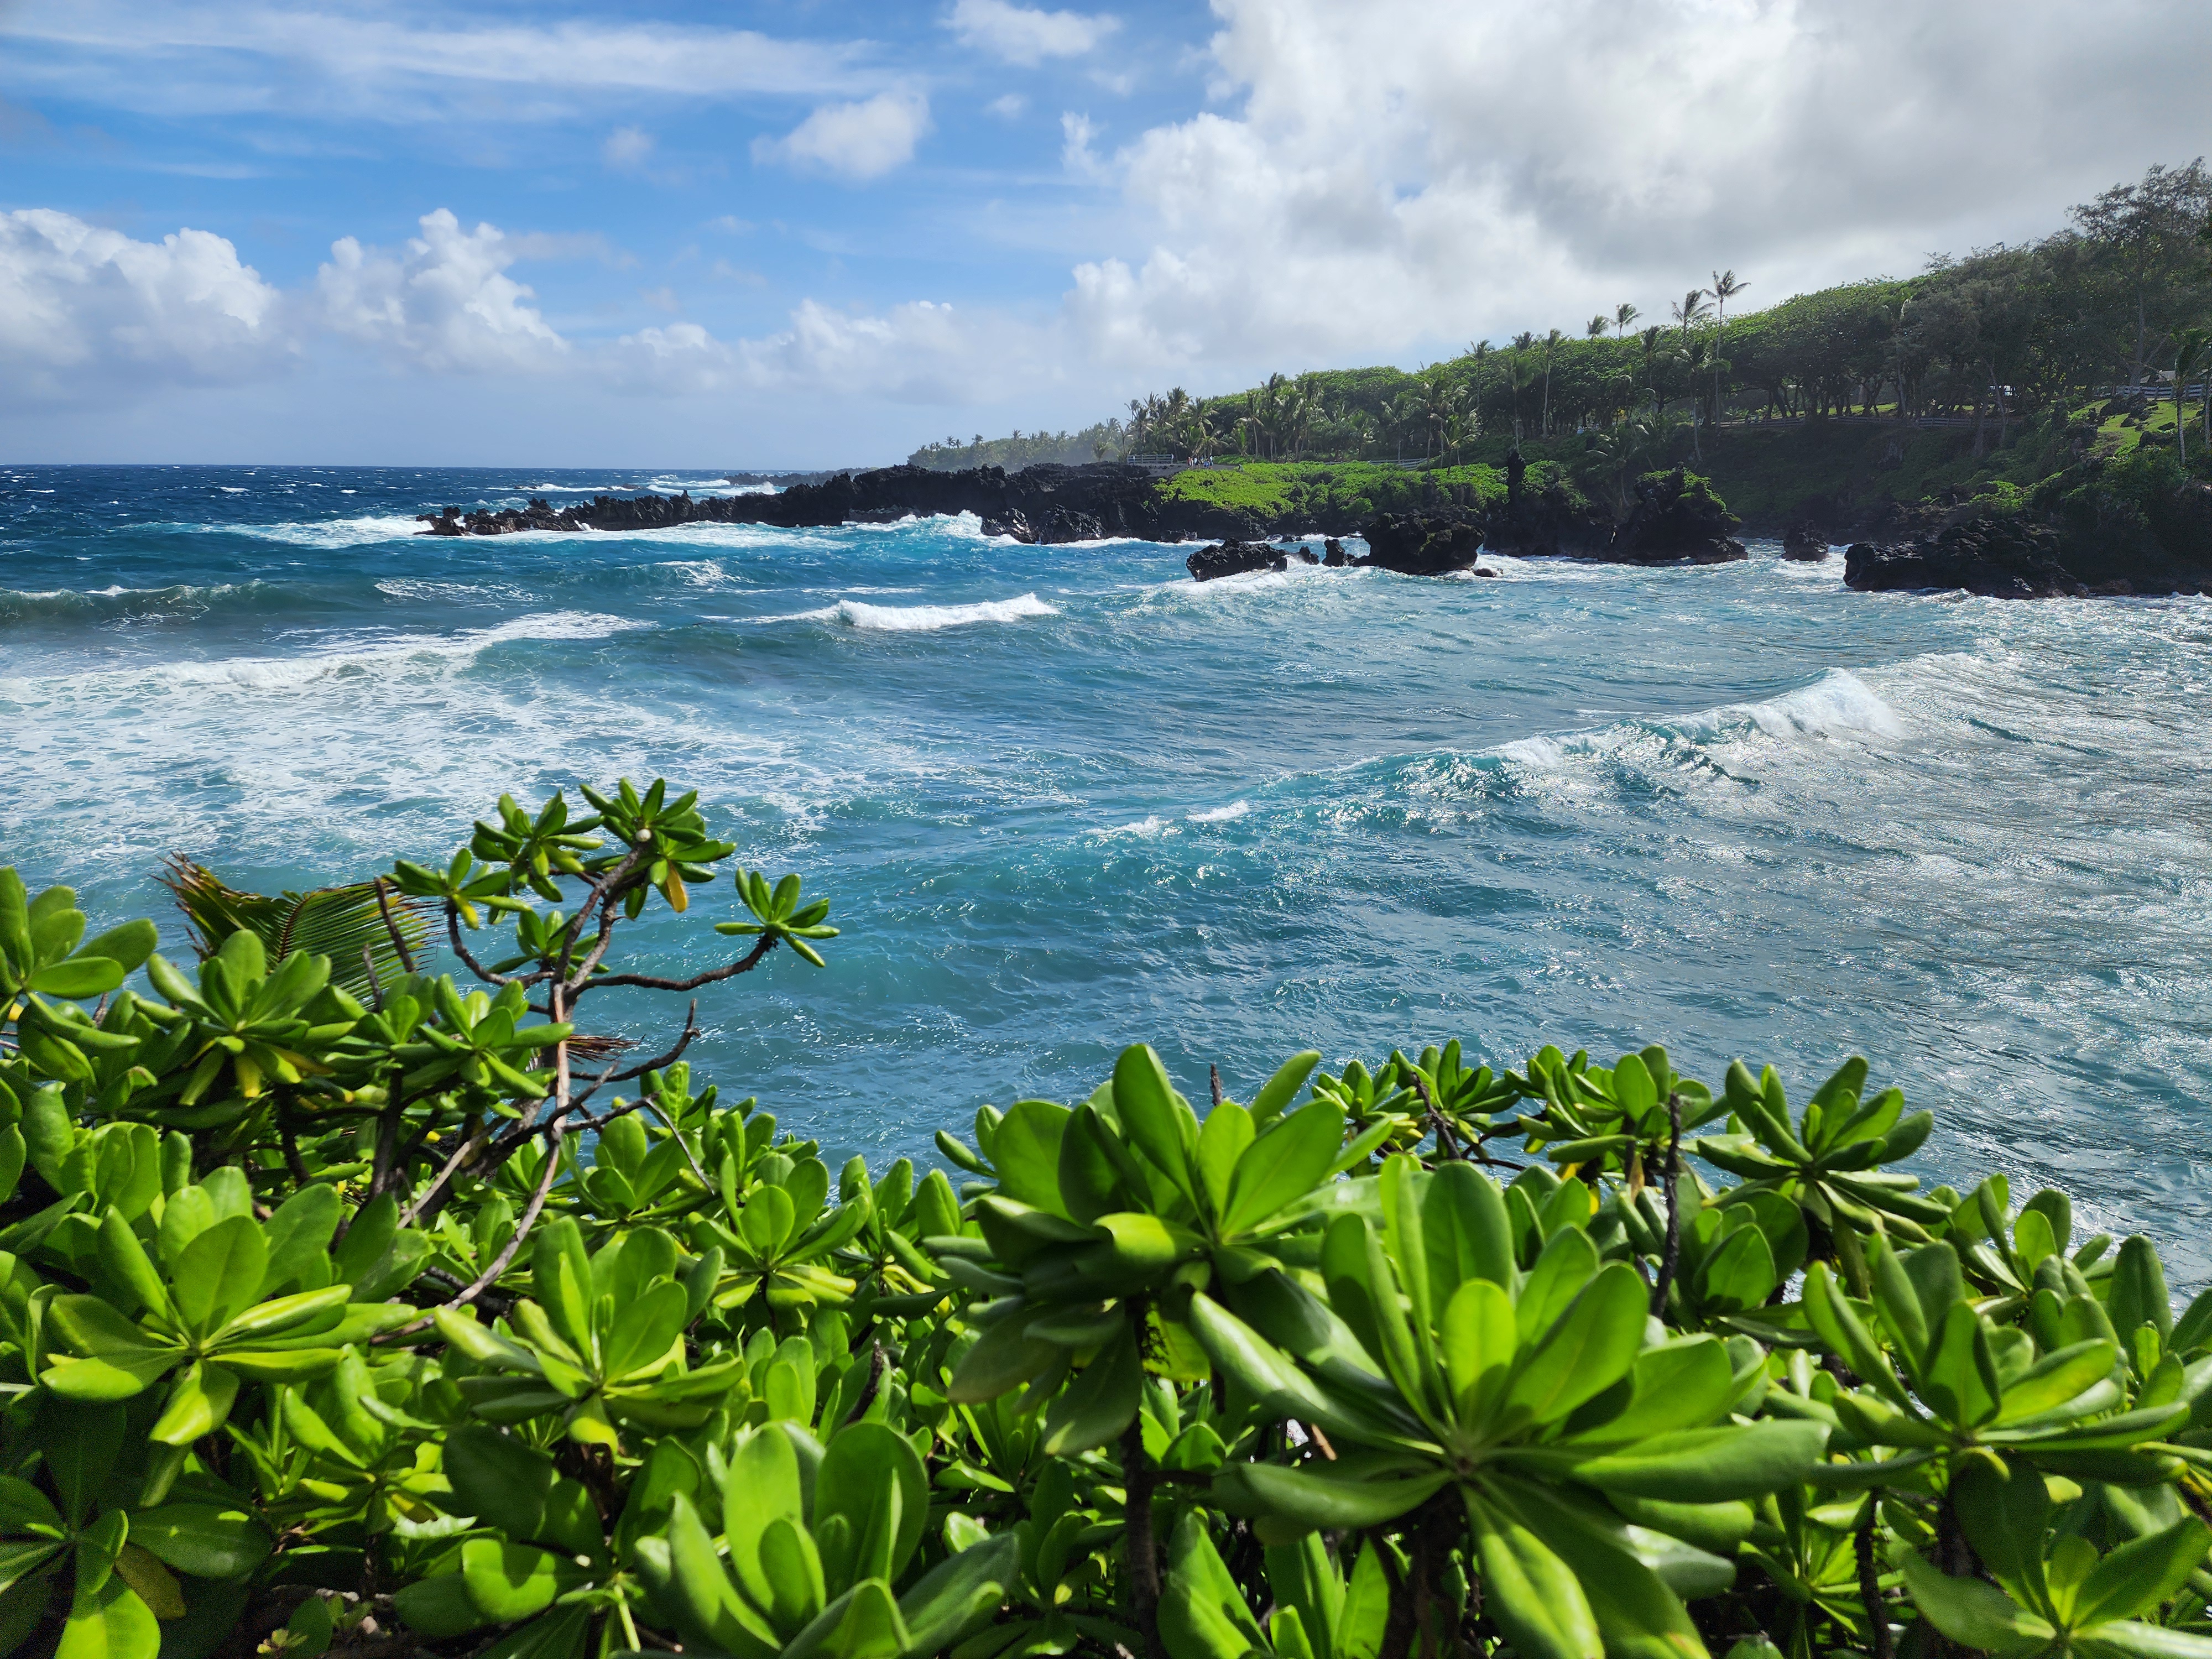
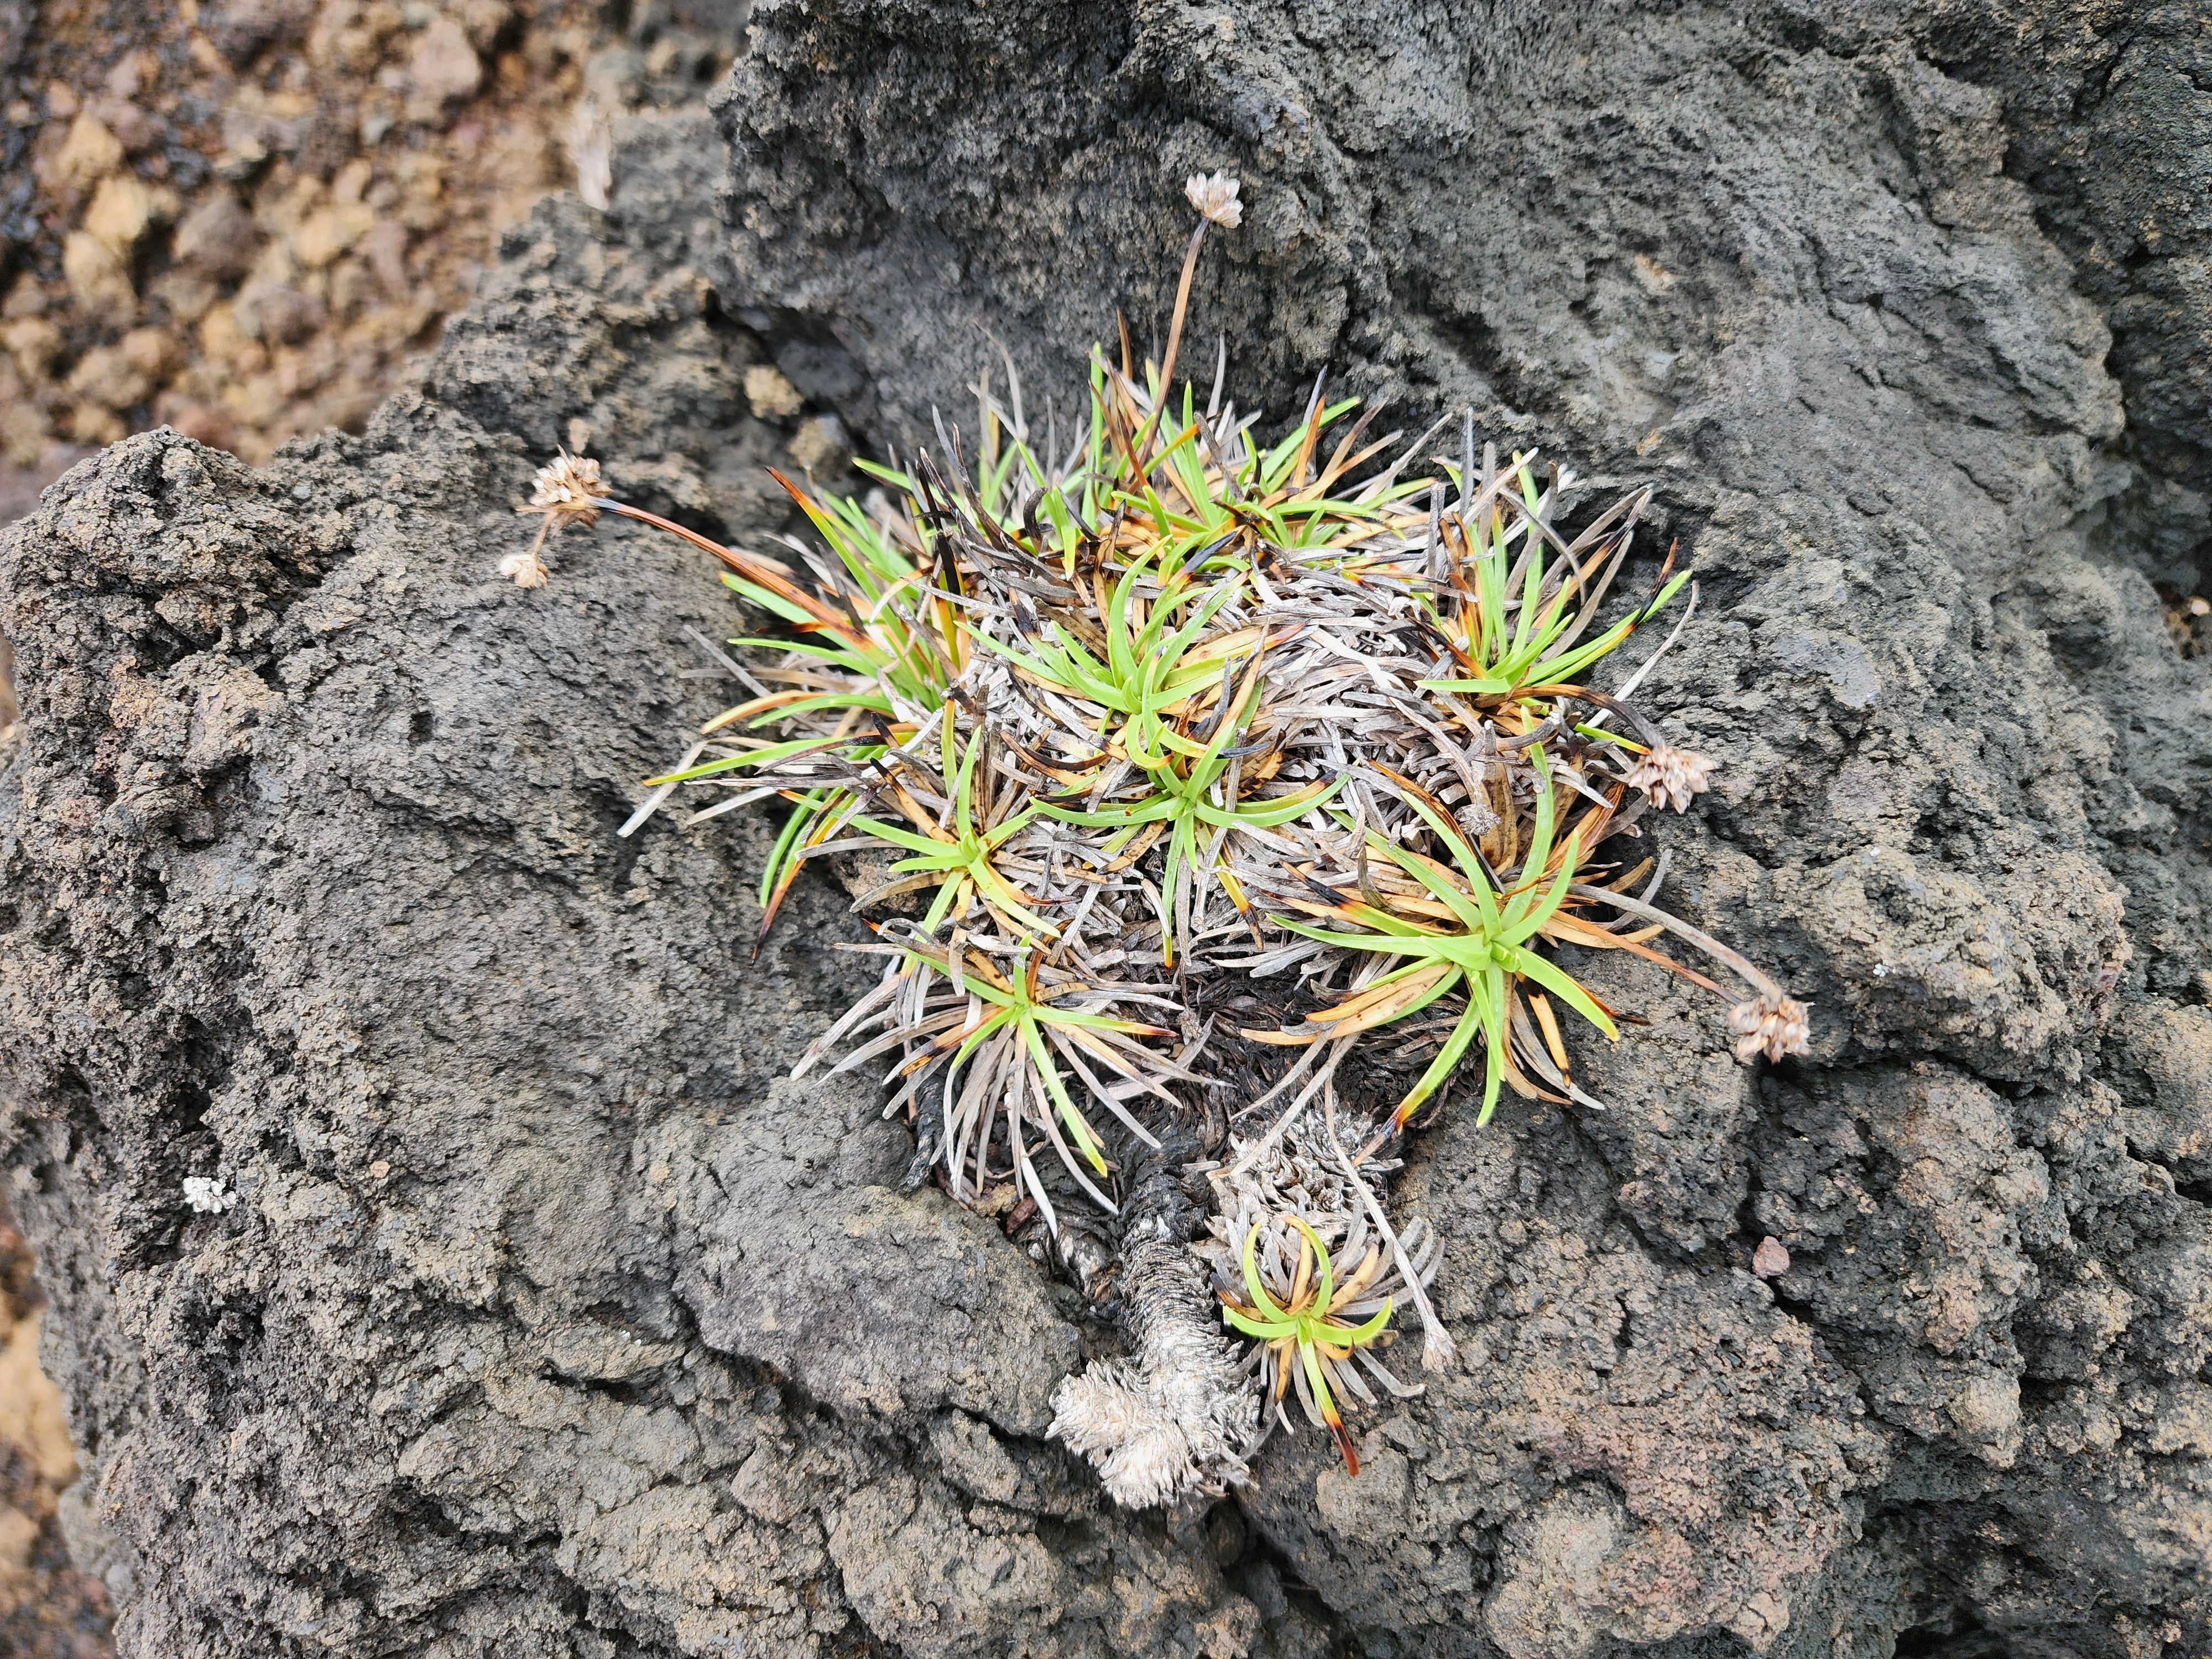
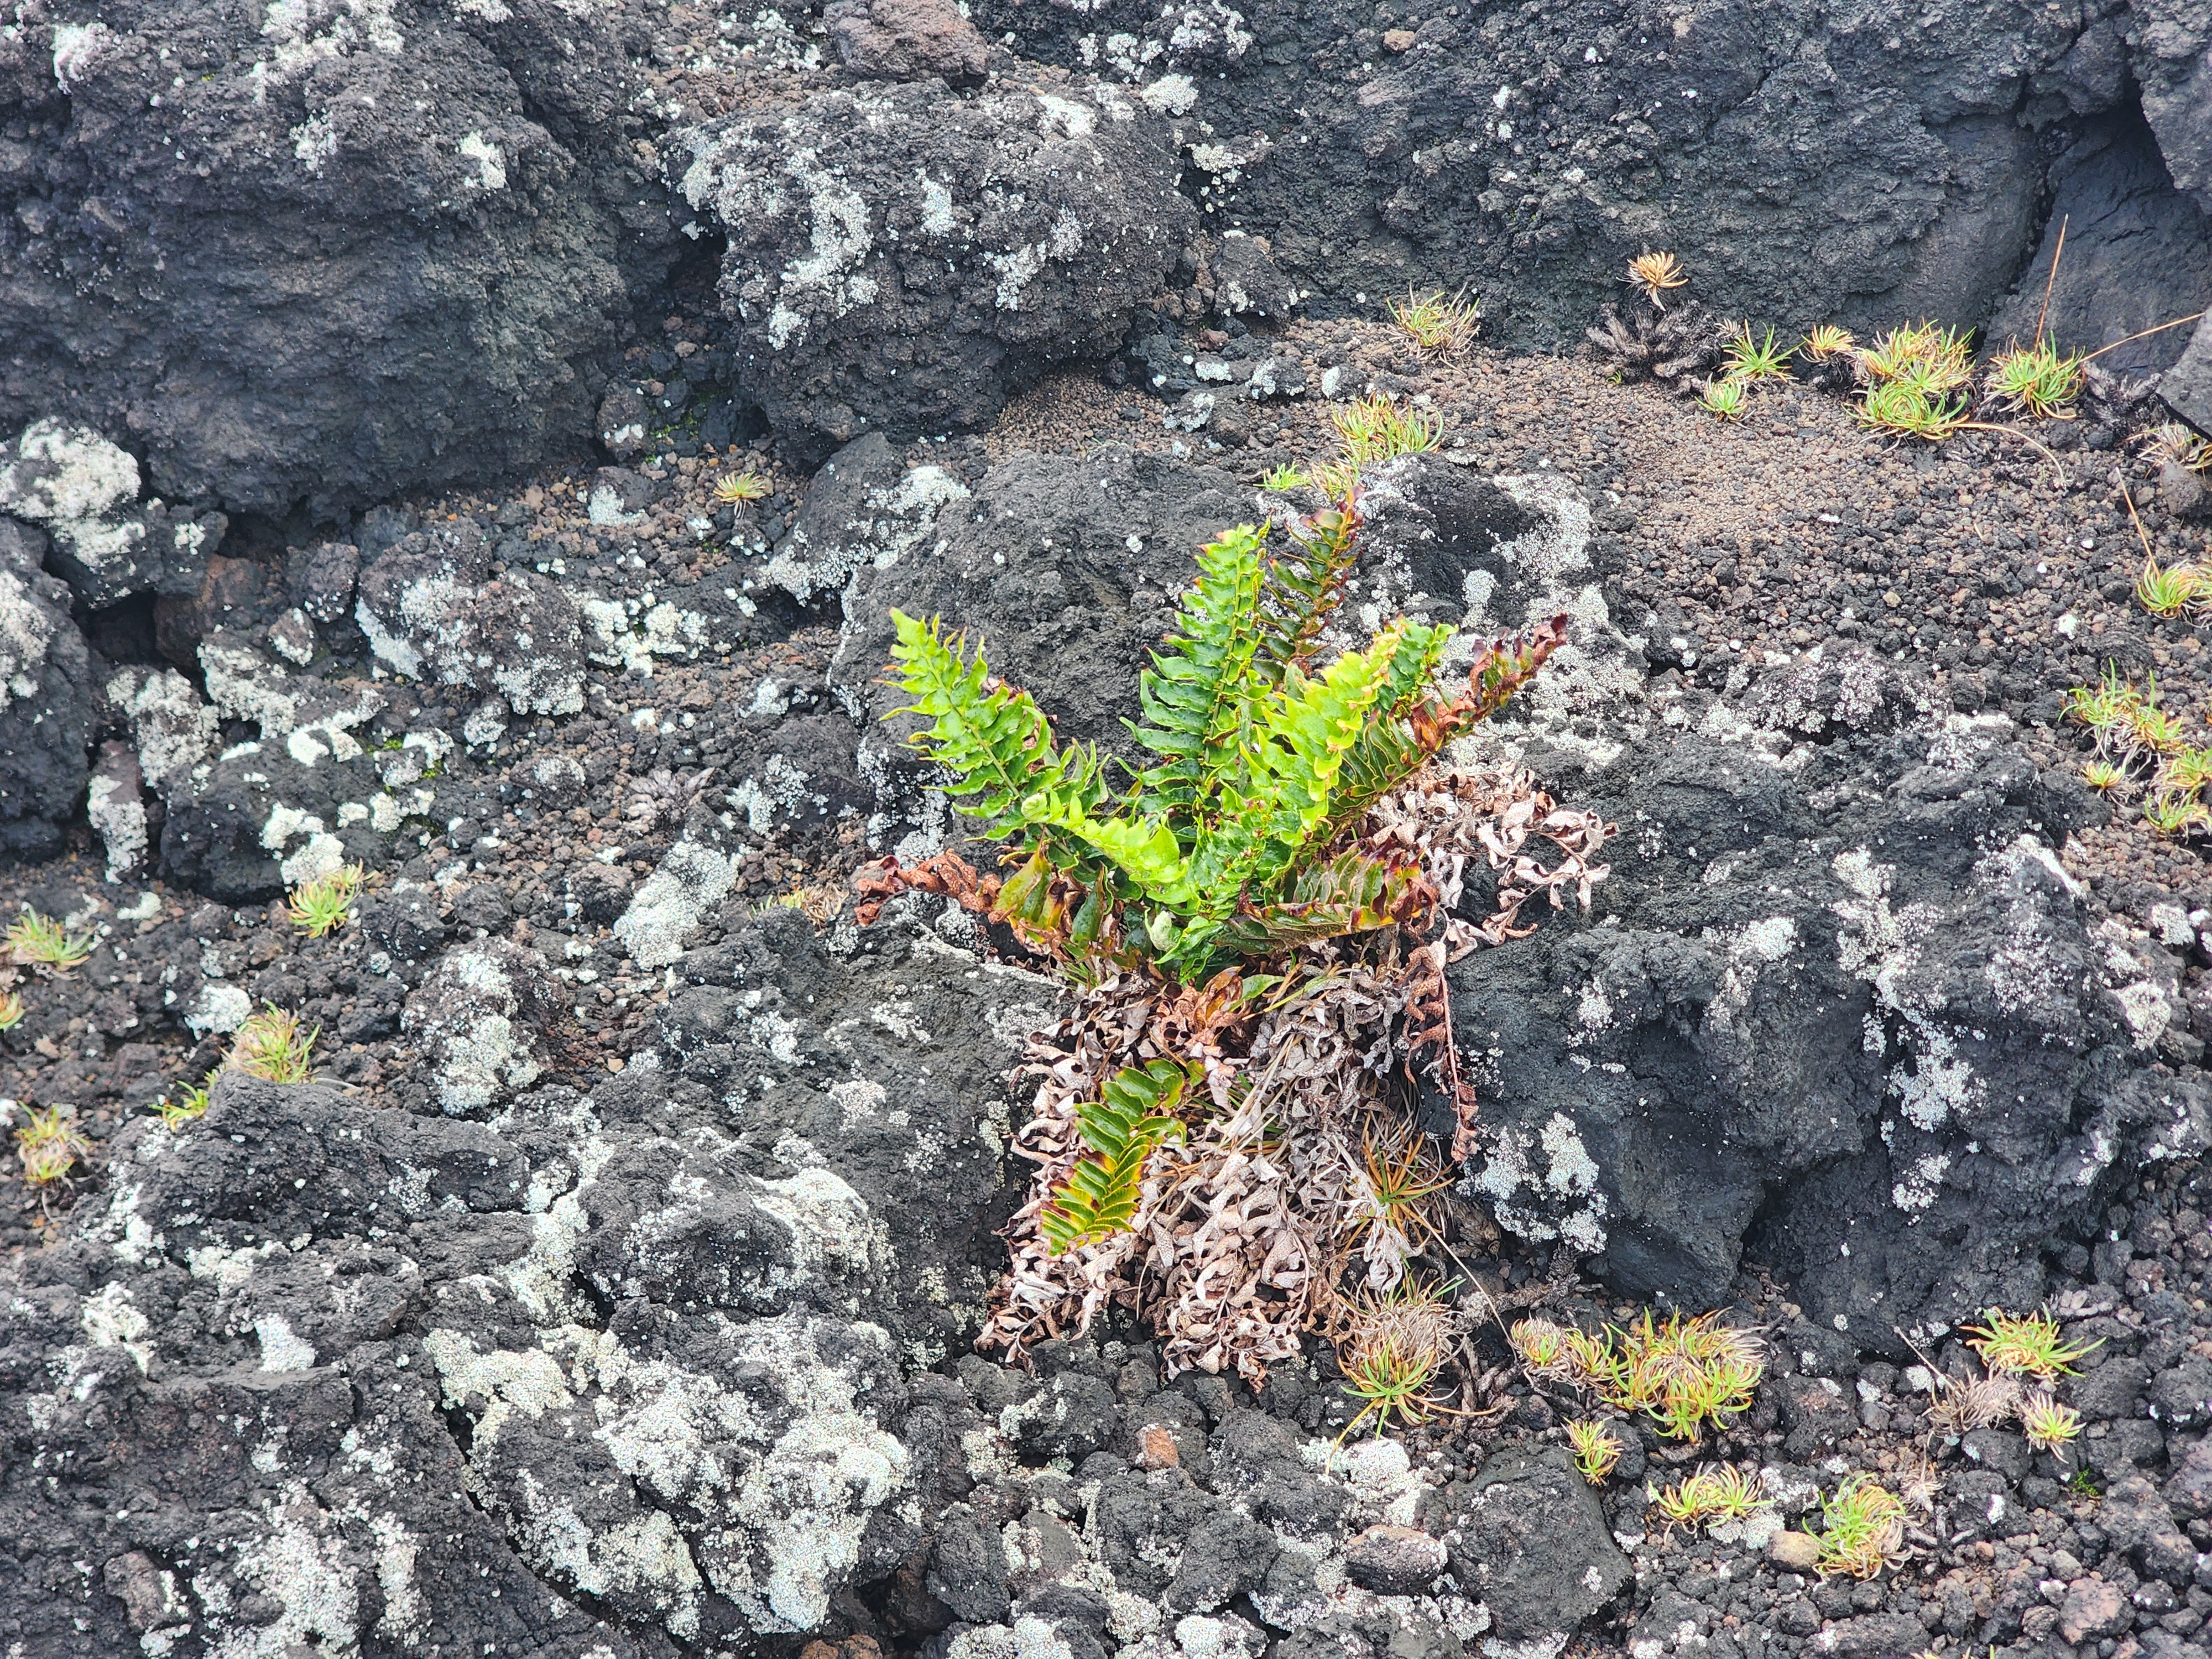
Turn your back to the water and there's a second marvel, quieter but no less dramatic: a lush green carpet thriving directly on the black lava. Not in soil — there isn't any to speak of — but on bare, sun-baked rock. In the moment I just marveled at how green and alive it was in a place that looks like it should support nothing.
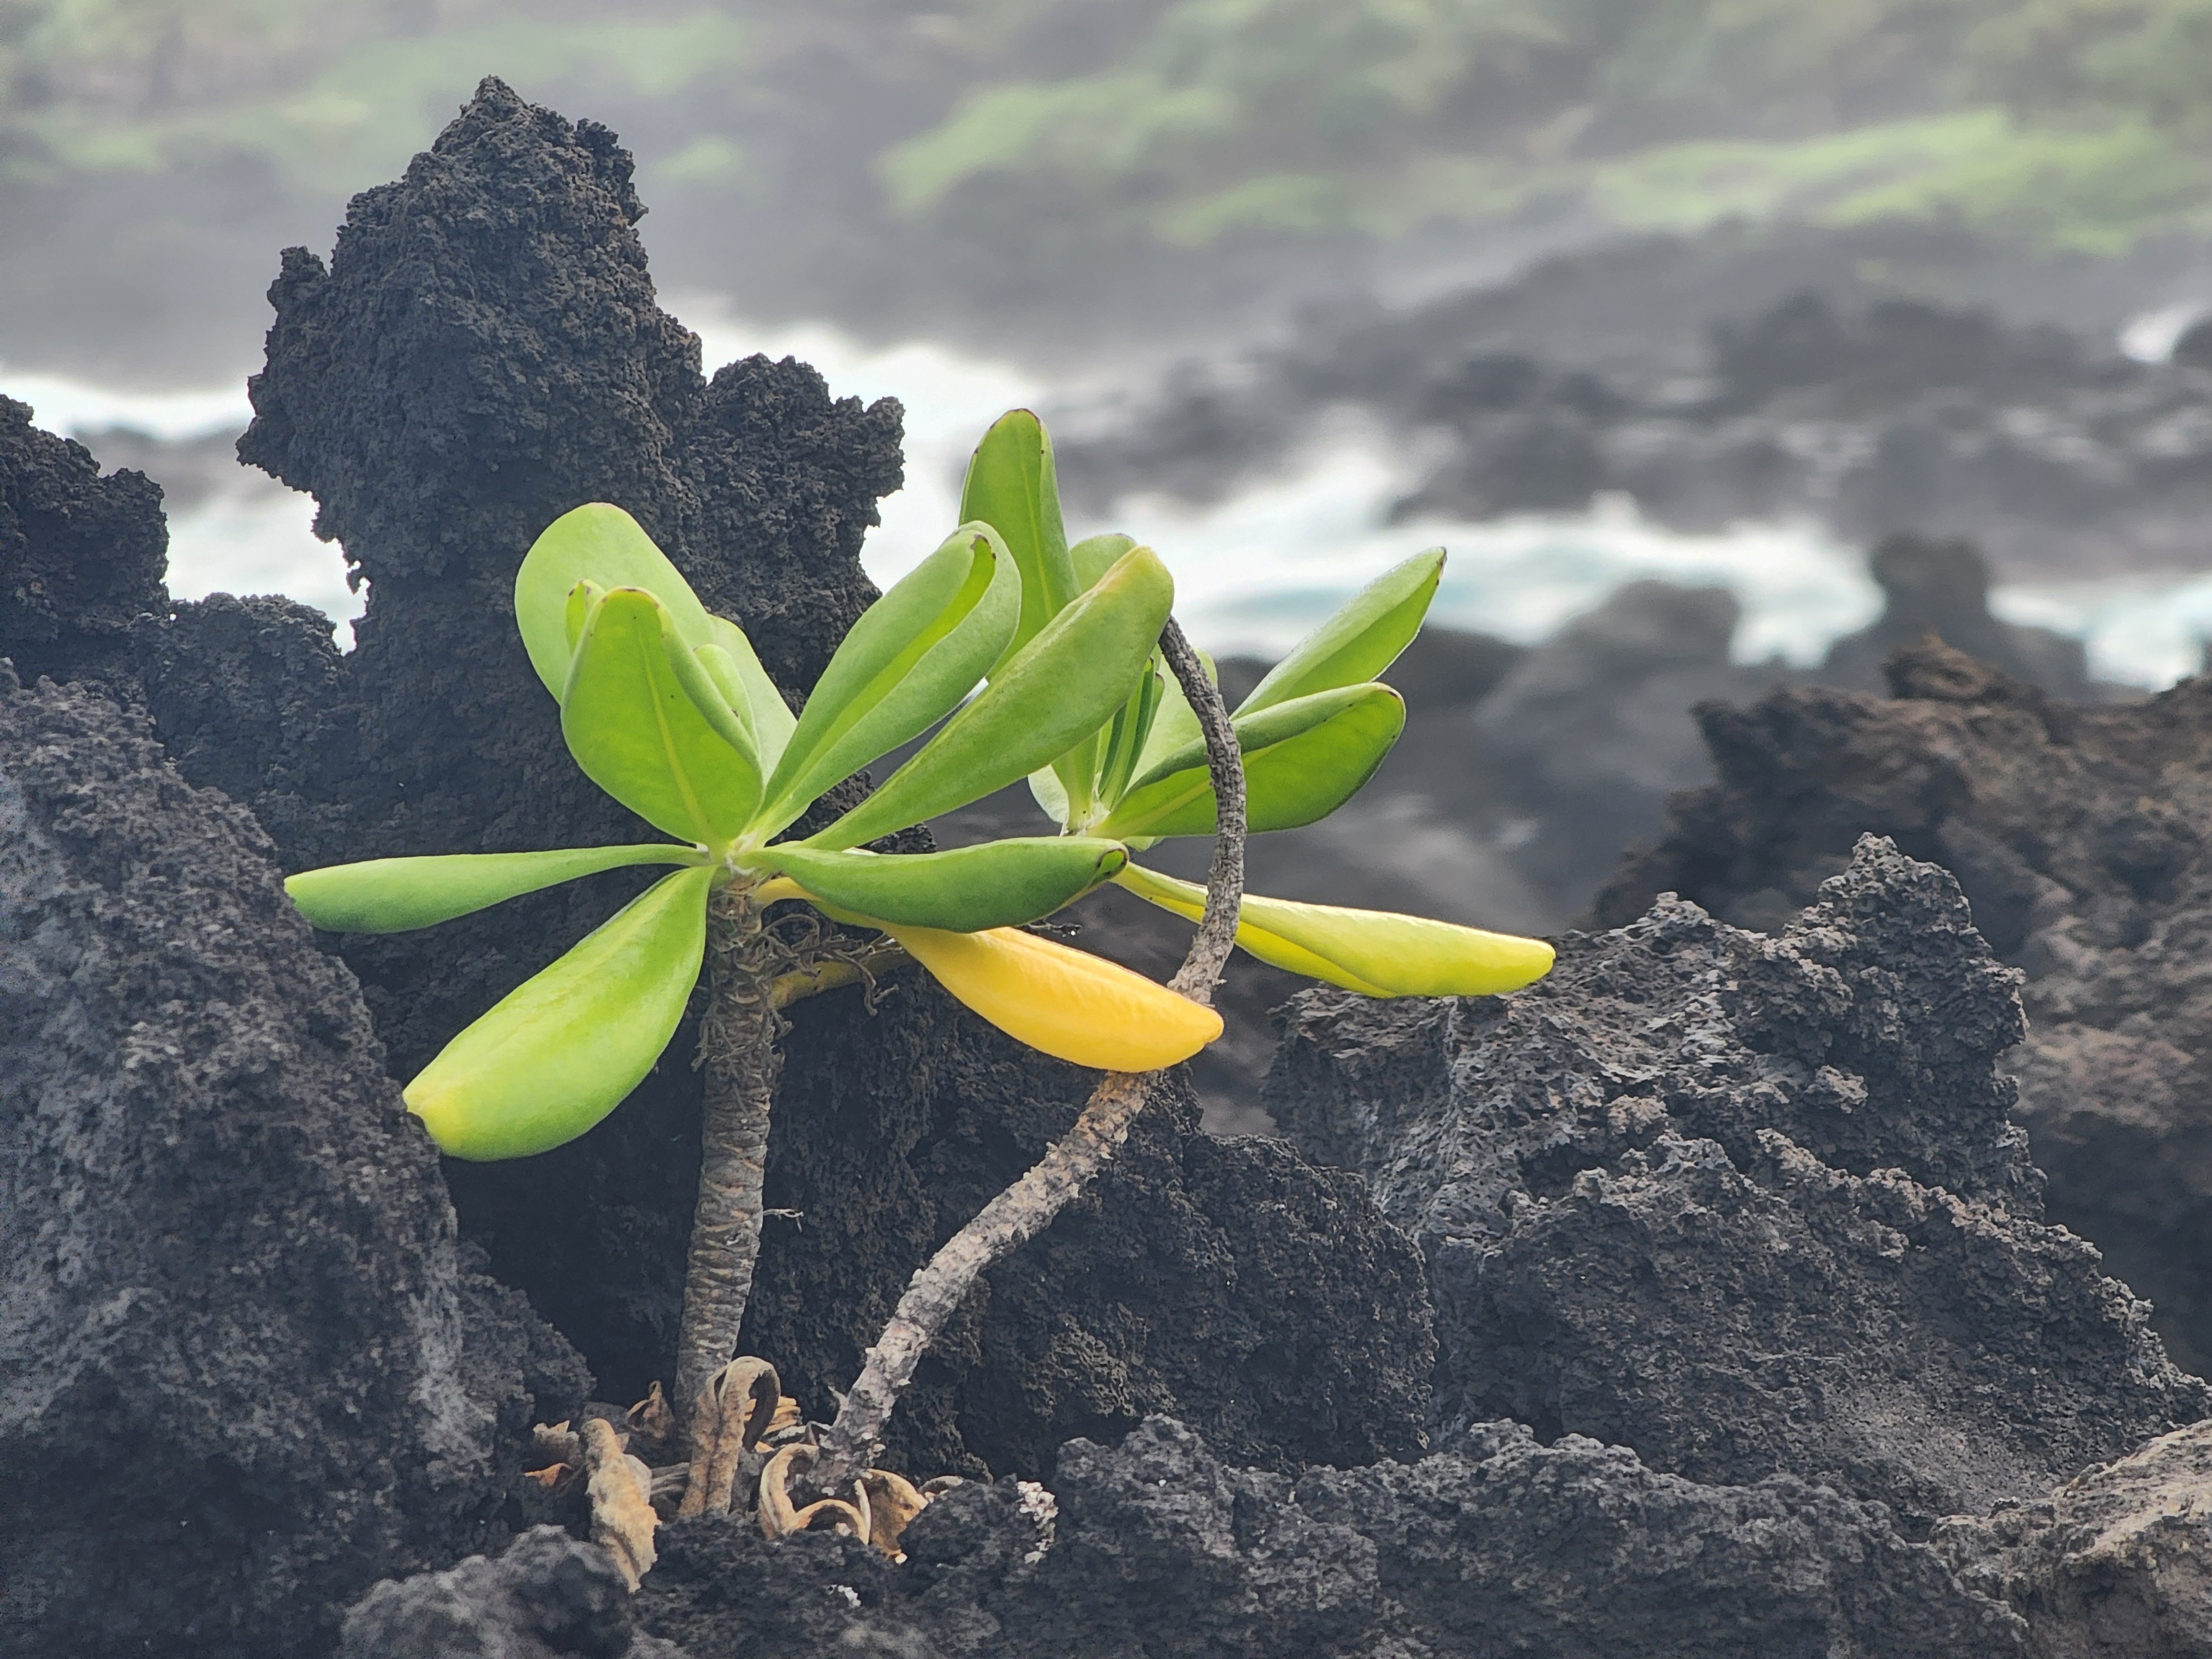
The plant is naupaka kahakai (Scaevola taccada), and calling it a miracle — as I did, standing there — oversells it. It's a succulent — waxy, water-storing, salt-shrugging — built for exactly this. The clever part is how it travels: its corky little fruits are buoyant and salt-proof, bobbing across the open ocean like tiny explorers for months and still sprouting — one study found they germinate best after some 250 days at sea.
It's cherished, too — a native woven into Hawaiian life, its fragrant flowers and seeds strung into lei and the plant used in traditional medicine. But context is everything: that same plant is a noxious weed in Florida, planted in the 1960s and now smothering the native dune plants there.
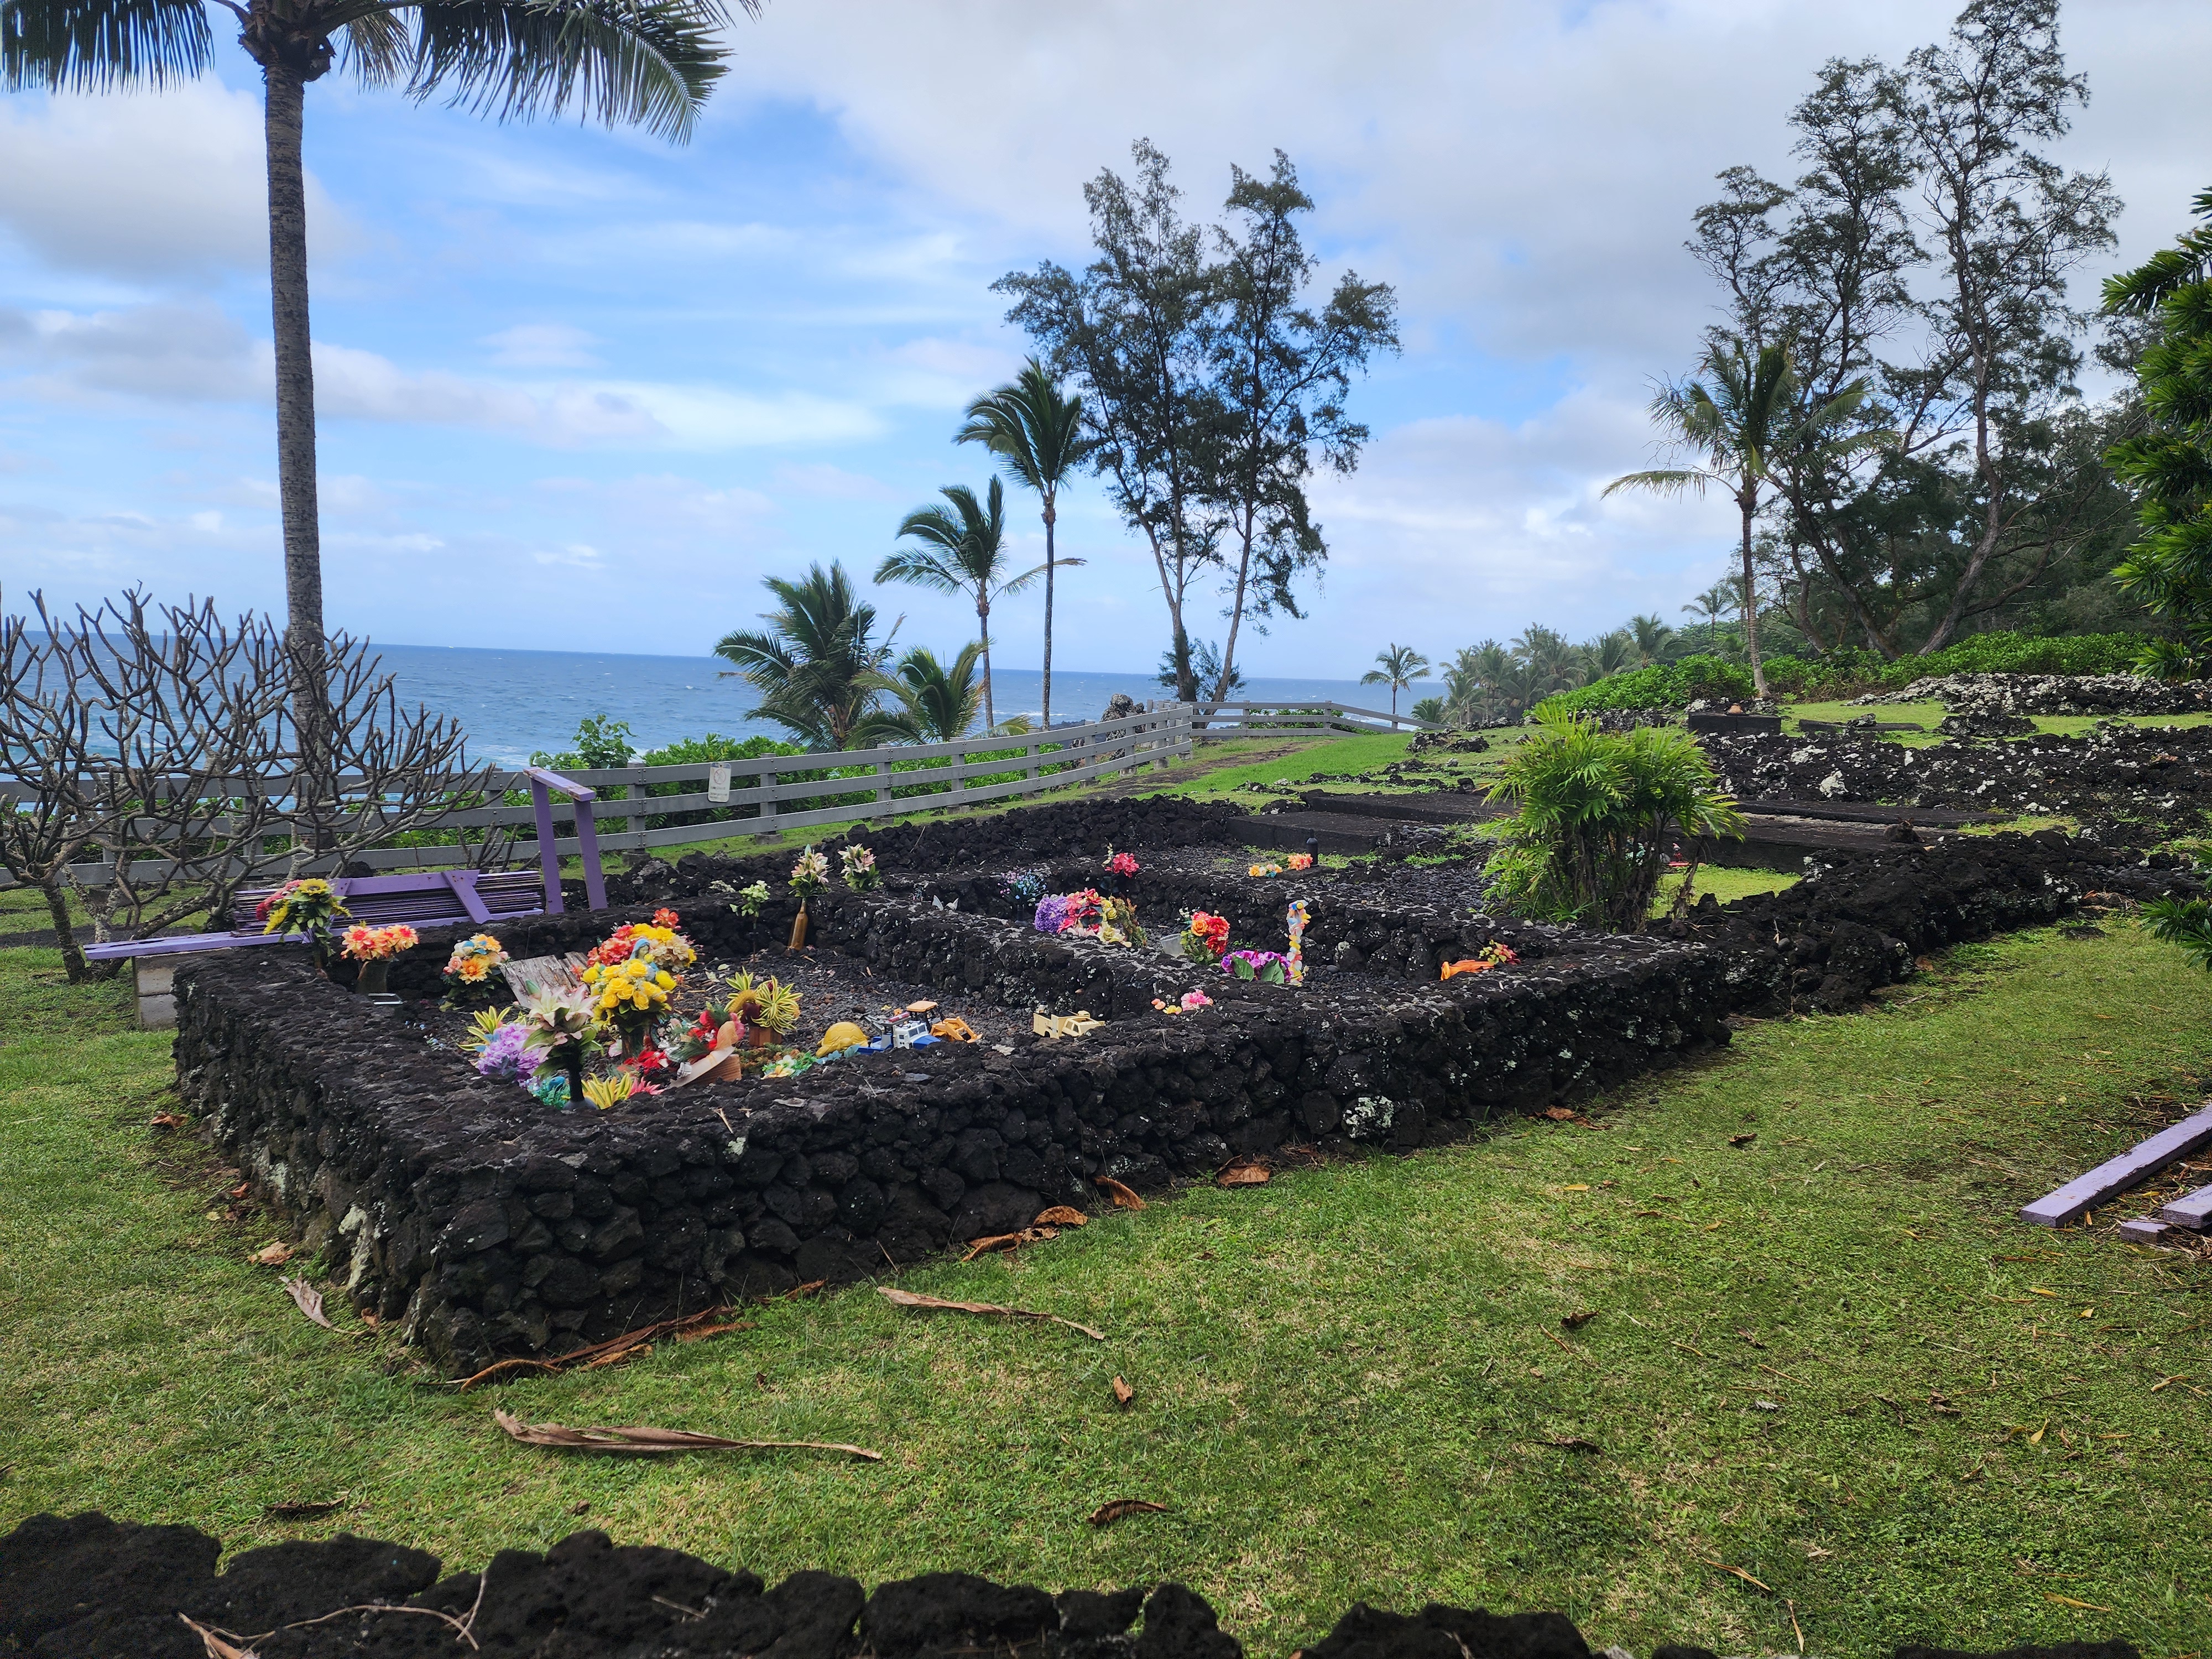
The clock, not our legs, decided the turnaround — the reservation window and the long drive home won out, so we headed back the way we came, past the park's other small wonders along the route: a sea arch, an old family cemetery tucked near the lot, each worth a glance on the way out.
A last critter, and a warning
Back near the car, on our way out, I got my photo of the trip's first mongoose.
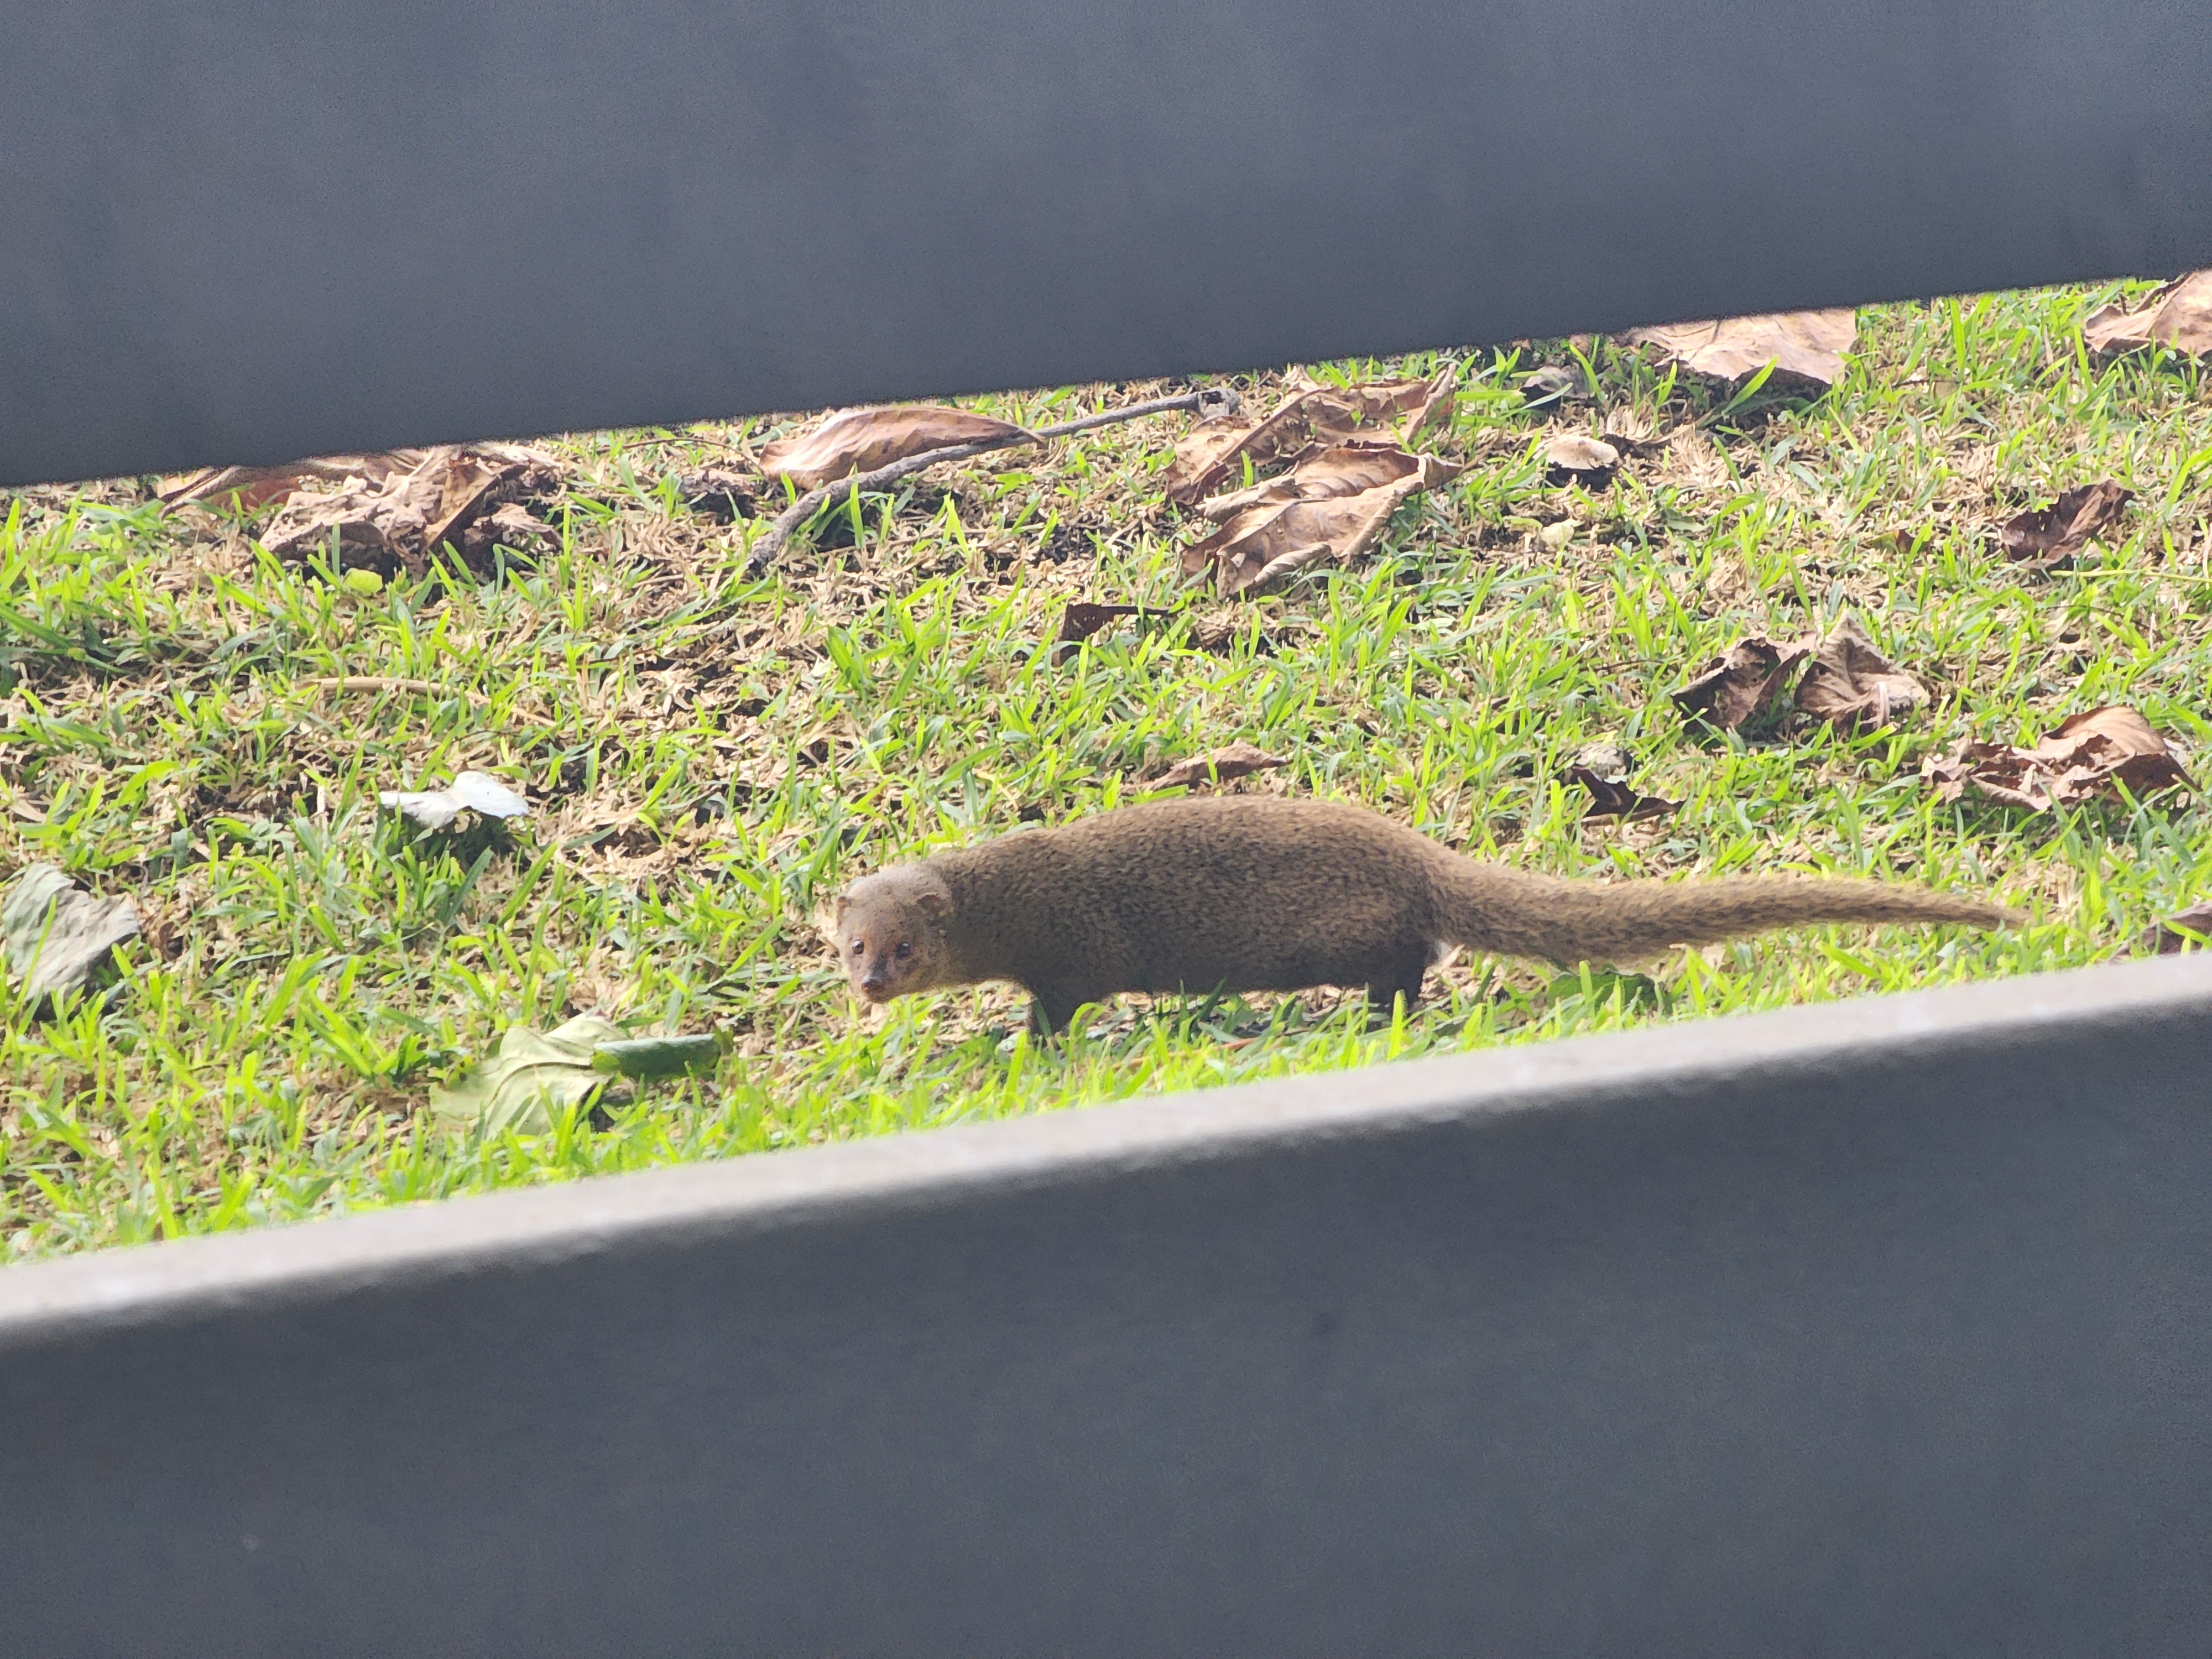
Like the gecko, the mongoose is here on purpose — and like the gecko, the paper trail is unusually complete. In 1883, Hawaiʻi's sugar planters wanted the rats out of their cane, and the mongoose was the proposed cure. They were warned first: that March, seven months before a single animal arrived, the Pacific Commercial Advertiser ran a naturalist's caution that the mongoose "will not confine his operations to what is deemed his legitimate business" — that he would be "a general destroyer." They went ahead anyway. That October the planters' agent, John Tucker, landed seventy-two mongooses from Jamaica. And a year on, the verdict was pure triumph — the planters toasting their new ally without a single note of caution.
It took the better part of a decade for the bill to come due. Rats, as it happens, are nocturnal and mongooses are diurnal, so the two seldom crossed paths; the mongoose simply switched to easier meals — native ground-nesting birds, their eggs, the henhouse. By 1892 the legislature had turned on the animal it had welcomed less than a decade before — debating extermination bounties, demanding that the men who introduced it pay the damages, and amending the bill to make it "unlawful to introduce mongoose into any part of the kingdom". With the gecko, the islands got lucky. With the mongoose, they didn't — and the bitter part is the warning was right there, in print, ignored.
Was it worth the production?
So — was it worth bending the whole day around two hours in a state park? A hundred percent yes.
On paper, it was more of the same. We'd walked on lava five minutes from our hotel. We'd watched surf hammer the rocks that very morning, from the garden overlook, and days before along the King's Highway on the south shore. But this was the upgraded version — not the keyhole overlook at the garden, or the relatively dampened waves of the leeward southern shore, or the commercially built-up area near our hotel. This was fully immersive and turned up to 11, and we loved it.