Shira's new LG V60 ThinQ is a sweet phone. The jury is out on whether the dual screen is genius or gimmick, but I applaud LG for the attempt. As someone who regularly busts out a bluetooth keyboard to program directly on my phone, all that screen real estate is a dream.
The Challenge
One feature that Shira misses with her new phone is the LG Floating Bar. This compact menu bar could be expanded to quickly access apps or contacts. For a while, there was a recipe for running an old version of the Floating Bar on the V60, but recently that stopped working.
Knowing her husband has mad next level programming skills (my words, not hers), she asked if I could help build her an alternative app. A quick Tasker search encouraged me that I could.
My search turned up a video I'd watched years ago, but had forgotten about. Floating Bar Demo: Auto Tools Web Screens:
So this was possible. It took me a couple of attempts, however, to figure out how to build and customize my own floating bar. I'd like to save you the trouble of figuring this out yourself, so here's a quick tutorial to get you started. Enjoy!
Step 1: Install The Tools
To make your own bar you'll need Tasker, AutoApps and AutoTools. These apps are worth paying for, so do so if you can.
Step 2: Install the Demo Floating Bar
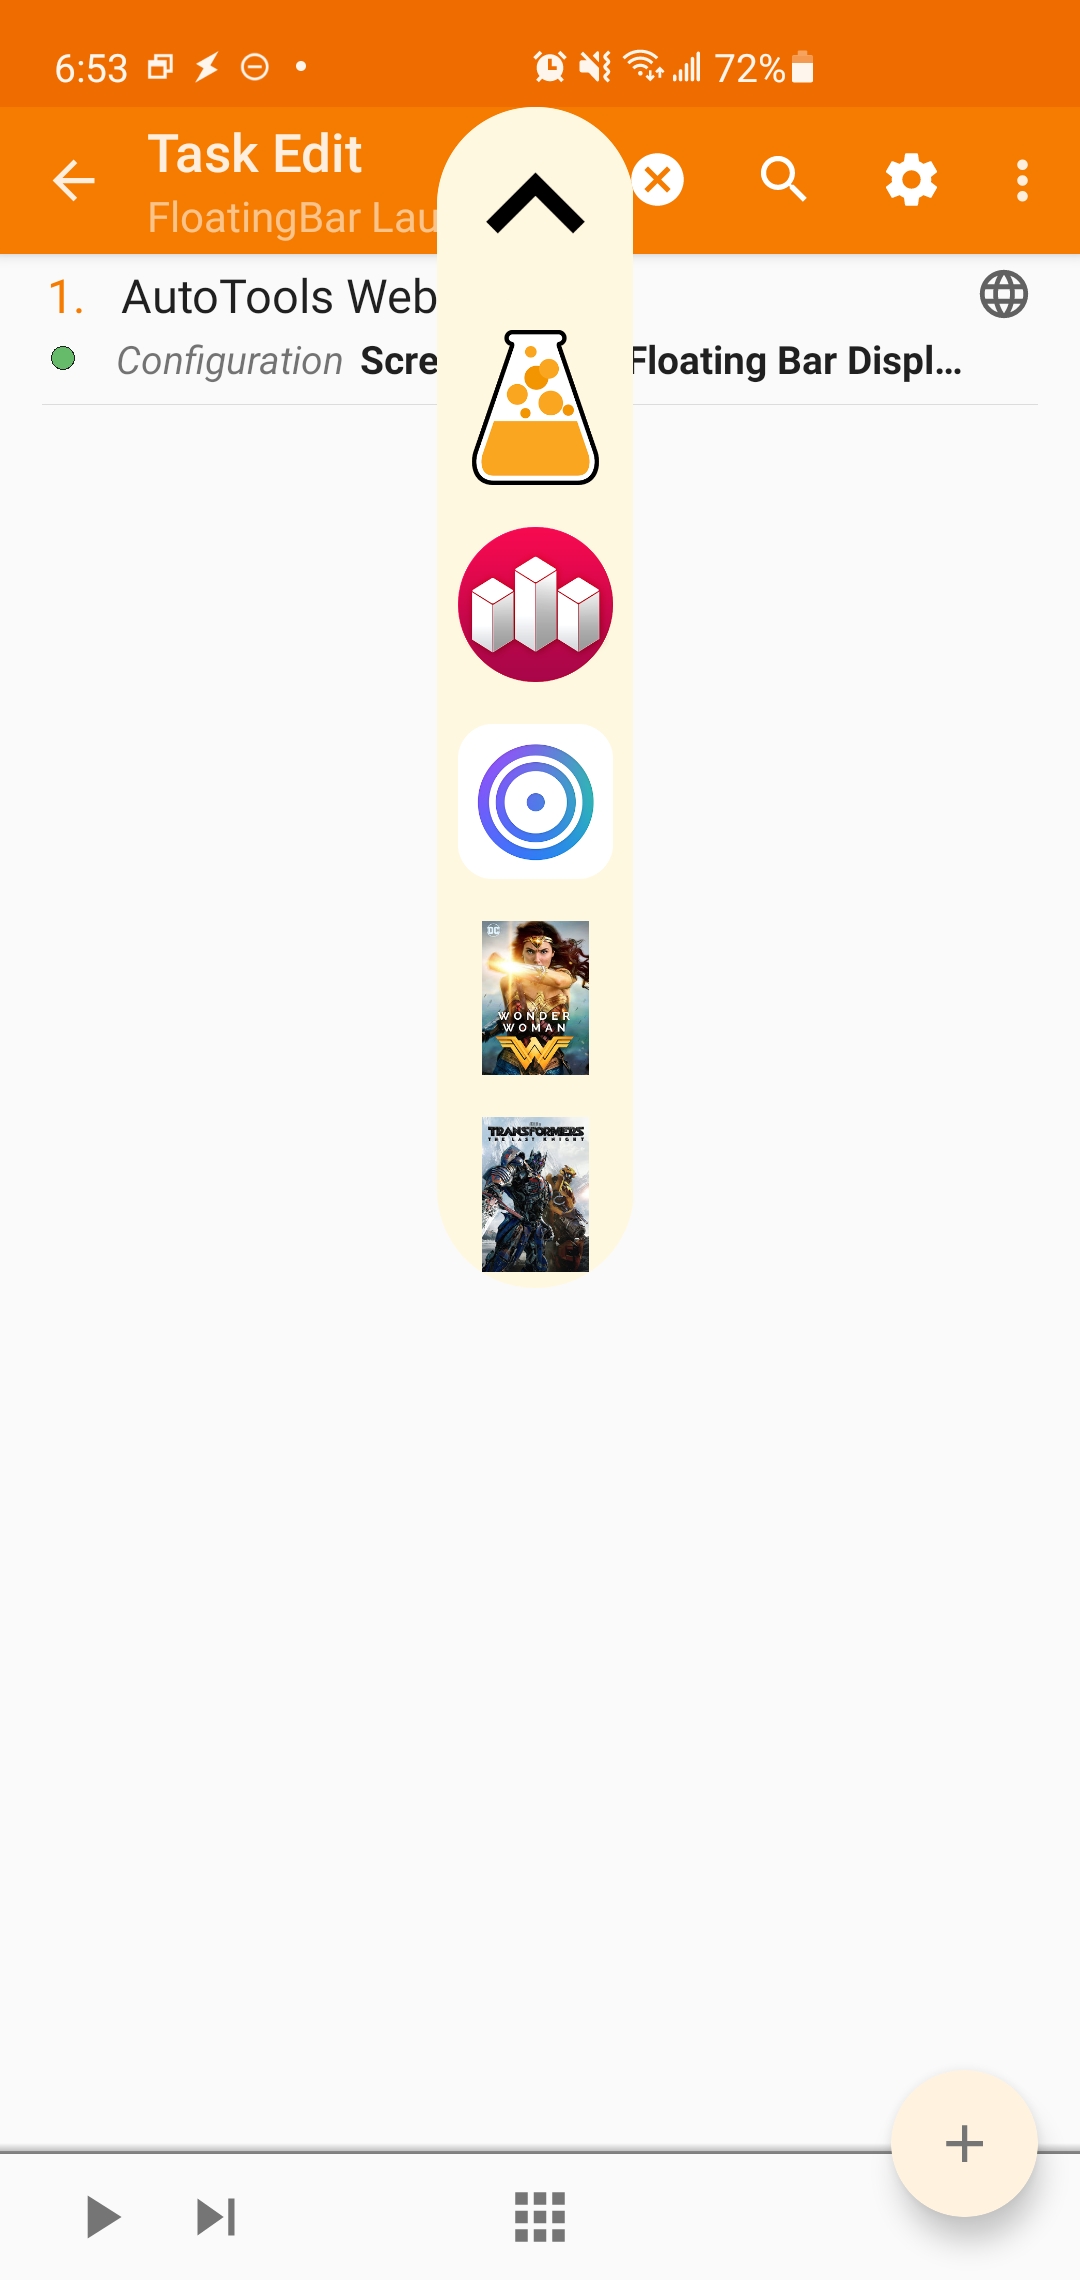
Fire up tasker and make a new Task called FloatingBar Launcher. Add a single action: Plugins » AutoTools » Web Screen. Configure the action, selecting 'Screen Preset' and choosing 'Floating Bar.' Click the check-mark to save your work.
If all goes well, you'll find yourself back at the task definition. Run the task and you should see a floating bar appear at the top of the screen. Awesome, right?


Step 3: Try, Fail and Fix the Gravity Setting
Let's say you want the Floating Bar to appear on the right hand side of the screen versus the top. It's easy enough to edit the action you created, going to Window Settings » Gravity » Right.


Save your work and re-run the Task. If all goes as expected, then you'll notice nothing happened. You changed the gravity, but the toolbar still shows itself at the top of the screen. What gives?
What seems to be going on is that the first time you ran the task you launched your floating bar. The floating bar is still running, so when you executed the task again, no new floating bar was created. My fix, therefore, is to insert a new action into the task that closes the floating bar. This forces every execution of FloatingBar Launcher to create a fresh floating bar and use whatever settings have been selected.
Create a new action: Plugin » AutoTools » Web Screen. Configure the action and select Display Mode » Close. Yes, to close a web screen you have to make a new web screen. Just go with it. Make sure this closing action is first in the list of actions to execute and then try running the Task. If all goes well, you'll have a floating bar that respects your choice of right-side positioning.
Obviously, you'll need to use this close action with care. As it's setup above, it closes all web screens. Ultimately, you'll want to tweak it so that it just closes the one floating bar you're creating, otherwise this will mess with your other Web Screen creations; probably not what you want.


Step 4: Make It Your Own
You've now got a floating bar that you can control. The next mystery is how to replace the stock icons with your own. Turns out, that's easy. Edit the Configuration of the Floating Bar Web Screen and go to Items. Here you'll configure key aspects of your floating bar. Start by selecting the icons you want to include. AutoTools will help you out by letting you graphically select them.
Next, click on the 'Commands' field. This brings up a text box that you need to fill in with care. You want to enter a comma separated list of words here, where each word will correspond to the icon you selected. Given the icons I've chosen, I entered the following:
Lamp,House,Clock,Calc


It's important that there are no spaces after the commas and that capitalization is consistent. Finally, I filled in the Command Prefix with FloatingBar
When I re-run the FloatingBar Launcher Task I now see a floating bar with my selected icons on it. When I click the icons I see a message showing me the word I put in the Command list prefixed by the Command Prefix. Sweet, right?

Step 5: Make It Work
We've customized our toolbar so that it shows the icons we want and generates the commands we want. Now how do we respond to those commands? Easy. Make a new Profile: Event » Plugin » AutoApps. Notice here we selected 'AutoApps' when creating the profile, not AutoTools. This wasn't obvious to me, but this is what you're after.
Configure the plugin by entering a command that your floating bar generates, for example: FloatingBar=:=Calc.


I'm going to continue with the theme of building out 'FloatingBar=:=Calc', so I created a new Task named 'FloatingBar Calc'. That task has a single Action: App » Launch App » RPN Calc.


With that profile enabled, when I click on the calculator icon in the toolbar the RPN Calc app is launched. The floating bar works!
Step 6: Make it Awesome
At this point, you should have a functional floating bar. You need to make corresponding actions for every command, and you'll want to tweak the floating bar so it looks good. Take time to browse through the AutoTools Web Screens options and customize away.
Thank you very much for your very explanatory tutorial. I was already having headaches trying to make the command work. Thanks again!
ReplyDelete